To the pumpkin patch!

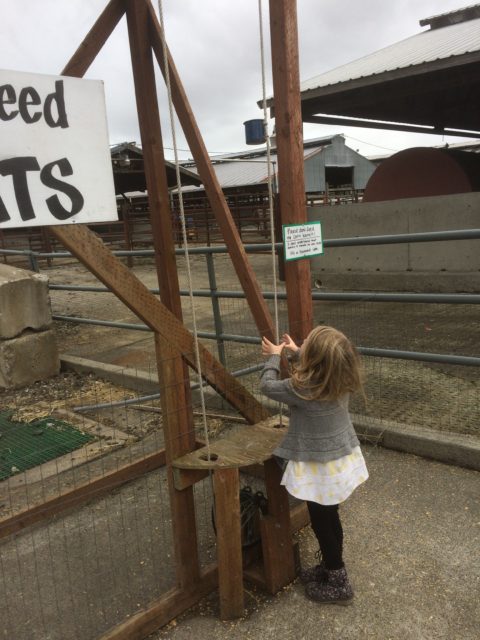
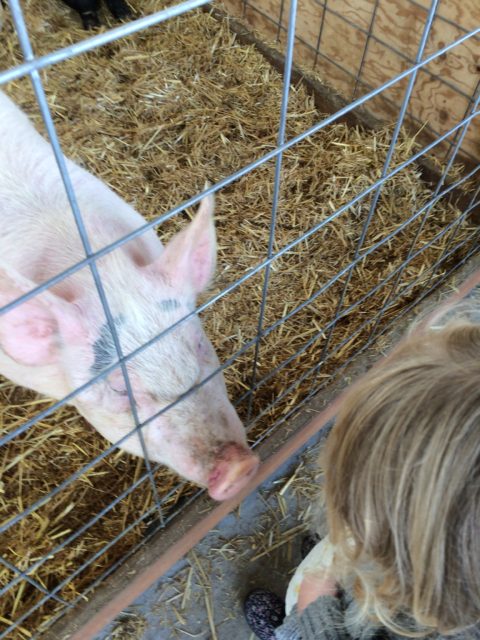
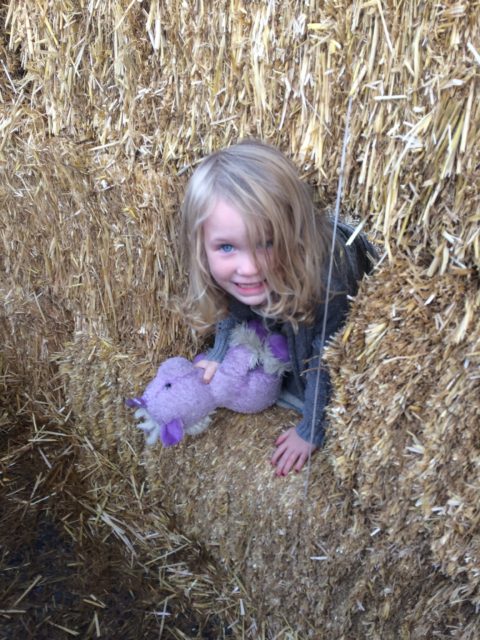
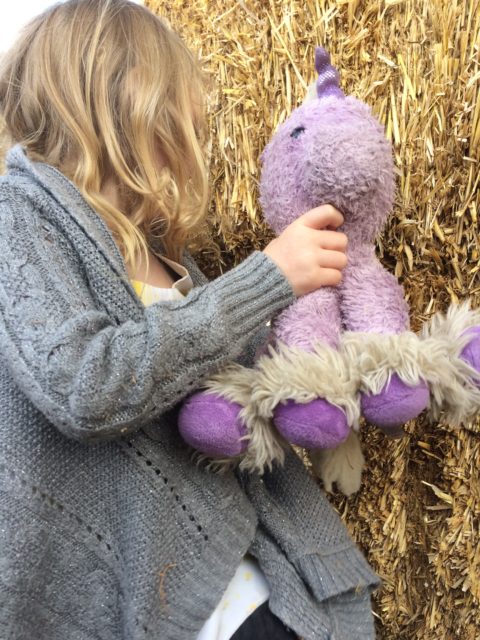
It’s fall again here and I couldn’t be happier! This is one of my favorite seasons and with it comes changing leaves, cool weather, cozy fires and my very favorite, trips to the pumpkin patch. Each year we drive down to Carpinito’s to play in the hay mazes, throw corn and play with the animals. Izzy leaves tired and happy and I get to take pictures and pick up pumpkins. I love supporting local businesses and farmers, too, so it’s usually a win-win and this year was no different! I’m convinced that these traditions are my favorite part of parenting; I love watching her explore and play.

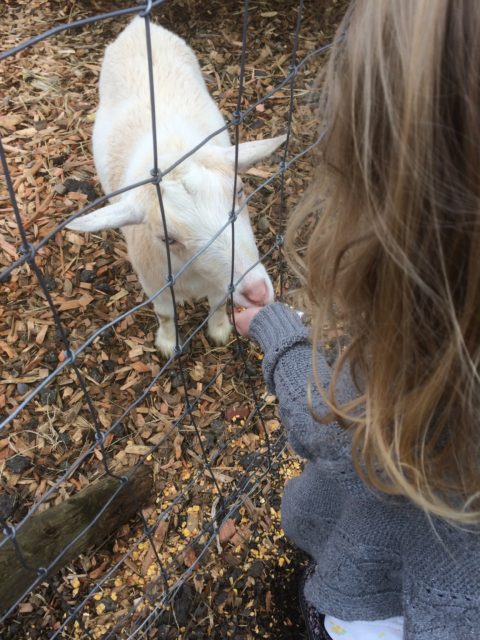
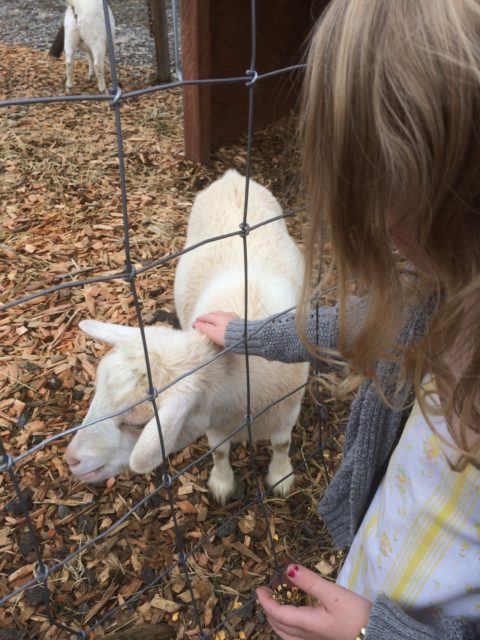
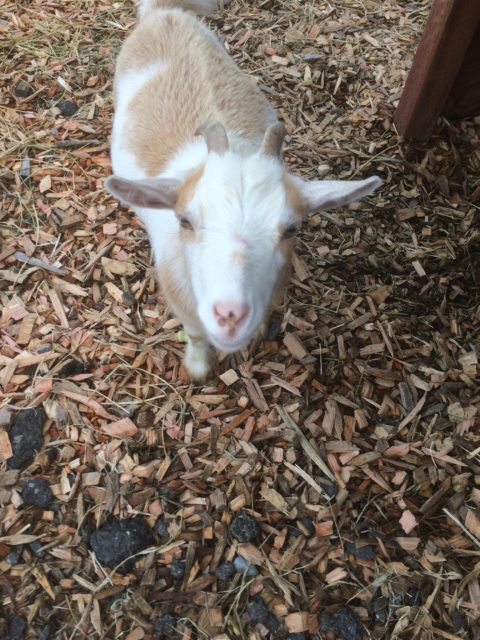
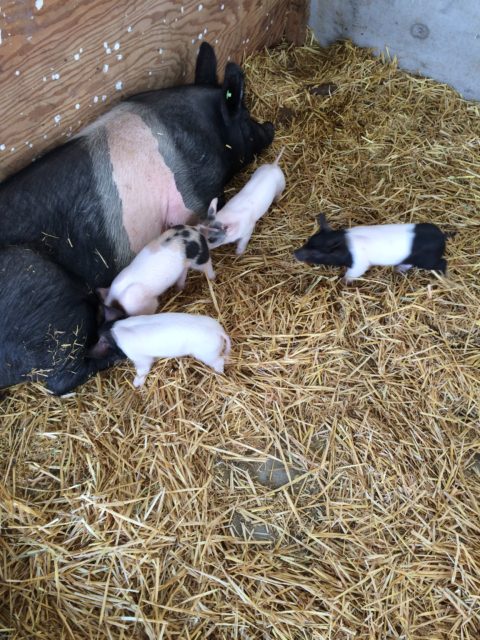
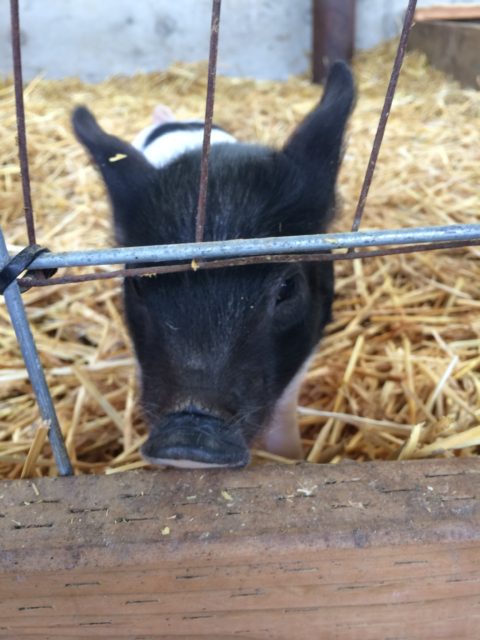
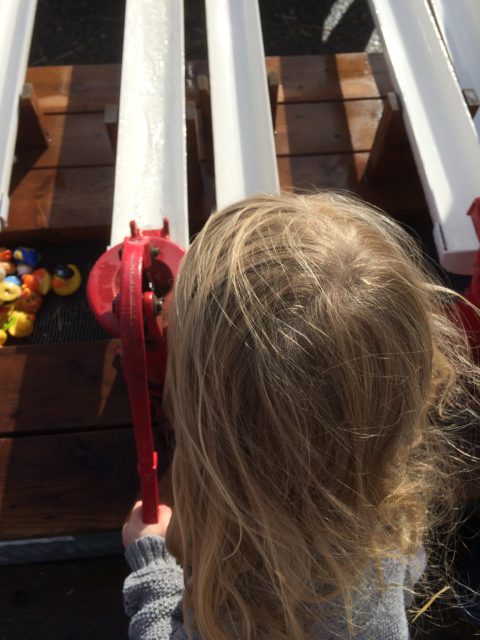
We ran from one animal pen to the next, squeals of happiness coming from all of us (ok, mostly me). We giggled at the frizzle chickens, cooed over the week-old piglets, and fed the goats. When the skies darkened and hard rains arrived,  we ran into the barn to play in corn and hay; the screams of happy kids filling the air. An hour later, the rain had been replaced by sunny skies allowing us to make our way back outside to do rubber duck races and rope cows. We sipped lemonade, and ate chili and talked about how great all of the animals were.

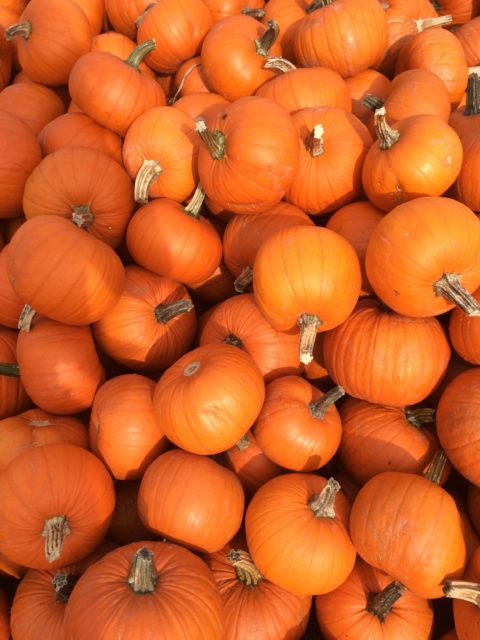
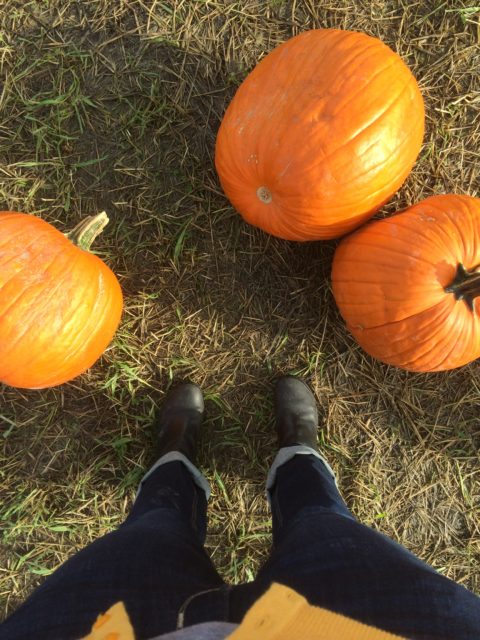
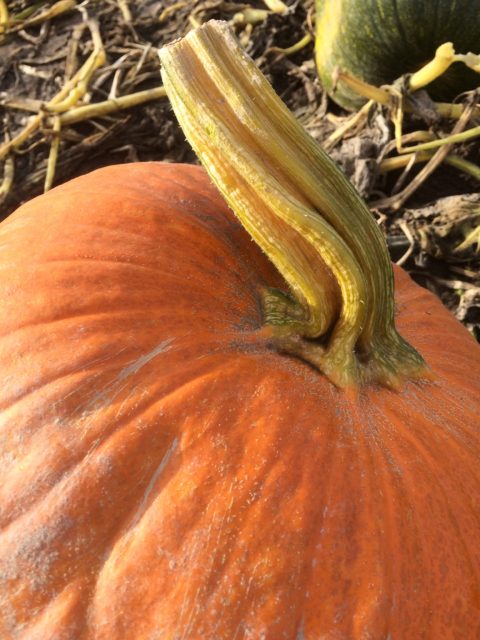
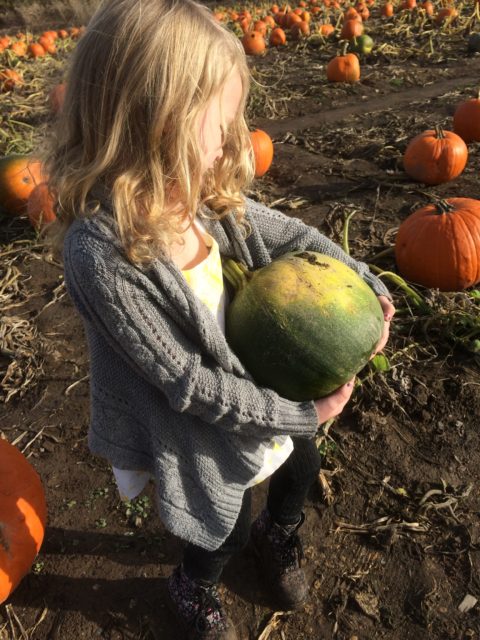
We made our way past the corn stalks into the muddy fields on the hunt for the perfect pumpkins. Green ones, orange ones, speckled ones were all inspected by my tiny pumpkin hunter until we found 5 that met her expectations. More pictures were taken as we headed back to the car, holding hands and excitedly talking about which ones we’d carve first.

My sweet girl. I wish every day could bring as much magic as my time with her this weekend. These are the days that make my heart happy.

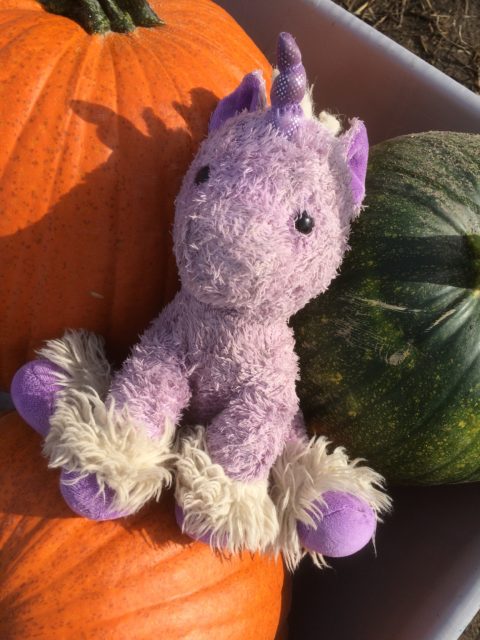
goose girl and goat girl and goat goat corn pig pigs piglet unicorn and happy girl little girl and unicorn water pie pumpkins happy girl little girl shoes pumpkin family in pumpkin patch girl in pumpkin patch girl with pumpkinFather and daughterunicorn and pumkins

Lemon Blueberry Jam

I’ll say it now and a million times again,

I. Love. Jam.

This is the time of year in the Pacific Northwest where berries and stone fruit are ripe and ready to be picked and savored immediately, or prepped to be set aside for the cold, dreary Seattle winters where you need to see some color. That time of year, you’re not going to be getting it from the sky, so it may as well come from the warm glow of something delicious!

This year I made a few jams-huckleberry, chipotle cherry, and my favorite lemon blueberry to have on hand over the winter. All have their place, whether it’s the huckleberry swirled into a cheesecake recipe I’ve got on the ready for this Easter, or the chipotle cherry slathered over a pork roast, with a splash of bourbon before roasting in the oven in the fall; but the lemon blueberry….it’s good on everything. Rich purple color, smooth and shiny texture; it screams summer. It comes together quickly and maintains it’s zip well into the doldrums of winter. You’re intrigued, right?  Sure, but I can hear you now though, but “Rai….canning is scary”!

Spoiler alert: it’s not. The key is to keep everything clean and hot and you’re good to go. Honest.

Ingredients:

2 lbs blueberries** washed, stems removed, and dried out ones removed
3 large lemons, juiced**
1 cup white, granulated sugar

**Shoot for organic where you can, and if you can hit up a blueberry patch and pick those bad boys yourself, you’ll save some money.

Equipment
4 pint jars with rings and lids, sterilized
Heavy bottomed pot, large enough to hold all of your berries and lemon juice
Large pot, tall enough to cover the cans by at least a few inches.
Jar grabbers
Kitchen towels-1 for clean up, one for setting your hot jars on
Pot holders
Ladle, or a deep spoon

Method:

  • Start by prepping your canning supplies-a tip: if it’s going to touch your jam, wash it. Easy, right?
  • Next, Fill your pot up with water, shooting for at least 2 times the height of your jar. When you process these bad boys, the water will need to cover the jars fully. Turn the heat on high. You’ll use this to sterilize your jars and bands.
  • Now, clean your jars! Even if I just opened the box and even if I washed the jars, bands and lids before storing, I wash them all again with a clean washcloth with hot and soapy water. Washing everything is a great time to make sure your jars do not have any chips or cracks-this could prevent sealing of your lids (no one wants mold or botulism), or cracking during processing.
  • Rinse your jars, bands, and lids to remove all the soap.
  • Set your lids aside in a clean bowl and place the jars and the rings carefully in your pot. **You don’t want to boil your lids. This can prevent the lids from sealing.
  • Now that you’re sterilizing everything, it’s time to make that jam!  In a heavy bottomed pot, combine the lemon, sugar, and blue berries and cook over medium-low heat for approximately 30 mins, stirring every few minutes to avoid sticking (and the dreaded burning), until most of the berries have fallen apart and turned into what resembles syrup.
  • You have a few options on what to do from here (yes, jam making is like a Pick Your Own Adventure book). You can keep going, letting that jam cook down even more or you can get ready to can it. I personally like little bits of fruit in my jam and less of a jelly texture. If you’re happy with the consistency, you’re ready to move to filling your jars; if not, continue cooking your jam down another 10 minutes, or until it’s the consistency you want. Keep in mind though, the more you cook it, the less you’ll have as a finished product!
  • By now, your jars have been bubbling away in the hot water and are all ready for your jam, so it’s time to prep your canning area. I lay a towel on the counter, which keeps my jars from moving around, but it also catches the spills I inevitably make. Set your pot of jam on a pot holder next to the towel. This makes for faster work pouring everything.
  • Remember that bowl with the lids? Get ready to pour hot water over them.
  • With your jar grabbers, carefully lift the first jar out of the hot water and pour some of that hot water over the lids until they are fully submerged.
  • Pour the rest of the water out of the jar, back into the pot and set your empty jar on the towel. Empty the other jars back into the pot and set them all on the towel. It’s ok if there’s a few drops of water in the jars, it won’t do anything to your finished product.
  • Slowly ladle or spoon the jam into each jar until they are filled up with 1/4 inch head space (room) from the top of the jar.
  • Take your other towel (or a paper towel), get it damp and wipe off the tops of the jars to remove any stickiness. Stickiness prevents a good seal folks.
  • I like to give a gentle tap to my jars, once filled, to get rid of any air bubbles. Be gentle though, you just heated that glass up!
  • Drain your lids from the bowl of water and place them on top of the jars and place the rings on, and finger tighten. The jars are going to be pretty hot still, so use a pot holder to avoid the hot glass.
  • Using your jar grabbers, gently place your jars back into the hot water filled pot and process (boil) for 15 minutes.
  • Once done, lift them out of the boiling water with your jar grabbers and let rest for 24 hours. The center of the lid should not bounce if pressed.
  • Store for a year with the rings removed, and eat whenever you’re ready!

Easy enough, right?  This is delicious over ice cream, in yogurt, or on toast. Ok, it’s really good eaten with a spoon, right out of the jar.

So there you are! A bit of sunshine in a jar, ready whenever you are.

Yours in a jam,
Raina

As 40 creeps closer…

It’s been  a year since my 40 by 40 list post was created and I am slowly getting through the list! I still have a lot of work to do, but have ticked off quite a few big items. One more year to go to as 40 creeps closer!

38 was the year of bills and home improvements. I paid off a small left over mortgage loan, and paid for a chimney rebuild and a new roof. That will be a lot more money in my pocket in the long run, but it sure was hard to say good bye to all that cash.  It’s also really nice not to have a failing roof, and a leaking chimney (hooray for maintaining structural integrity of this money pit…um, house!)

It was also the year of pushing myself-to learn more, do more, be more. You know, without getting all sorts of overwhelmed.

I also traveled alone, including business trips to Portland for Feast and Vegas to eat and for the Vegas Food Expo. I’ve never really been somewhere by myself, and so this was pretty huge for me!  Feast was my first time away from Izzy and while I was both terrified to be without her, I was so excited to be away and treat myself to a weekend away. Turns out taking a bath by yourself after eating a few thousand calories and then not sharing a bed with a tiny, raging octopus/toddler all night is AMAZING. That trip really prepped me for Vegas, where I hit quite a few of my goals-eating an amazing dinner, getting my first tattoo, singing loudly in front of strangers, and dancing in a huge sea of people.

I wrote more and collaborated with brands while not losing out on any of my creative desires. I spent more time learning herbal medicine and did a lot of wild crafting. I spent time nurturing my heart by making herbal goodies for friends, which reinforced how much I enjoy chemistry, biology and botany!

I built up the farm, too! I brought in 2 rabbits, which led to even more rabbits (see that whole thing here), and worked hard to not screw up growing carrots and peas. My corn thrived and grew taller than my house. I fed neighbors with the extra vegetables, and ripped up my lawn for more gardening space. It felt good to get up and out and push myself physically to make my home what I wanted it to be.

I participated in activities that fed my soul, more than fed my bank accounts. Let’s look at what I’ve been up to this year…the bold, italicized items are completed!

1. Do something that scares me, often!
2. Go to a ridiculously fancy dinner
3. Finally get that tattoo!
4. Pay off a large bill-not super exciting, but getting rid of any bill is more cash for fun
5. Be more accepting of my body, strengths and flaws
6. Go overseas again/travel more
7. Continue to get in shape -eehhhhhhh. A work in progress.
8. Skate more
9. Learn to knit
10. Make sourdough, actually keep it alive for more than 1 week
11. Do 5 push ups, well. Yeah, I said it. 5.
12. Do more karaoke
13. Make a blood orange olive oil milkshake like the one at the Olive Pit, in California-so good!
14. Fix up the garage and make it into a studio
15. Raise rabbits
16. Make more quilts
17. Finish up my herbalism classes
18. Eat fewer processed foods
19. Rock climb again
20. Hunt a deer and properly butcher it
21. Write more (hmmm…check?)
22. Make cheese
23. Go clam digging
24. Set up a friend version of Outstanding in the Field.
25. Teach Izzy to fish
26. Find more happiness-actively seek it out, and hold it tight
27. Successfully grow peas and carrots, and not little dinky ones
28. Bring Izzy backpacking
29. Take a photography class
30. Dance more
31. Build the fence that has been sitting in raw materials in my garage for 10 years
32. Kayak on Lake Washington
33. Ride in a hot air balloon
34. Go to Disneyland
35. Camp on a beach
36. Buy more nice knives
37. Teach more
38. Hike to a hot spring
39. Take a train ride
40. Read more

So what’s on tap for 39? More travel, more food and more finding and keeping what makes me happy. I’ll continue to tick things off of my above list and keep reporting back on all of my adventures!

Yours in squeezing all we can into life!

Raina


Spring foraging – Stinging Nettle Pesto

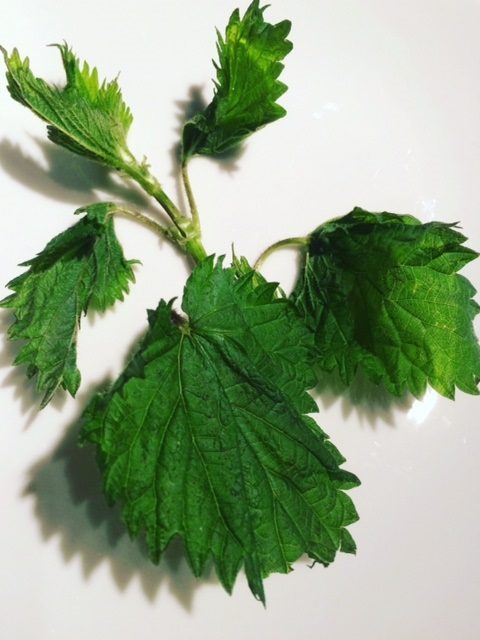
One of my favorite signs of spring is stinging nettle!  It’s easily foraged and from an herbal remedy standpoint, this super food is full of nutrients and minerals like fiber, calcium and iron. They may also help with allergies (of course, if interested in using nettles for herbal use, please check with your doctor first!). From a culinary perspective, it’s delicious and adds an amazing earthy flavor to soups, stews, breads, or my favorite: in place of basil for pesto.  If you can get past the sting, you’ll have one of the best ingredients that spring has to offer!

Nettle Pesto
Makes 5 cups

Ingredients:
1.25 lbs nettle or 3 cups blanched, liquid squeezed out
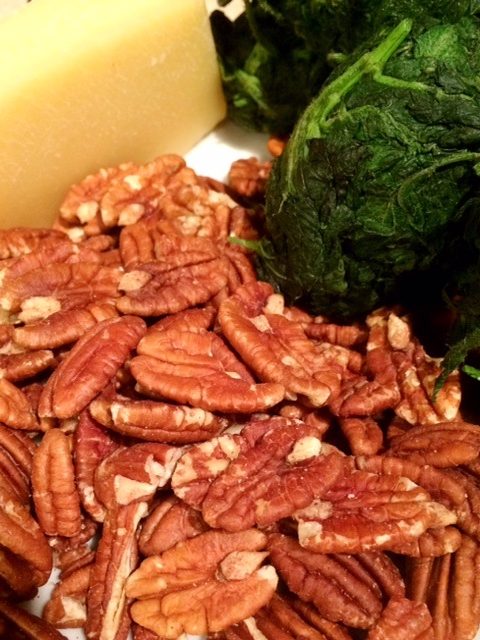
1/2 lb pecans, roasted (you can substitute your favorite nut here as well, keeping the same weight.
1 head garlic, or 10 large cloves peeled
1 large lemon, squeezed
1/2 cup olive oil
4 ounces parmesan, grated
1/8 tspn pepper, or more to taste
1 pinch of salt, or more to taste (add after you blend in your parmesan, which tends to be salty)
1 pinch red pepper flake (optional)

Equipment needed:
Stock pot, or other deep pot
Cookie sheet
Food processor
Cheese grater
Tongs
Gloves

Process:

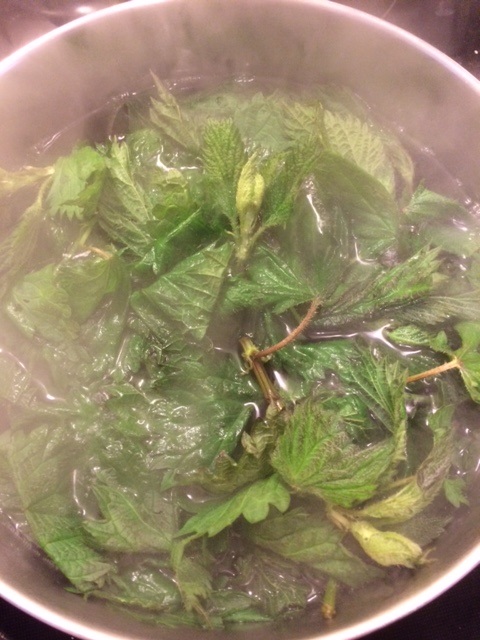
  • Start by getting your water going-fill a deep pot 3/4 of the way up with water and set on the stove on high. You’ll use this to blanch your nettles which removes the sting.
  • While that is heating up, you’ll start roasting your pecans. Lay them out in a single layer on a cookie sheet, place in the cool oven and turn it on to 300 degrees. Cook the pecans for 10-15 minutes, or until they are lightly toasted. As ovens vary, I would check them starting at 5 mins, and every 5 mins after until you can smell them and they are just starting to brown. Keep in mind they will continue to cook a little as they cool on the pan. Take them out and let them cool while you’re blanching your nettles.
  • Prep your nettles by removing the leaves from the stems. This is where the gloves come in as the sting can be painful and can last some time. If some of the newer stems are still attached, that is fine; the goal is to have as much of the lower, woody materials removed. You can also blanch everything, stems and all, and then remove the leaves after, which is what I did. The blanching will take longer, but it will also reduce your sting risk!
  • Using your tongs, place large bunches of nettle into the boiling water. Note: You want enough that this part doesn’t take forever, but not so much that the nettles clump up-you want the nettles to  move around so that they blanch quickly.
  • Let the nettles blanch for no more than 1 minute and remove to a colander to drain.
  • Continue blanching and scooping until you’ve gone through all of your nettles. **Tip:  You can save this infusion to drink!**
  • Lay your blanched nettles on a clean, dry towel or cheesecloth and roll the cloth up, squeezing as much of the moisture out as you can. Too much liquid can ruin the end pesto!
  • NOTE: If you have a smaller food processor, you’ll want to do this in two batches!  Grab your food processor and add in your fully cooled pecans, and pulse until broken down into smaller pieces. You’ll be adding in other ingredients and don’t want to make butter, so don’t go crazy here!
  • Add your cheese, pepper, red pepper (if using) and mix until it looks well distributed-usually a few good pulses
  • Add your nettles and pulse to break those bad boys down.
  • Add your lemon juice and pulse a few more times.
  • This is where the magic happens! Grab your olive oil and turn your processor on-slowly pouring the oil in. If you prefer a drier, thicker pesto, stick with the amount of oil listed. If you prefer a smoother, creamier pesto, add more oil slowly until you reach the desired consistency. There’s no wrong way here and you’ve made it through the hardest part!

You’re probably thinking…why does she prefer a drier pesto? I add this stuff to everything-soups, sauces, eggs; you name it. If I want a formal pesto, I can add more oil to it later. I can’t take the oil out after the fact!

So there you have it, an easy pesto with an element of danger, or at least a good sting.  What will you add your pesto to?

~Yours in earthy goodness~
Raina

40 by 40

Happy 4th of July, all!  Tomorrow I turn 38. It’s not really a milestone birthday, but it is another year closer to 40. I’m pretty excited for that birthday, ushering in a new decade, closing out the old one. I’m excited to see that that looks and feels like. Every few years, I write a list of things I want to accomplish by a certain age, like this one I wrote before turning 35. I’m excited to share with you my list of things to accomplish in the next two years, my 40 by 40 list!

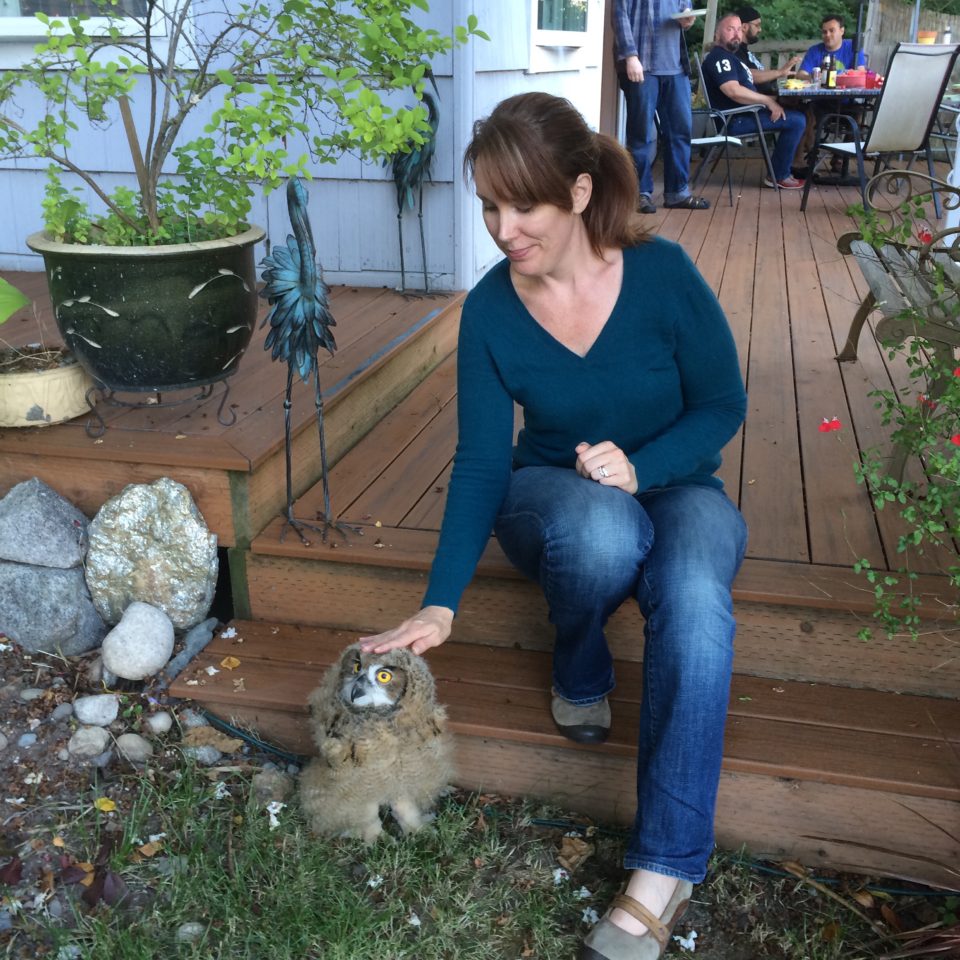
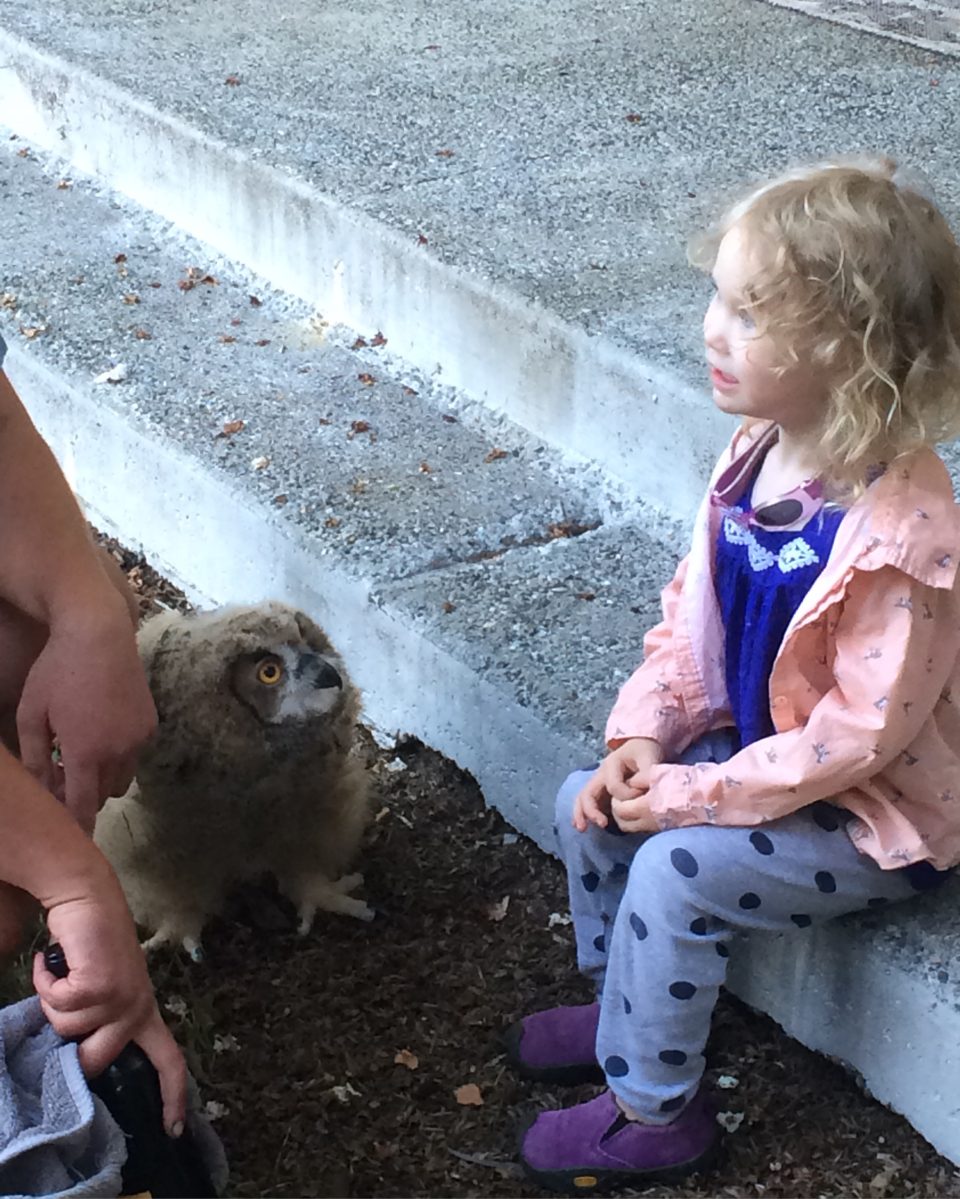
Before I get to that list, I have to share how things have gone so far!  This birthday week has been pretty darned good. I’ve been off seeing friends, getting things ticked off the to-do list, eating and drinking wonderful things. The highlight, however, had to be this-you know, just hanging out with these AMAZING birds! I didn’t expect when I went to a BBQ next door, that I’d get to pet a 40 day old owl and handle a falcon. I shouldn’t be surprised, this neighborhood always has magical things happening.

Raina and owl Izzy and owl falcon

The rest of the long weekend will be spent with friends, chatting about old times, sipping cold beers, and eating way too much. There will be hikes, and fireworks, hugs, and well-wishes, so much love and I can’t think of a better way to wrap up 37. I am truly lucky to have such a good life, with great people surrounding me. So, what will the next two years bring? Adventure, excitement, food and more happiness, I am sure based on how this past year has gone and by what I have planned in my new 40 by 40 bucket list!

My 40 by 40 List

1. Do something that scares me, often!
2. Go to Canlis
3. Finally get that tattoo!
4. Pay off a large bill-not super exciting, but getting rid of any bill is more cash for fun 🙂
5. Be more accepting of my body, strengths and flaws
6. Go overseas again/travel more
7. Continue to get in shape
8. Skate more
9. Learn to knit
10. Make sourdough, actually keep it alive for more than 1 week
11. Do 5 push ups, well. Yeah, I said it. 5.
12. Do more karaoke
13. Make a blood orange olive oil milkshake like the one at the Olive Pit, in California-so good!
14. Fix up the garage and make it into a studio
15. Raise rabbits
16. Make more quilts
17. Finish up my herbalism classes
18. Eat less processed foods
19. Rock climb again
20. Hunt a deer and properly butcher it
21. Write more (hmmm…check?)
22. Make cheese
23. Go clam digging
24. Set up a friend version of Outstanding in the Field.
25. Teach Izzy to fish
26. Find more happiness-actively seek it out, and hold it tight
27. Successfully grow peas and carrots, and not little dinky ones
28. Bring Izzy backpacking
29. Take a photography class
30. Dance more
31. Build the fence that has been sitting in raw materials in my garage for 10 years
32. Kayak on Lake Washington
33. Ride in a hot air balloon
34. Go to Disneyland
35. Camp on a beach
36. Buy more nice knives
37. Teach more
38. Hike to a hot spring
39. Take a train ride
40. Read more

That’s it, my 40 X 40 list! What would you add?  Any of these that you’ve already done?

Yours in finding adventure,
Raina


Early Spring – Starting Seeds Indoors!

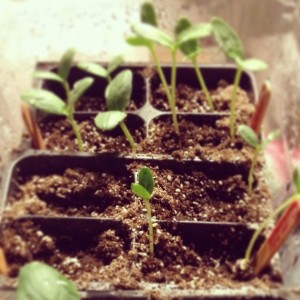
image1

While the rest of the country is buried under a mound of snow, Seattle is basking in sunlight. Spring is here! I have been itching to get into the garden and get ready for what I hope is a crazy long growing season.  This year, I am moving my beds around, and turning my entire front yard into a land of raised garden beds-I can’t wait! I’ll likely keep the big bed in the back yard for plants who can’t take all sun, all the time, but look out folks-this year is going to have a ton of produce!

To get a jump on spring, I am starting my seeds indoors a little at a time (I started last week), and my Inchelium garlic is growing like crazy. The seeds-all organic, non-GMO and mostly heirloom are already poking through, and I am feeling pretty good about getting a head start this year 🙂

I used an organic seed starter mix, and dropped a few seeds into it every inch or so, in little planter cups. It’s easy, fun, and you start seeing your seedlings pop up in just a few days!

So, what seeds did I start growing?

Let’s start with the tomatoes!

  • Black Krim
  • Brandywine
  • Cherokee Purple
  • Gold Medal
  • Japanese Trifele Black
  • Juane Flamme
  • Kellogg’s Breakfast
  • Marvel Stripe
  • San Marzano Gigante
  • Siletz
  • Two Color Fiesta tomatillos

Herbs and Flowers:

  • Borage
  • Calendula
  • Chamomile
  • Lemon Balm
  • Nasturtium
  • Thyme

The Peppers:

  • California Wonder-sweet pepper
  • Jalepeno
  • Lemon Drop Hot Pepper
  • Maya Red Habenero
  • Pablano

Squash and Melons:

  • Abundant Harvest (this is a seed blend, so a mix of: Black Beauty, Caserta, Coczelle and Golden Straightneck-no clue which is which)
  • Burgess Buttercup winter squash
  • Early Silver Line melon
  • Hearts of Gold melon
  •  Rich Sweetness 132 melon
  • Mexican Sour Gherkins
  • Oka Bizard Island Strain melon
  • Stripetti Squash
  • Tanja Cucumber

The other goodies are:

  • Belstar Hybrid broccoli
  • Derby Day cabbage
  • Marina Sweet lettuce
  • Rodynda Cabbage (mmmm….sauerkraut and Kim chi!!)

Phew…..that’s a lot!  I have other things like beans, beets, peas, radishes and some other flowers that will get directly sown into the grown-I can’t wait!!!!

What’s in your garden this year?

Yours in nature,
Raina

Chickens are jerks

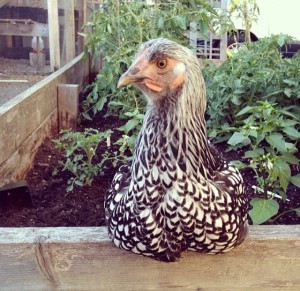
FullSizeRender

There’s a reason they call it pecking order. Chickens can be mean in their attempt to rule the roost.  We recently came out one morning to find that one of our chickens had died – she was young, healthy, but had clearly been on the losing end of the pecking order.

We’ve had chickens who didn’t adapt well to being in the larger flock and we have learned different ways to keep the girls happy. Happy girls mean more eggs for me, and I am all about that!  So, what do you do to with a jerk chicken (without actually making them into jerk chicken)?

1. Look at what they’re eating. Chickens will find food, even if it’s their buddies. I really like Scratch and Peck’s line of foods. I prefer their soy free one (here). It’s non-GMO, organic and they have really good business practices!

2. Are they getting enough of the extras?  I love feeding my girls vegetable scraps-pieces of kale, broccoli or whatever vegetables I have on hand.  It’s a nice treat for them, but it also adds extra vitamins.  You can also buy  pre-made treats like these Happy Hen treats, but know you can make treats for them as well with their food, and oat meal that is cooked and rolled up into a smooshy ball. If they need supplements, you can look into ones like these.

3. Are they getting out? Just like us, chickens need to get and have fun. Bored chickens are mean chickens. While their coop and run is huge, I let my girls out as often as possible. On the days that I work from home, they are out most of the day.

4. Do they have enough space? Just like us, if chicken’s are crammed into a space that is too small, they can be frustrated and overwhelmed. Make sure your girls have plenty of space to sleep, play and eat. Our coop is pretty big with inside and outside boxes so the girls have their own place to relax. Coops don’t need to be pretty, just functional. We all see those coops that look like they belong to Martha Stewart. If you can swing that-awesome, if not, that’s ok too! Ours is made from donated wood, building materials, leftover chicken wire, and love!.

5. Are you there? You’re one of the best ways to prevent chickens from attacking each other. If you’re there, you can spot issues early on and react. Ways to know if you need to jump in, is if you see aggression, or the signs of being attacked, missing feathers or bleeding, usually at the neck or tail.

6. Lastly, figure out who the jerk is and reset the pecking order. We have a small spare coop that we keep on hand for new birds, or in the case of a chicken that just needs to be separated. By pulling the aggressive one out, it gives the rest of the girls a break and keeps the rude one from being in charge. Having a spare coop is also handy if you have an injured bird, as it gives them time to heal.

The standard disclaimer still applies – if you think your chickens are sick and have any concerns about illness, you can get them checked out. Currently, there are reported cases of Avian Flu in Western Washington.

What ideas do you have to support a healthy, happy flock?

Here’s to happy birds, and more eggs!

Raina

**Disclaimer!! The links above are affiliate links, which means when you buy these products, I get a small percentage of that sale, which goes right back to my feathered girls :)**