I don’t know about you all, but this has been a very busy holiday season for me – lots of work activities, trying to get shopping wrapped up, and bringing as much festive spirit as I possibly can. Some days are better than others, but man, somedays I realize I put too much on my jingle-jolly plate.
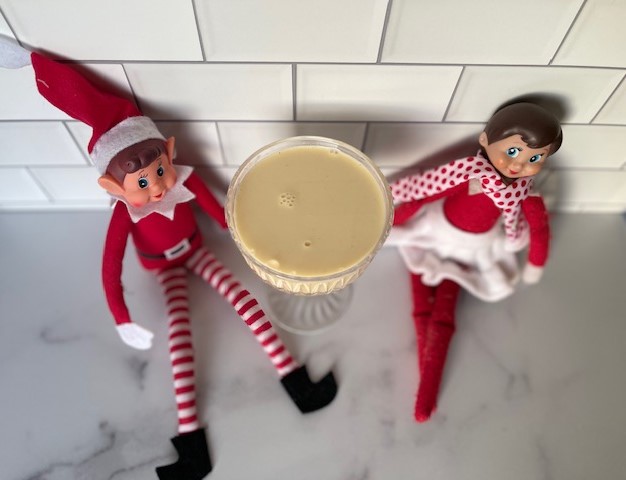
Like these elves. Yes, plural elves. Every year I say this is the last year (it never is) and they are going back to the North Pole or whatever third layer of hell they crawled from in an attempt to drive parents to madness (they never do go home). But I know my kiddo loves them and the spirit of the holiday, where everything is magical, will only last so long. So, while I can keep that spirit alive, we celebrate with these little jolly terrorists and watch as they move “magically” through the house, usually at 2 am after I’ve had the “oh crap, I forgot” moment.
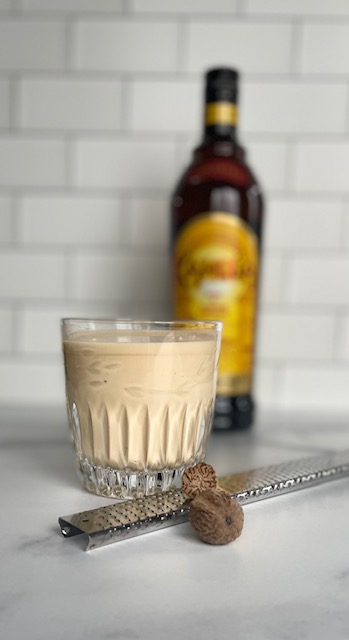
For my 5th and final holiday drink post, I bring you something that pairs well with elves and feelings of overwhelm for the holidays, Egg nog. Not just any egg nog, but Alton Brown’s aged egg nog. I won’t even try to tweak this one, it’s my go to and it should be your go to as well. It’s easy, doesn’t add to the creeping feelings of holiday overwhelm and it makes enough for you to enjoy now, and in the coming year after those elves have gone back home.
Go check his recipe out, find moments of peace and try to enjoy the happiness that those elfin bastards bring your kids. In the meantime, here’s Lily Elsa and Other Elf whose name I can’t even recall at this point 🙂
Yours in holiday ridiculousness,
Raina