One of my favorite parts of summer is getting together with friends and making fun, easy food to enjoy. The downside is that in summer, it’s so hot, and I need something that comes together quickly, tastes like I have been cooking it for hours, but doesn’t heat up my house. Enter Foster Farms Simply Raised chicken turned into my delicious Basque Chicken recipe. It’s one of those recipes that with a little prep, a little optional marinating, and some easy to find spices, you have a great meal that is a people pleaser!
Please note, this is a sponsored post from Foster Farms, but all of the opinions and the recipe are all mine.Let’s talk more about Foster Farms and why I chose to use their products. They are family owned since 1939 and are local to Washington, Oregon and California. A company that has been around this long is doing something right, guys. I also like that my food comes from the same region I am in: the closer your food, the less impact on the environment. Importantly, they are American Humane Certified. I buy this chicken because they do not add hormones, steroids, preservatives, antibiotics, or sodium. I don’t want those things in the food I eat, and I bet you don’t either! They also have organic options that are more than affordable, and they are easily found at most big grocers and Costco (and who doesn’t love Costco!?).

Now that you know which chicken to pick up, let’s get down to this recipe!
Like I said earlier, I love to cook and I love to make a meal that tastes like I was cooking for hours, but I want to avoid heating up my house. The secret to doing that is using big flavors, prepping everything in advance and cooking it all together quickly! What I love about this dish is that I can do most of the cooking in the morning, and then finish it in 20 minutes before dinner. Most of the cooking can also be done on the grill in my backyard then finished inside. It’s a versatile dish that comes together so easily!
 Basque Chicken
Prep Time: 15 minutes
Marinating time (if you choose): 1 hour to overnight
Cooking Time: 30 minutes
Serves 8
Ingredients:
2 lbs Foster Farms Simply Raised chicken thighs
2 lbs Foster Farms Simply Raised chicken breasts with bones removed and set aside for stock, or just use boneless, skinless chicken breasts, and chop into large chunks.
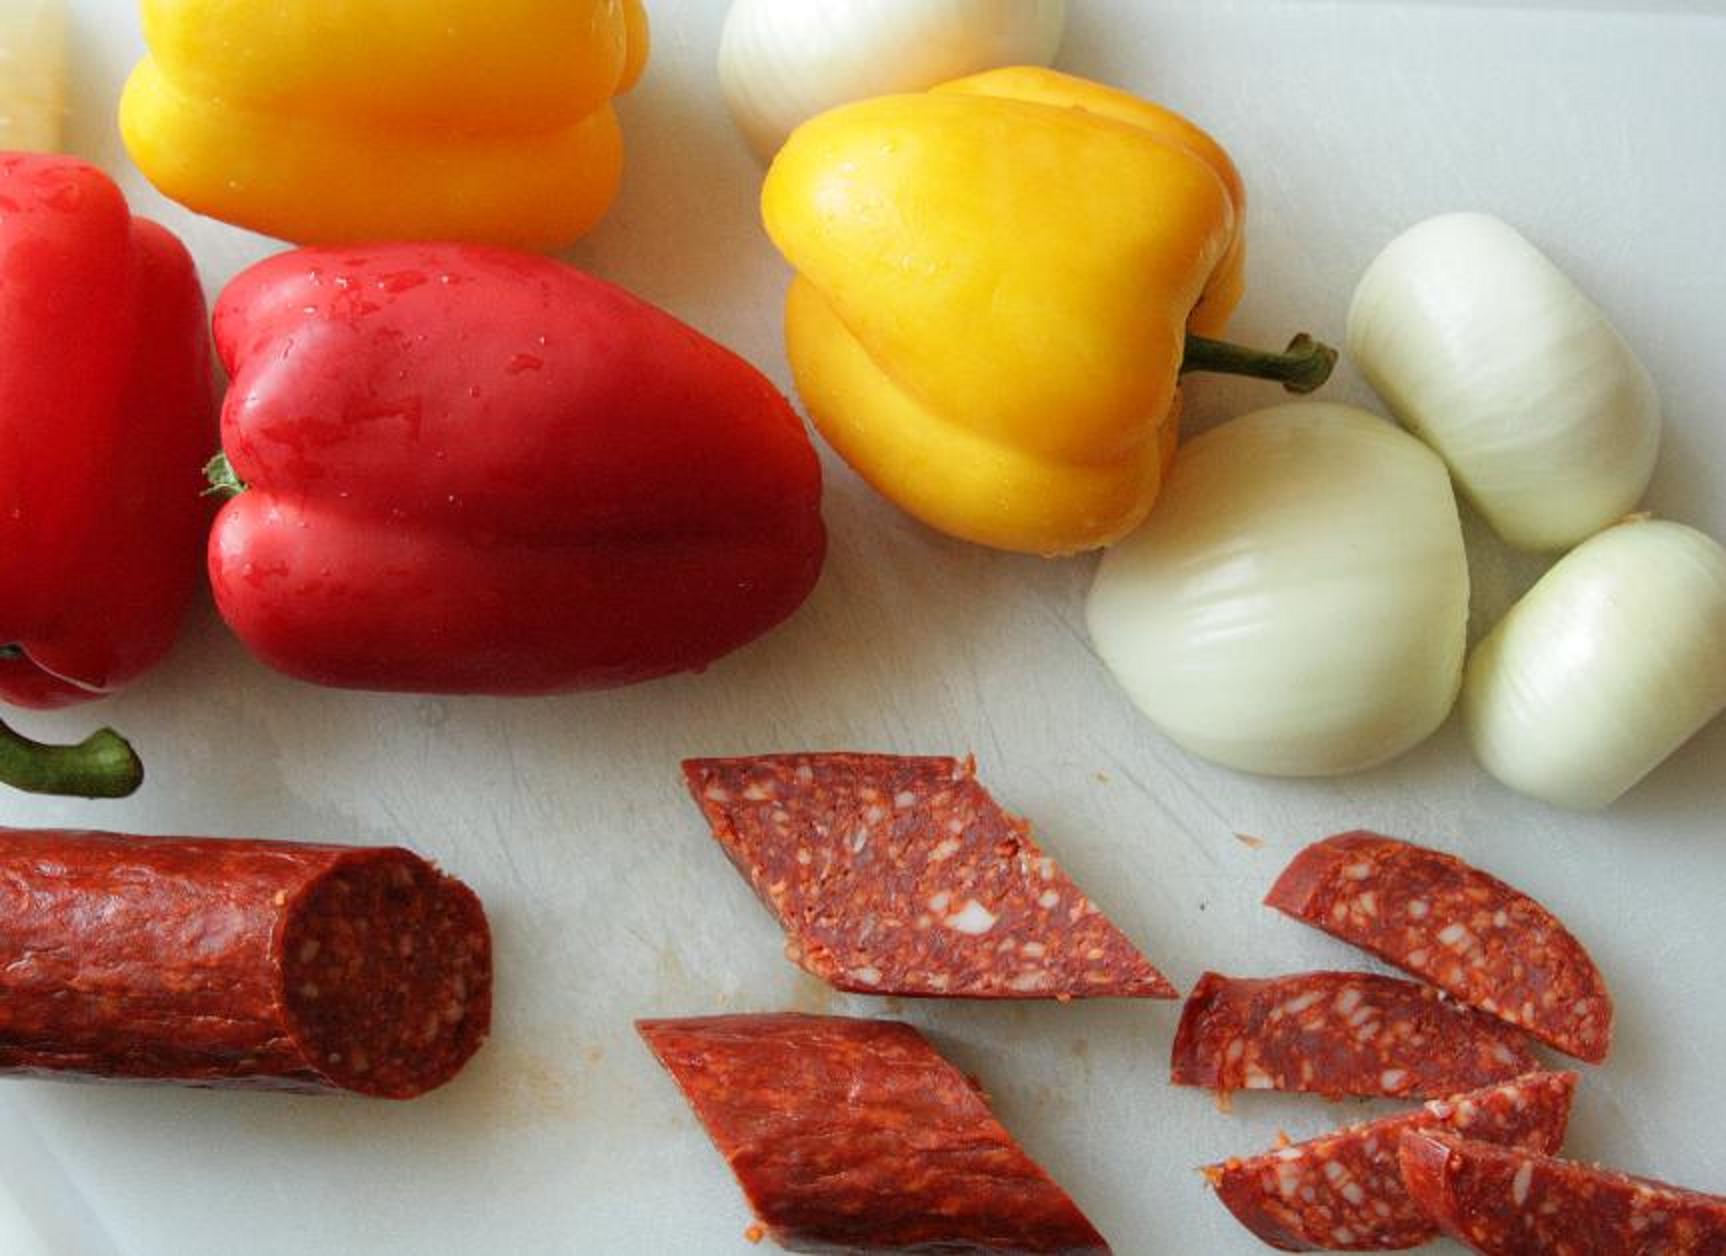
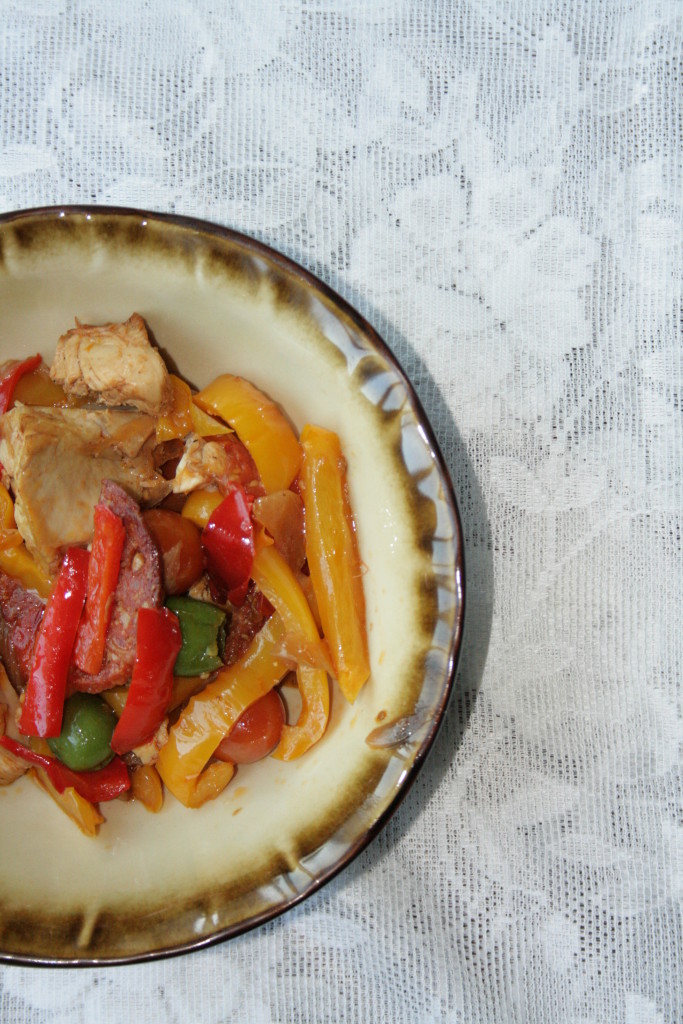
2 red bell peppers, sliced
2 yellow bell peppers, sliced
2 yellow onion, sliced
4-5 cloves of garlic sliced
5 ounces green olives, pits removed
5 ounces Spanish chorizo (Spanish chorizo is the harder version, versus the soft Mexican chorizo), sliced up into half moons, or bite sized pieces
1 pint container grape tomatoes
2 Tbsp Olive Oil
2 Tbsp Dry Sherry wine
2 Tbsp Sherry vinegar
3 sprigs Oregano
2 tsp salt, separated
2 tsp smoked paprika
2 tsp fresh ground pepper
The Method:
By prepping all of your ingredients, you can cut down the amount of time in the kitchen. I used a heavy bottomed Dutch oven, with can be used on the grill’s side burner.
Heat the oil in your Dutch oven over medium-high, until the oil is shimmering, and then add your chorizo. The goal is to get out some of the fat and flavor for your other parts of your dish. Sauté it until the chorizo is a little crispy, about 2 minutes. Then remove the chorizo and set aside.
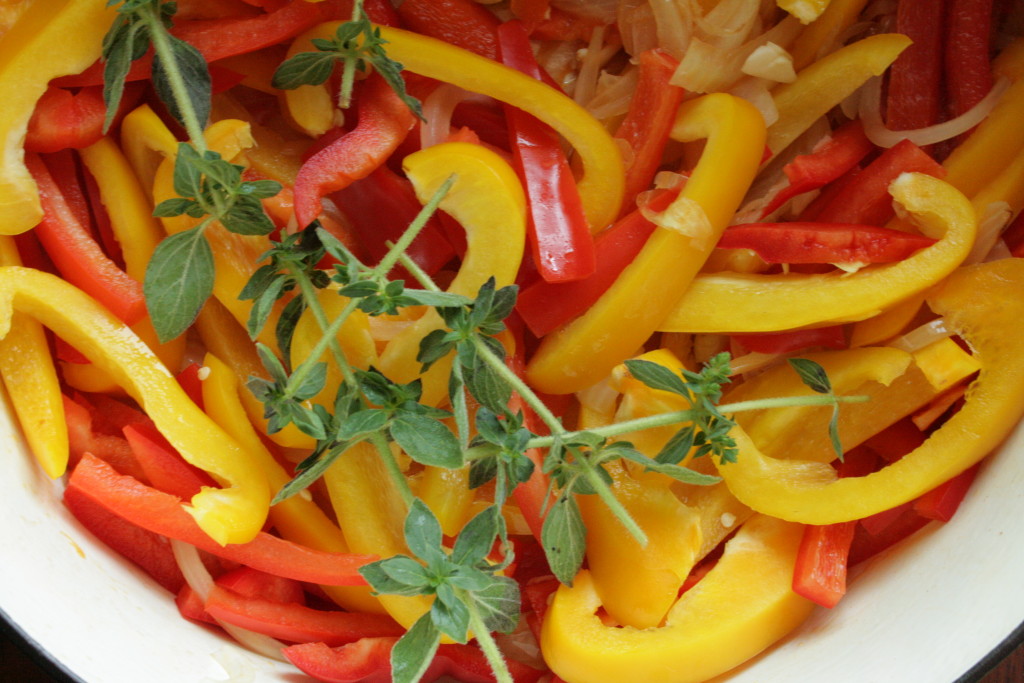
Use the oil left in the pan, now flavored by the chorizo, to sauté your onions and cook until they just start to turn brown. Then add your bell peppers, garlic, oregano sprigs, pepper and 1 tsp salt. Cook until the peppers start to get a little soft. Remove the veggies and set aside with the chorizo.
Let your pan heat back up. If there’s no oil left in the pan add enough olive oil to lightly coat the pan. Season the chicken with the smoked paprika and 1 tsp of salt. Place the chicken in the pan, starting with the skin side down. Sear until the chicken is browned on both sides. You just want to sear the chicken. You’ll be doing more of the cooking later. Once the chicken is all browned, remove and add the Sherry wine to deglaze, scraping all of the tasty goodness off of the bottom of your pot. If you don’t have Sherry wine, any dry Spanish white wine will work. If you want to use your grill, just throw the chicken on the grill and then add to everything in the Dutch oven when you’re ready to reheat.
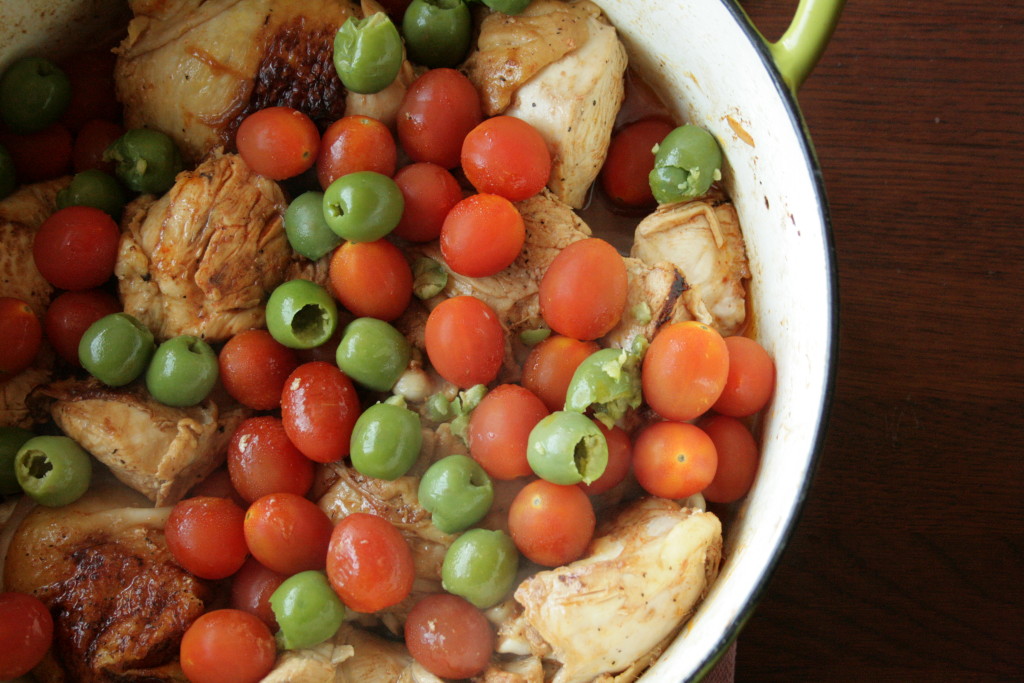
Add your veggies and your chicken back to the pot, along with the tomatoes, olives and vinegar. At this point you can keep everything in the pot, in your refrigerator for later, or just finish and eat. When you are getting ready to think about heading to the dinner table, put a lid on your pot and cook on medium for 20 minutes (it could take longer if it’s cold) or until the thickest piece of chicken registers 165 degrees. If you want, you can also set this aside with the lid on for 20 minutes (up to overnight) and let the flavors meld before serving.
To serve, ladle over brown rice, or a nice crusty bread to sop up some of the sauce from the chicken!
Are you ready to try this dish now?
For more information on Foster Farms, their products or their practices, check them out here. Again, this post is sponsored by Foster Farms®, the opinions expressed are my own.
Yours in great food,
Raina