There’s few things I love more in life than delicious food. What could make it better? Having that food be locally sourced and delivered straight to my house.
Intrigued? Hungry? Let me introduce you to my new friend Farmstr. Oh yes.
So what is Farmstr? If you check out their site (here), you’ll read that Farmstr is an online marketplace that helps people like you and I find and buy direct from local, sustainable farmers. So you get delicious food, and because you’re connected directly to the folks with the tasty goodies, it’s something you can afford. Goodbye middleman! Better yet is their goal, which is “to help local farmers succeed – specifically those with organic quality and better practices/food. Our goal is to help consumers have unlimited access to clean sustainable local food at fair prices”.
So there you have it: It’s you getting amazing food, from real people. It doesn’t get much better than that.
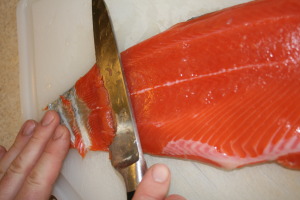
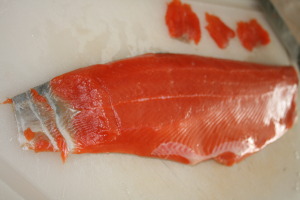
So, what did I pick up? Oh, dear reader, you’re in for a treat! I picked up this beauty, the Coho Salmon. Line caught, frozen at sea, and sashimi grade. This salmon is melt in your mouth tender, sweet, and it comes in at an even better price than at your local fishmonger. Now, for what I did with those beautiful fillets…
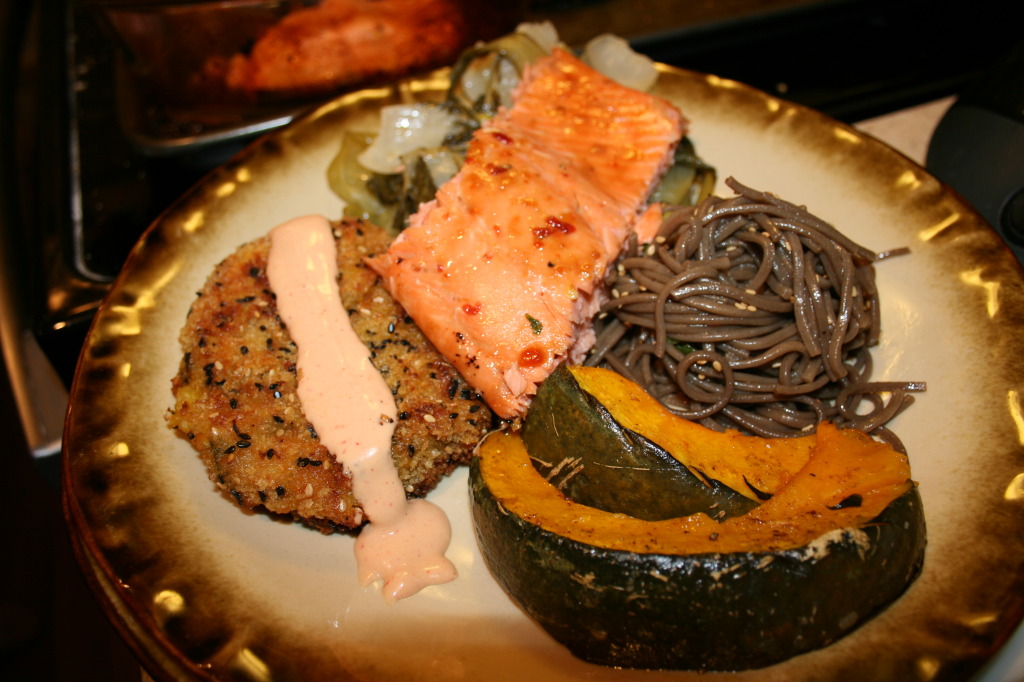
The Menu
Starter:
Salmon Sashimi
Main:
Soba Noodle Salad
Roasted Kabocha squash
Korokke
Sauteed pak choi and bok choy with garlic chili paste
Roasted salmon with a sweet hot glaze
Dessert:
Roasted Asian pears with cinnamon, ginger, and honey
Prosecco with ginger simple syrup
I was in foodie happy-land guys and I want to share the love! Read on! This may look like a lot of work, but it really isn’t. Its a good amount of prep time, but if you do it right, you’ll be sipping tasty drinks and snacking your way through cooking this meal. You’ll also note that I didn’t use much salt in addition to the recipe-the soy and other seasonings add enough. When I could, I used low sodium products and added salt here and there-you can always add more, it’s a pain to figure out how to make things less salty! I also kept the flavors similar. Each ingredient brought it’s own flavor and the theme of seasonings helped to add continuity to the meal, but I found that things didn’t all taste the same-they just tasted like they belonged to each other.
The sashimi was by far the easiest-we sliced the most delicate strips of tender salmon-half we ate plain and half we splashed with mirin, ginger, and a little soy-we let it sit for 10-15 minutes. Both were amazing-the salmon just melted in our mouths. Look at how pretty it is!
Soba Noodle Salad
I love this salad. It’s easy, tasty, and goes well with so many different foods. It’s best served cold.
3 bundles (10 total ounces) soba (or buckwheat) noodles
1 large bunch green onions, chopped
1.5-2 Tbspn honey
2-3 Tbspn soy
2-3 Tbpsn mirin
2 Tbspn + 1 Tbpsn sesame oil
1 Tbspn garlic chili paste
3 Tbspn rice wine vinegar
1 Tbspn roasted sesame seeds
1/4 tspn fresh ground black pepper
A dash of ground ginger
Boil the noodles according to the package directions, adding 1 Tbspn sesame oil to the water (it helps flavor them AND will prevent them from sticking together later).
Once the noodles are done-they should be al dente, run under cold water, until they are cool to the touch. Strain thoroughly.
Add 1/2 of the remaining sesame oil and stir to prevent sticking and place in the fridge until the noodles are cooled through. *Pro tip here guys. If you add your tasty ingredients to hot noodles-they suck up all the goodness, and you don’t have any yummy liquid later. Sauce is good, guys*
While you’re waiting for things to cool off, mix up your remaining ingredients (minus the onions and sesame seeds).
Once your noodles are cool, pour the ingredients and mix – I use my hands – until thoroughly mixed.
Add your green onions and sesame seeds and let marinate for at least an hour.
As with all of my recipes, this is what I find tasty. If you like more of a particular flavor, please add more!
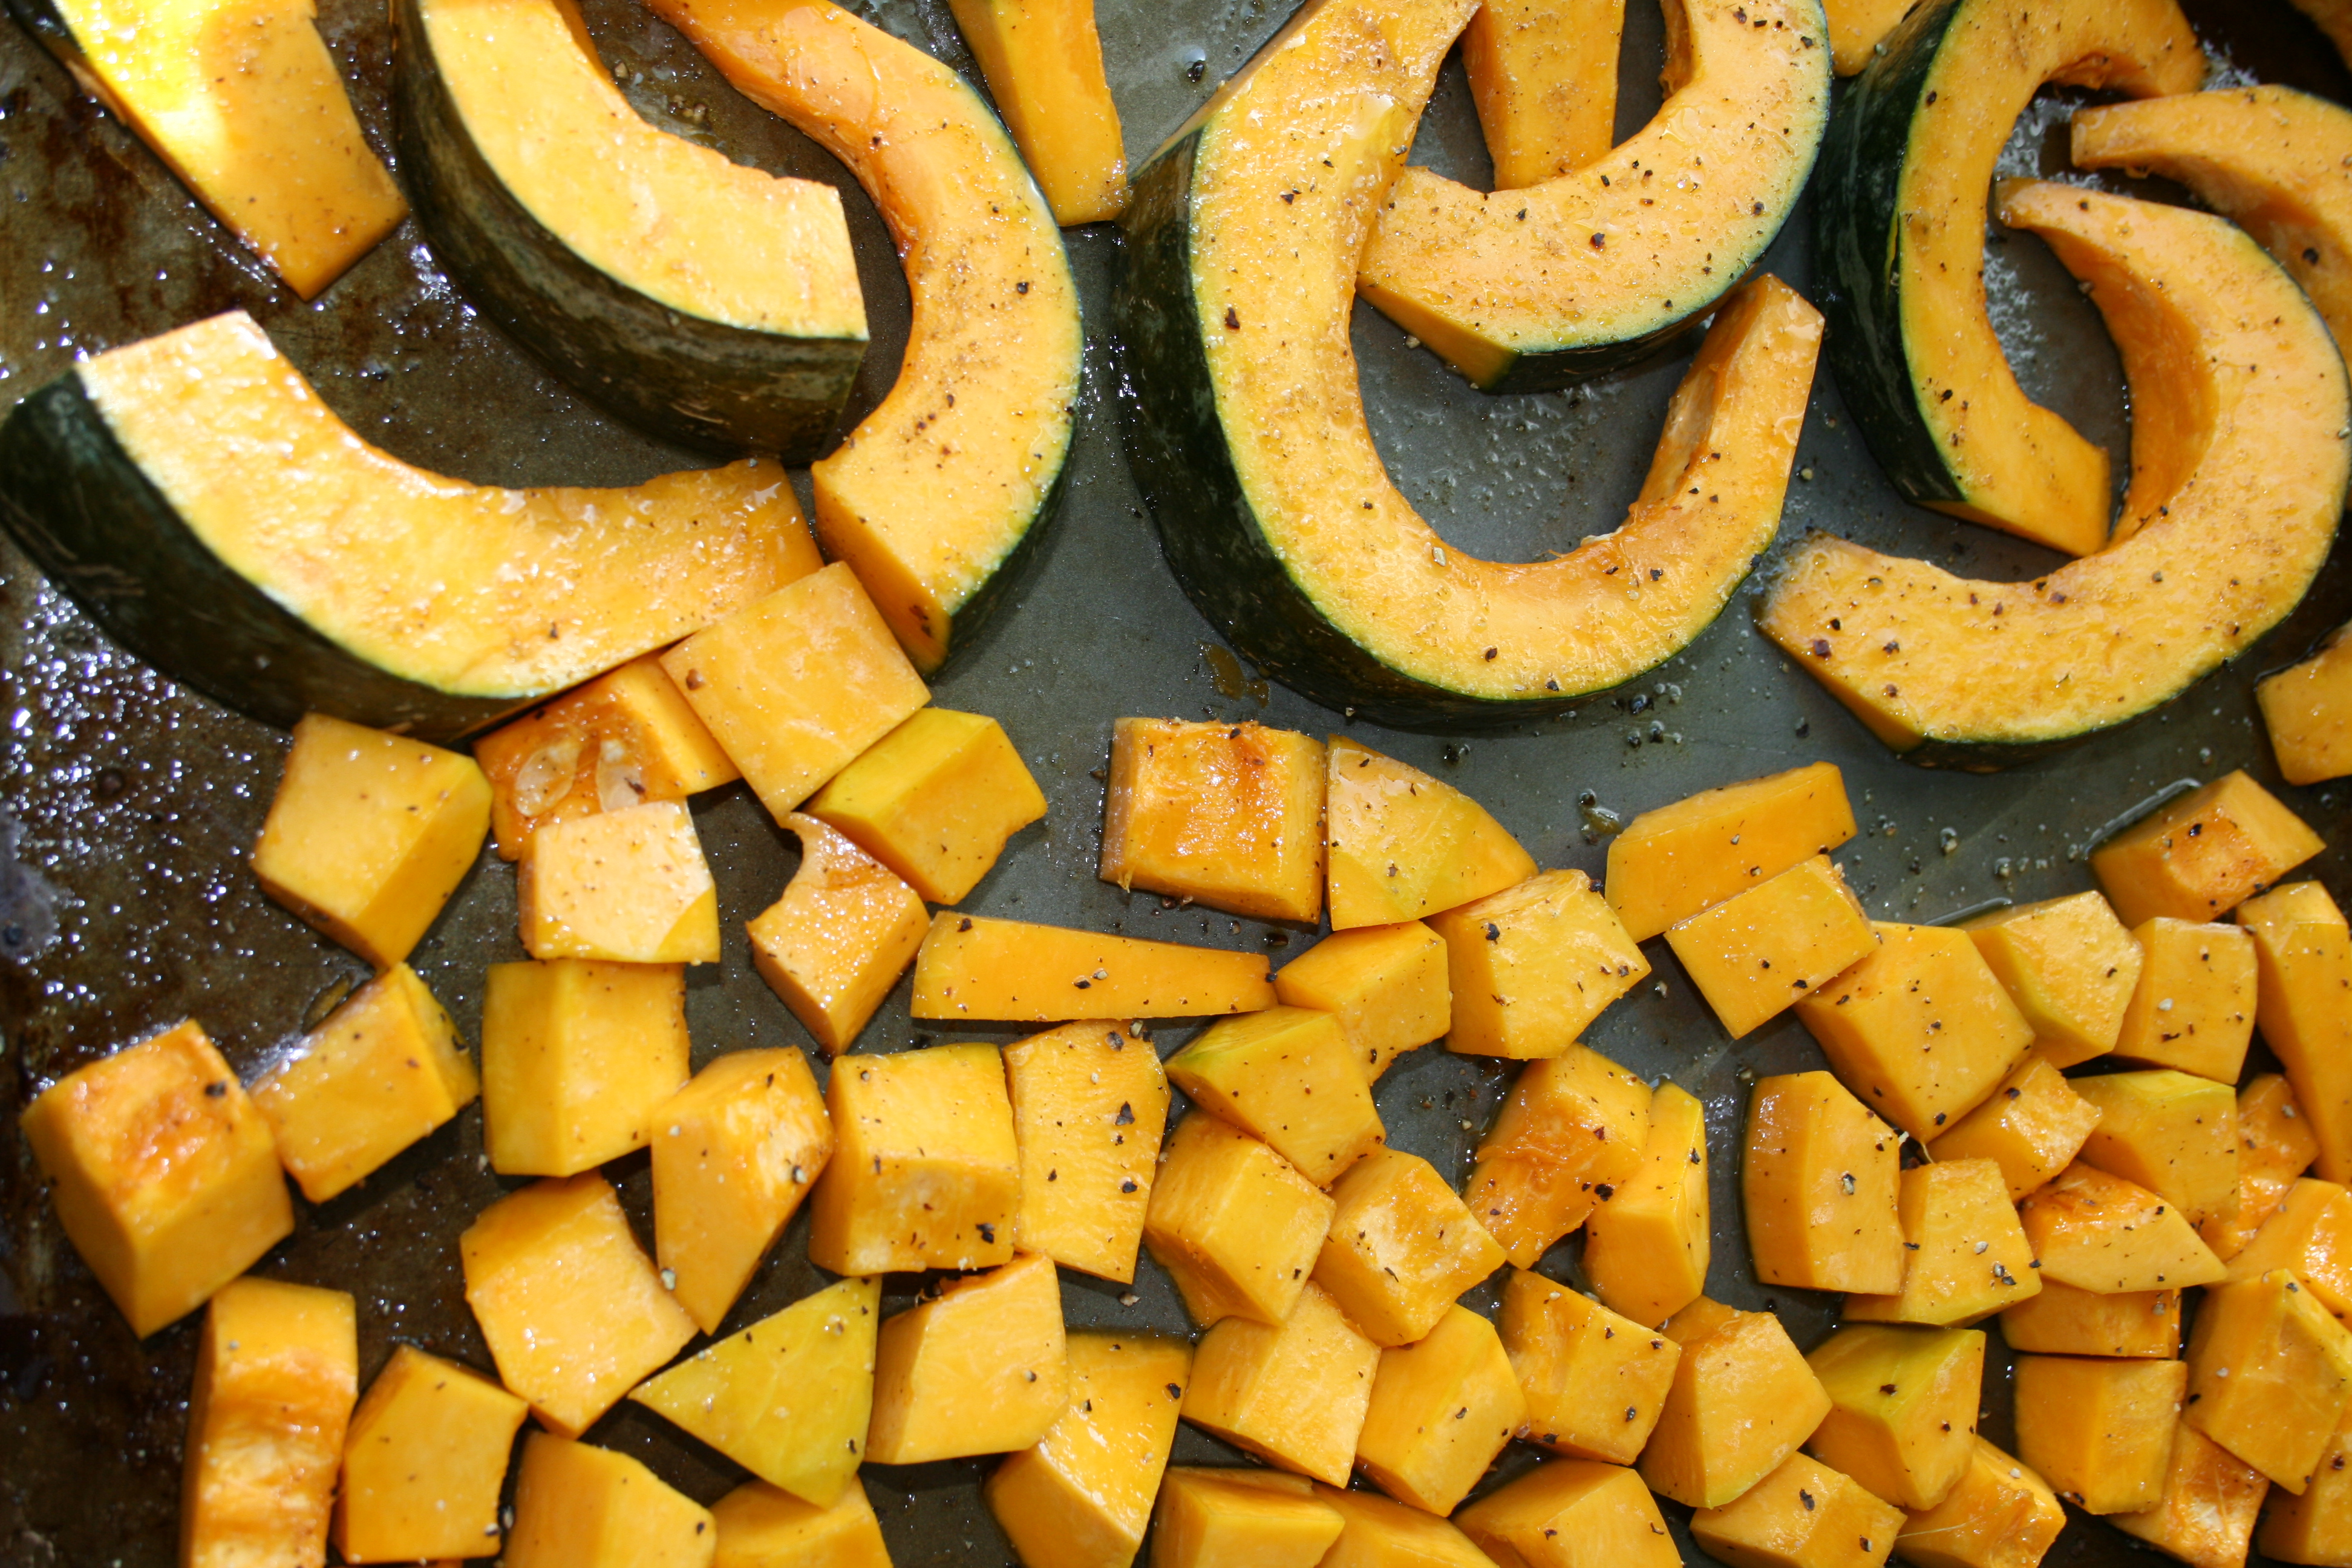
Roasted Kabocha Squash
1 medium sized Kabocha Squash, cut in half, seeded, half cut in moons with skin on and half, chopped into cubes, skin removed.
Olive oil
sprinkled with salt, pepper and cumin (yep, you read that right, cumin).
Coat your slices and chunks with olive oil and lay on a cookie sheet, sprinkle liberally with salt, pepper and cumin, and roast at 425 until tender, about 15 minutes.

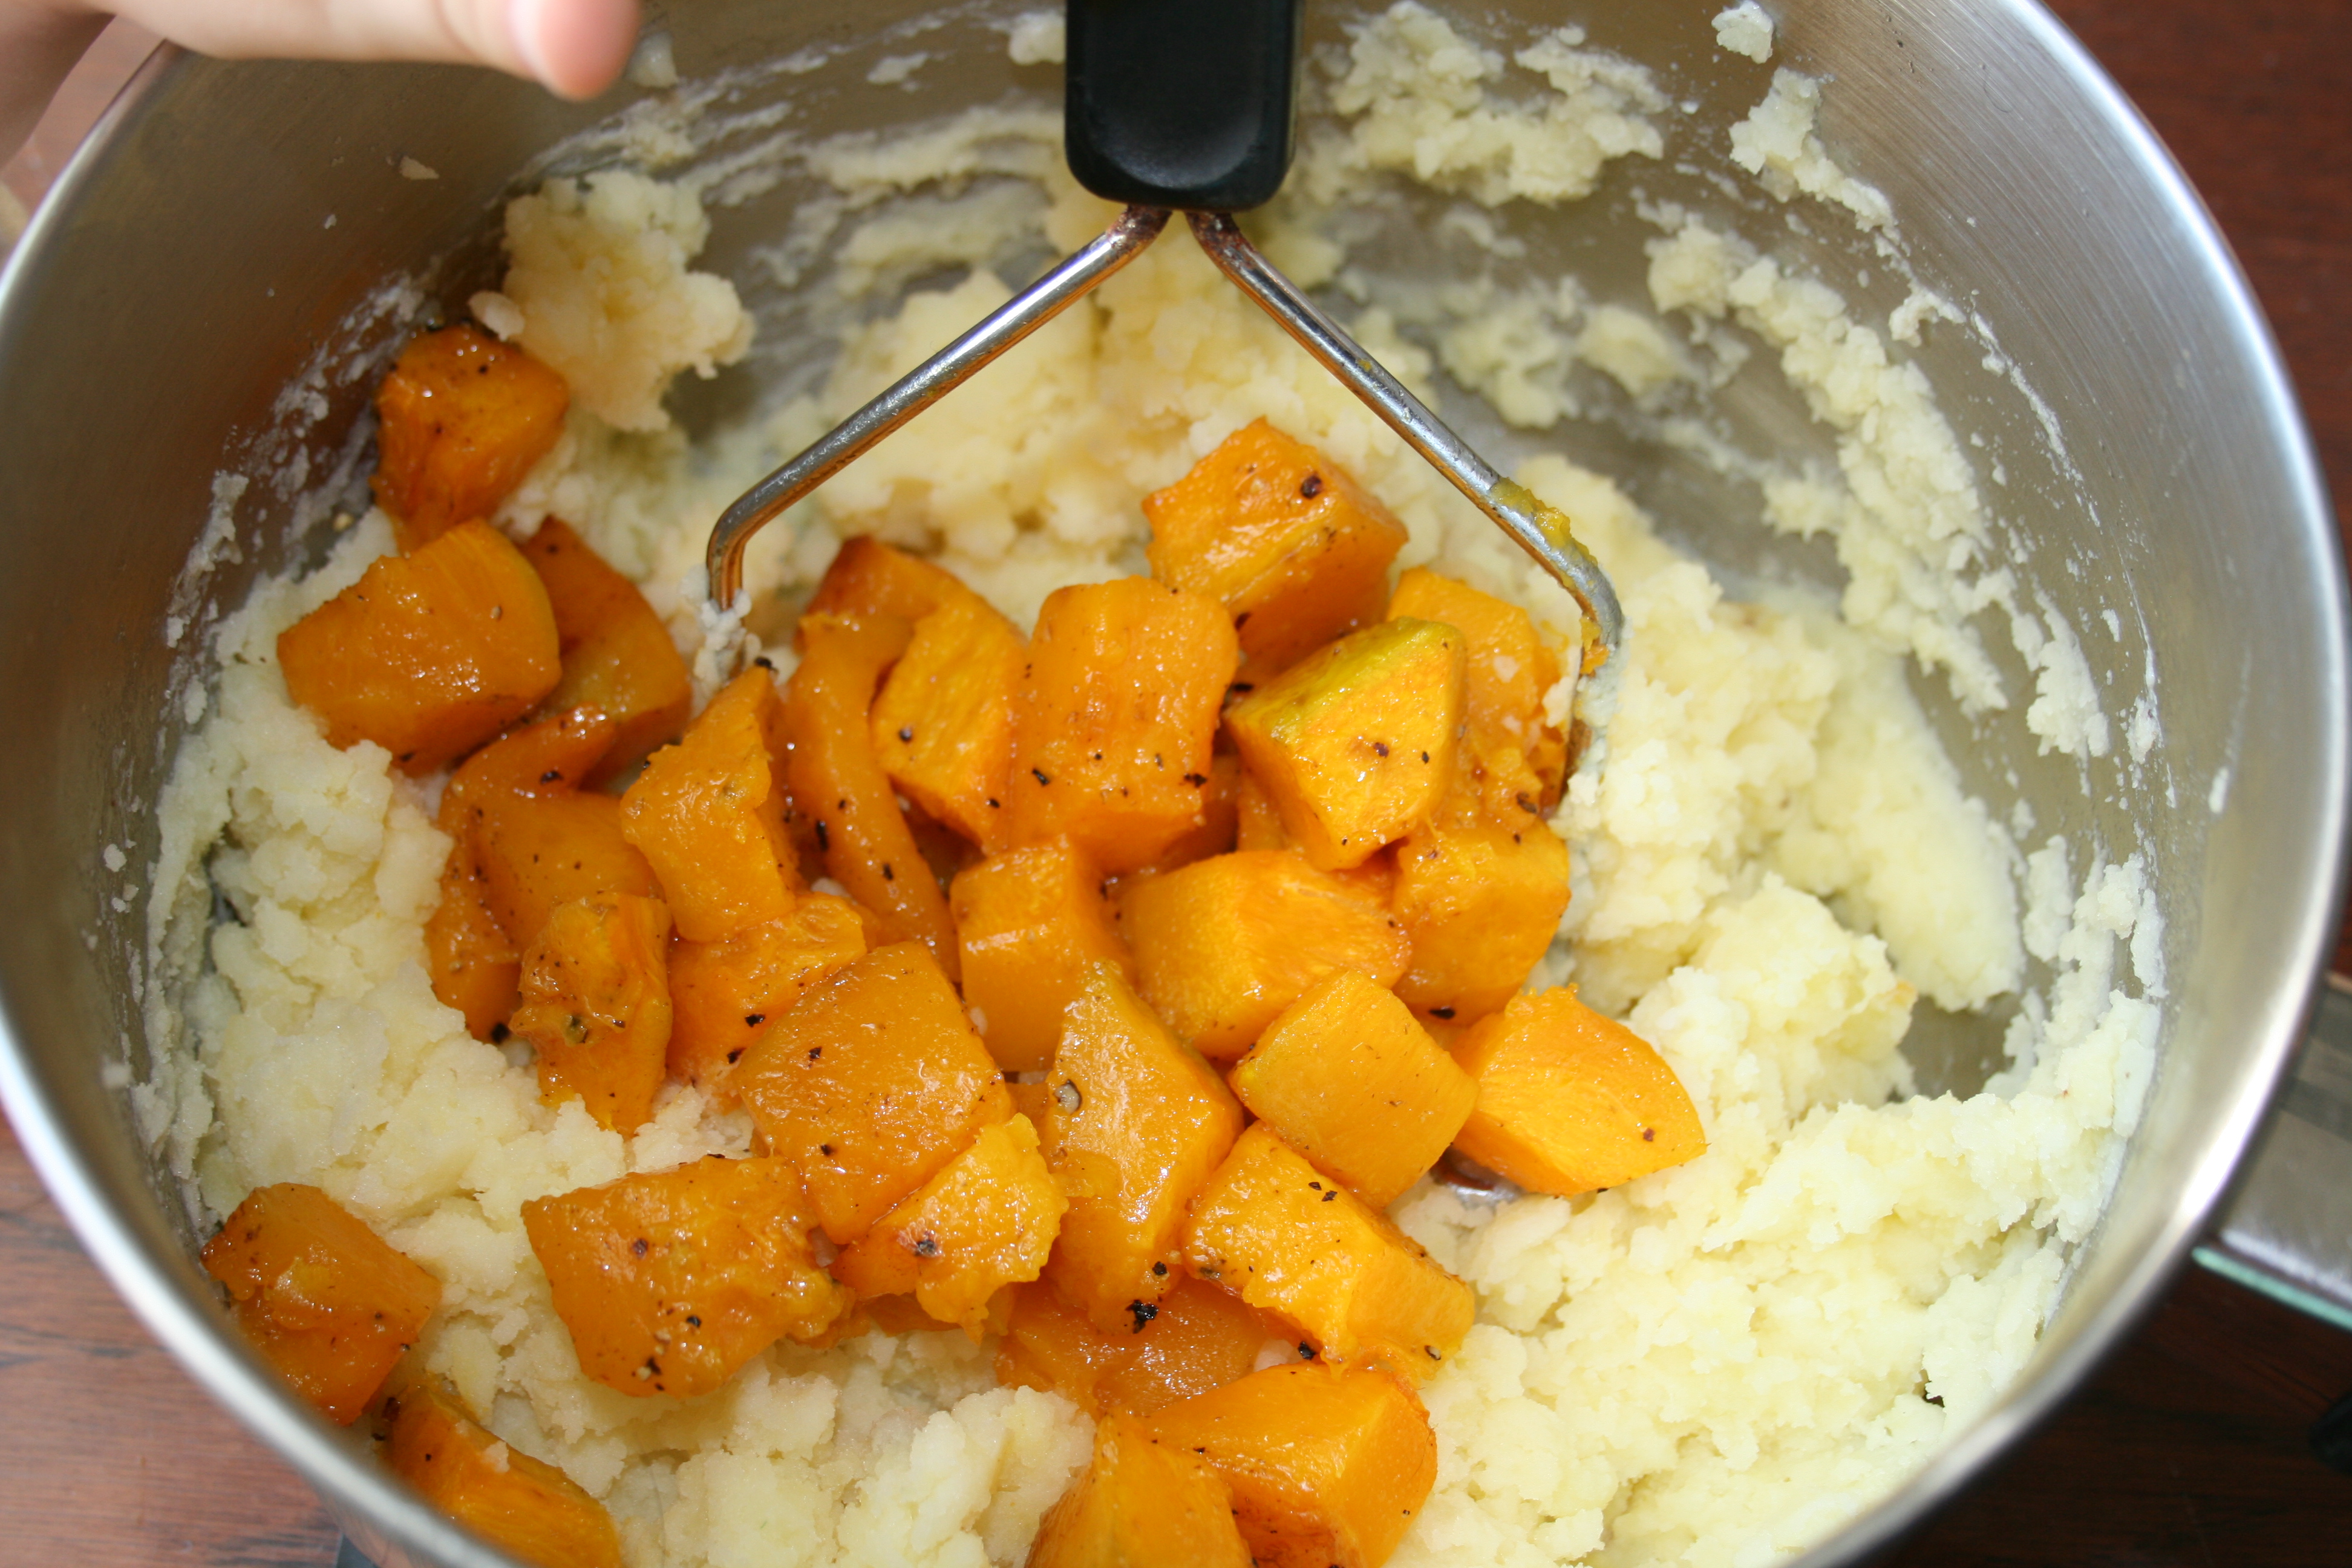
Korokke
Oh, Korokke. You delicious pillows of fluffy goodness. I won’t lie. This is where the bulk of the time was spent and it is 100% worth every delicious minute that Nick spent cooking them for me 😉 Even more exciting? You can get them from Farmstr, here.
The half of the kabocha that was cut into cubes and roasted
3 or 4 medium golden potatoes, peeled and quartered
Half of a large yellow onion, diced
5 cloves of garlic minced
1 bunch of green onions sliced thin
1 Tblspn of butter
salt and pepper, to taste
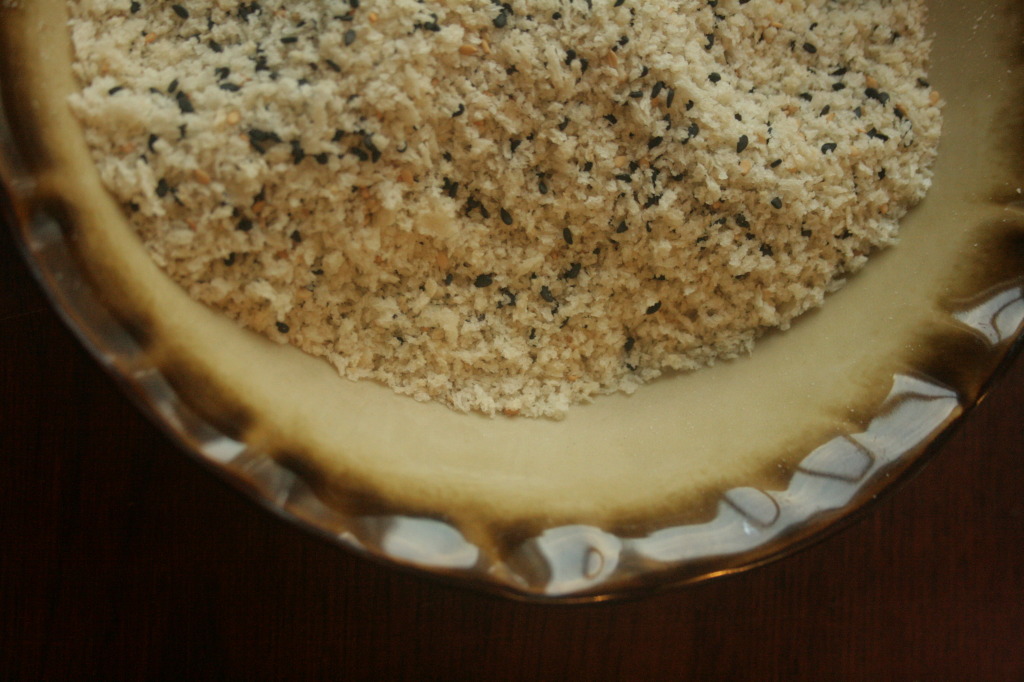
Egg, flour, panko and black sesame seeds
Olive oil-enough to coat the pan and drizzle on the korokke
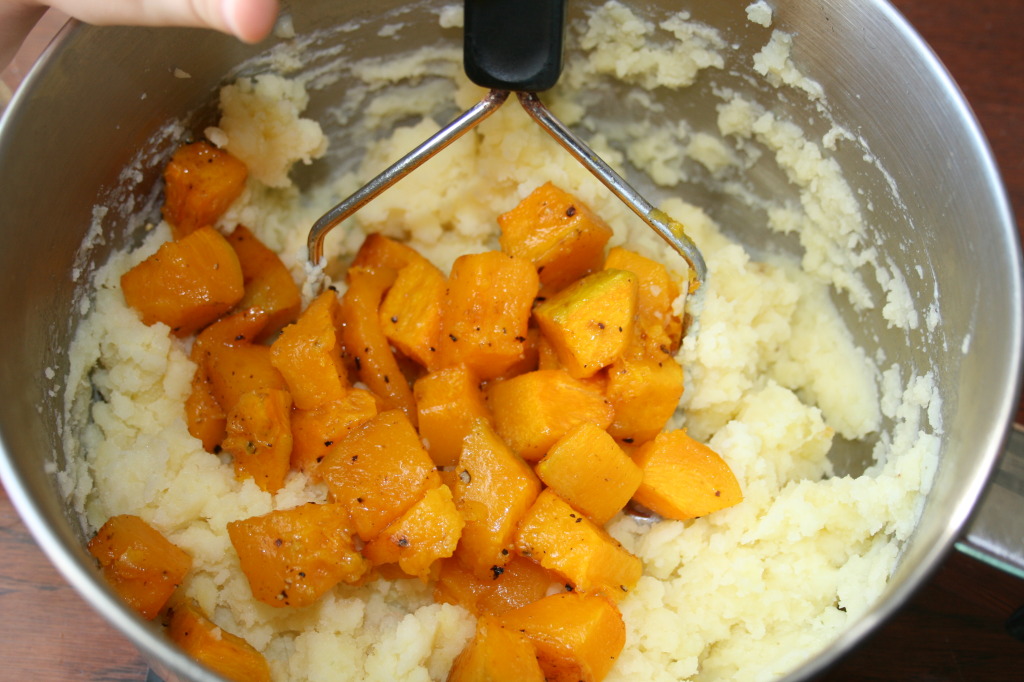
Start by boiling your potatoes. While the potatoes are boiling saute the onions and garlic until they are translucent. When the potatoes are soft, drain the water and mash the potatoes and stir in the butter. When the potatoes are mostly smooth, add the kabocha and mash them together until there are still small chunks of squash. Now add the sauteed onions and garlic as well as the green onions and and stir them all together. Season with salt and pepper to taste. Cool the mixture in the fridge until cool enough to handle.
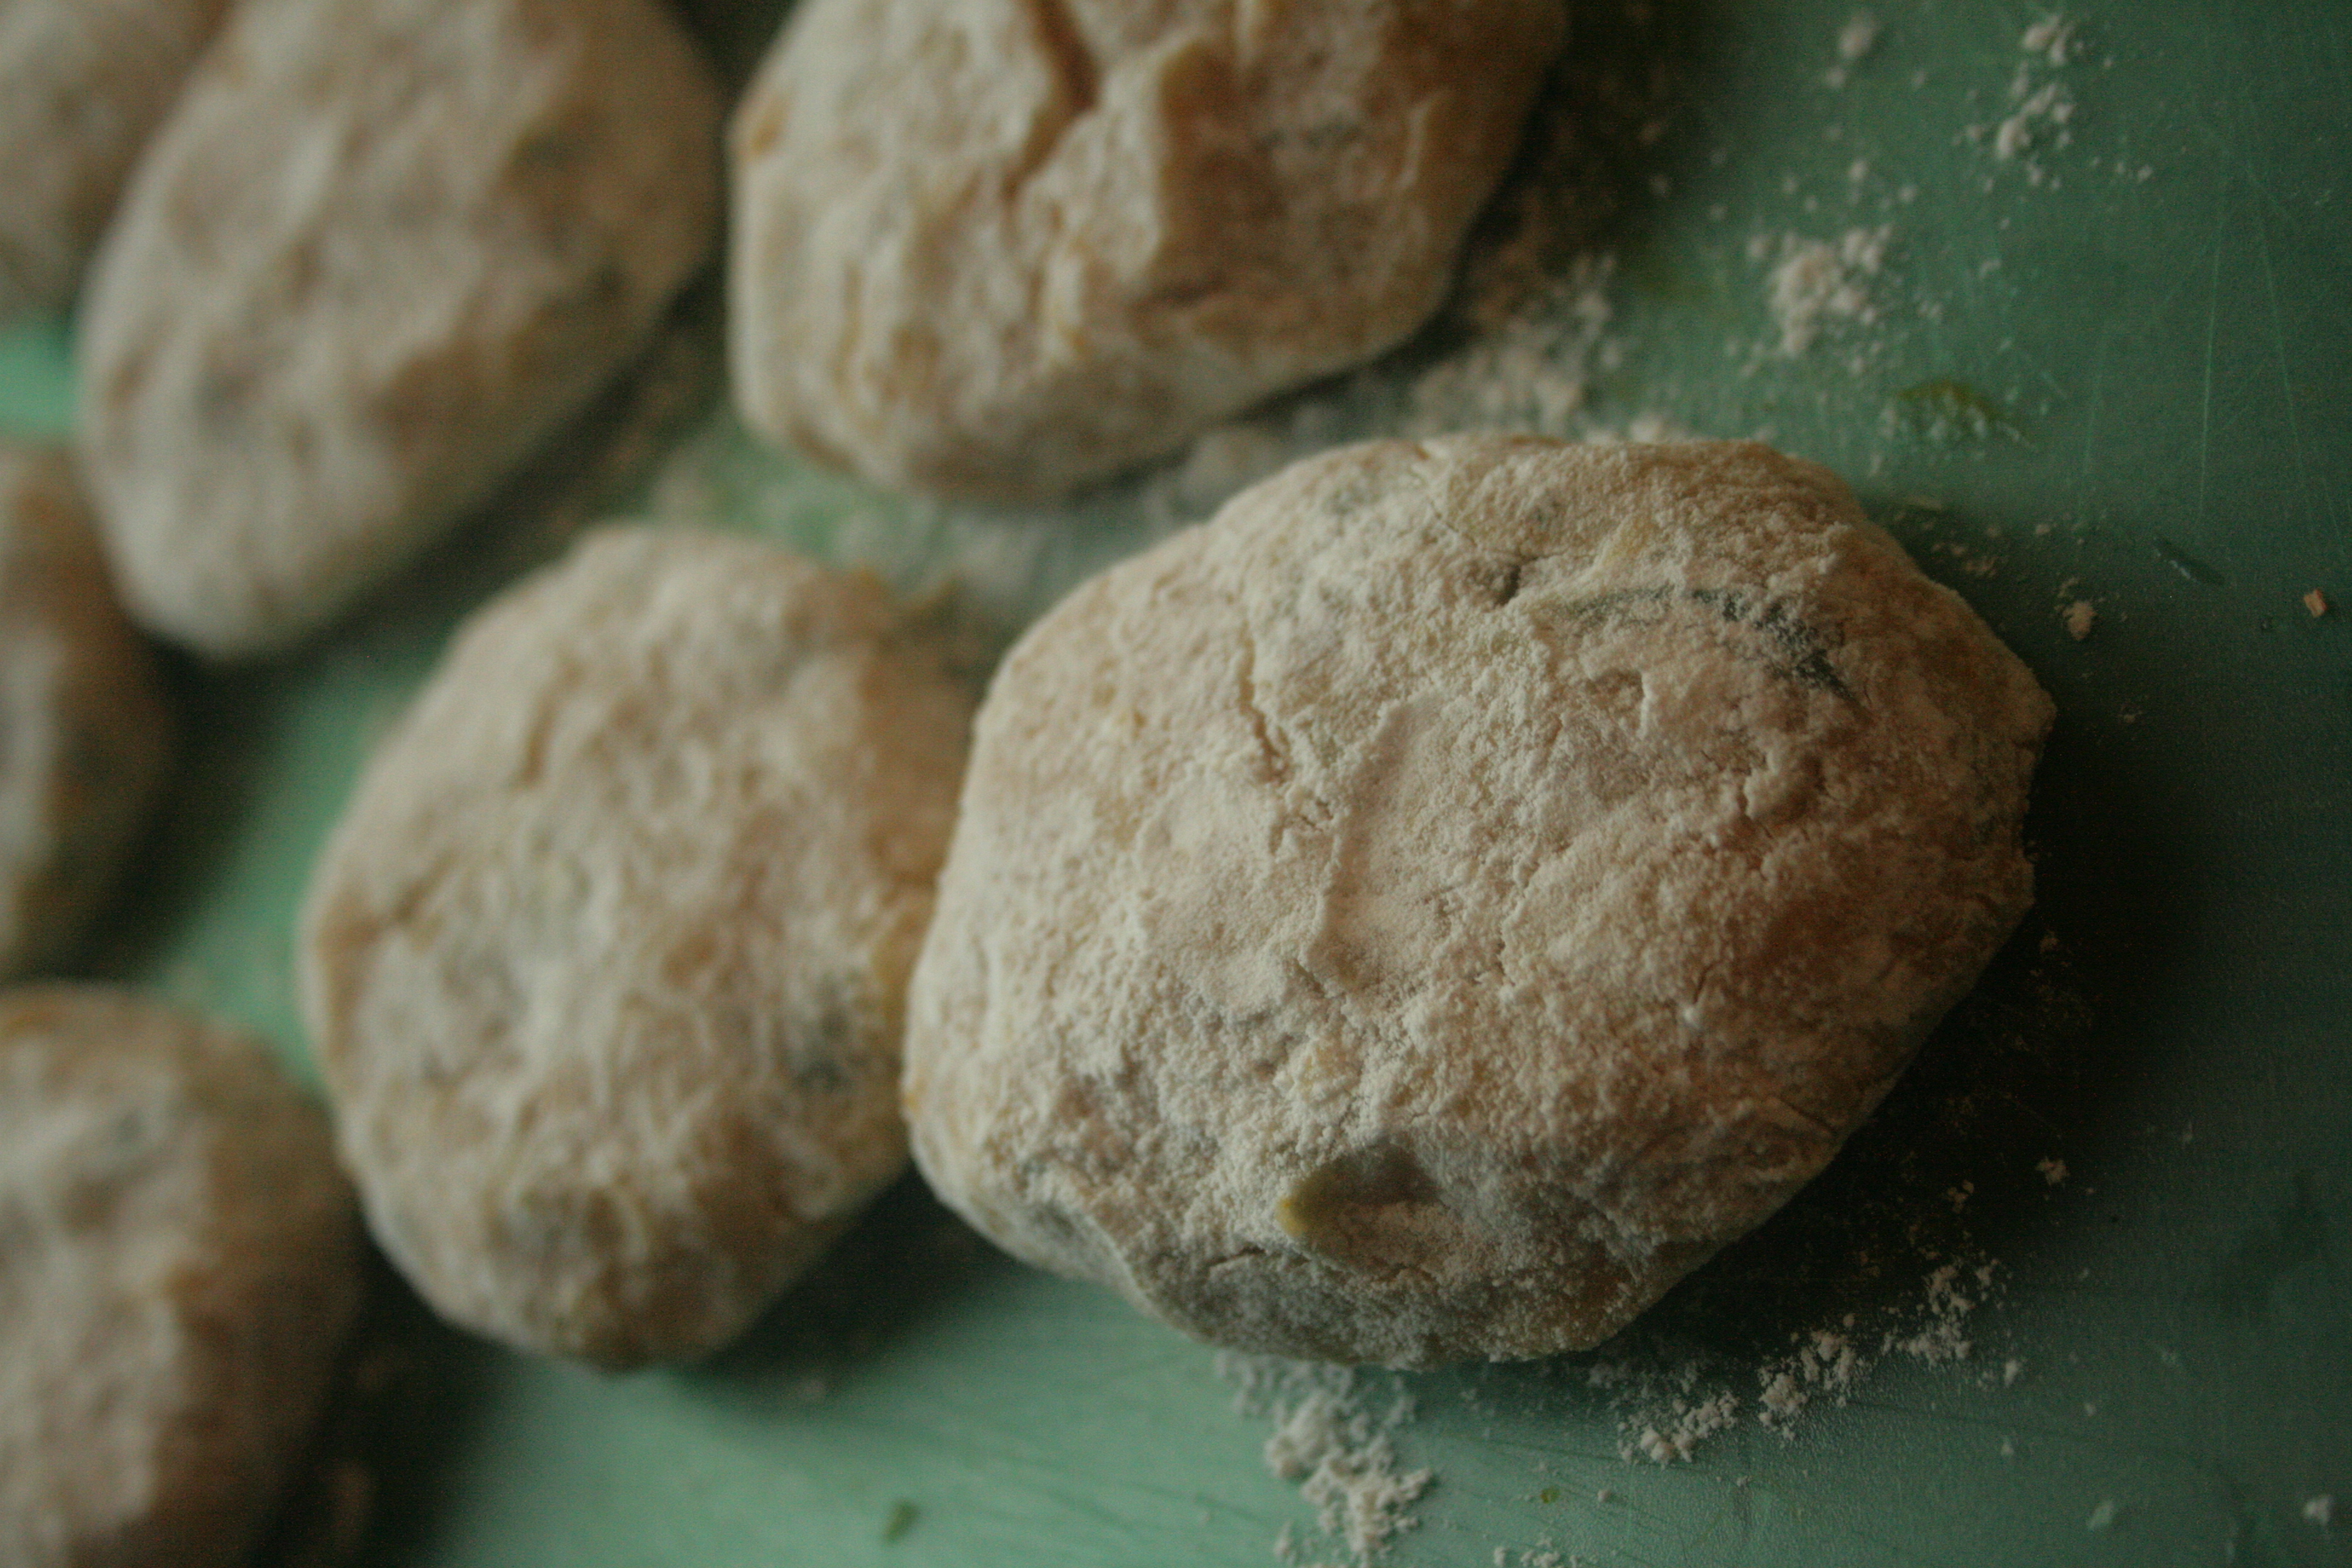
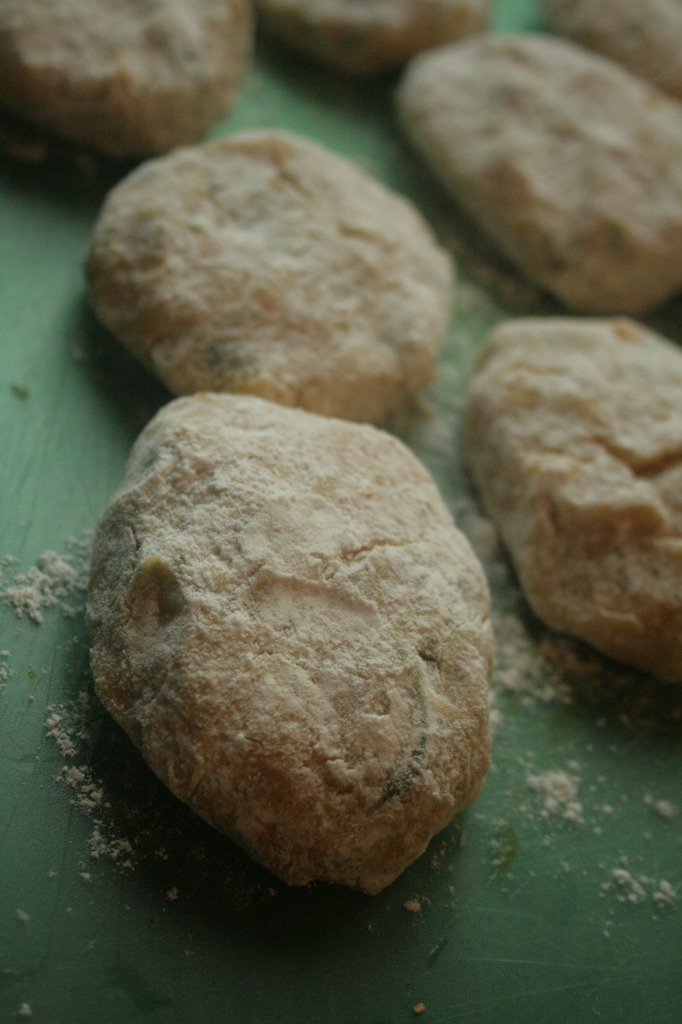
When the mixture is cooled, form into whatever size and shape you like. We made patties. As you form them, place them into a container of flour. Coat the patties in the flour, then the beaten eggs, then the panko with some sesame seeds thrown in. When they are breaded put them on a lightly oiled cookie sheet and drizzle the tops with olive oil. Bake at 450 degrees for 10 minutes then flip the patties and bake for another 10. They should be golden on both sides.
Let cool slightly and enjoy. We ate them with sriracha aioli.

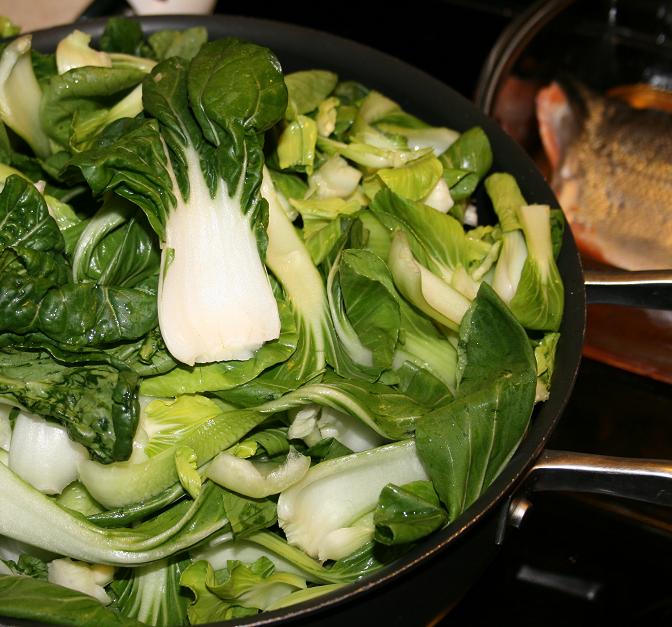
Sauteed pak choi and bok choy with garlic chili paste
1lb each-various greens. I used pak choi and bok choy
2 Tbspn garlic chili paste
Juice of 1 large lemon
Splash of white wine (more if you want a glass 🙂 )
Hearty pinch of salt
1/4 tspn of fresh ground pepper.
Again, super easy-take your greens, and wash them-no one wants gritty nibbles and shake them out slightly. Add them to a deep pan, add your paste, lemon and splash of wine and cover. Seriously. That’s about it. Toss every few minutes until suitably wilty. I like my greens to have a little bit of a bite on the stems however. Another tip-these greens can be bitter, so avoid a bitter wine or just use chicken stock.
Roasted salmon with a sweet hot glaze
1 fillet of salmon, approximately 1-2 lbs
Marinade:
2 Tbspn honey
2Tbspn mirin
1/4 black pepper
drizzle of sesame oil
1 Tbspn garlic chili powder
Juice of 1/2 lemon
Pour the marinade all over that pretty salmon and let it rest for 10-15 minutes. Roast for 15 minutes at 350 or until flaky.
Roasted Asian pears with cinnamon, ginger, and honey
Do you sense a theme? Roasted and easy! I prepped this ahead of time, and let them roast up while I enjoyed dinner.
2 large Asian pears cored and sliced in quarters
1 tspn cinnamon
2 Tbspn cup ginger simple syrup
1 Tbspn raw honey
Toss all of your ingredients and place in a glass baking dish and bake at 400 for 45 minutes or until golden brown and tender. Add some ginger whipped cream and enjoy! May I suggest some Molly Moon’s Wild Honey or Ginger ice cream to pair? Mmmm….
Prosecco with ginger simple syrup
1 bottle prosecco
Ginger simple syrup
Add 1 tspn syrup to a fancy glass and top with prosecco. Sip happily, as you look over your bounty (and possibly your super full tummy).
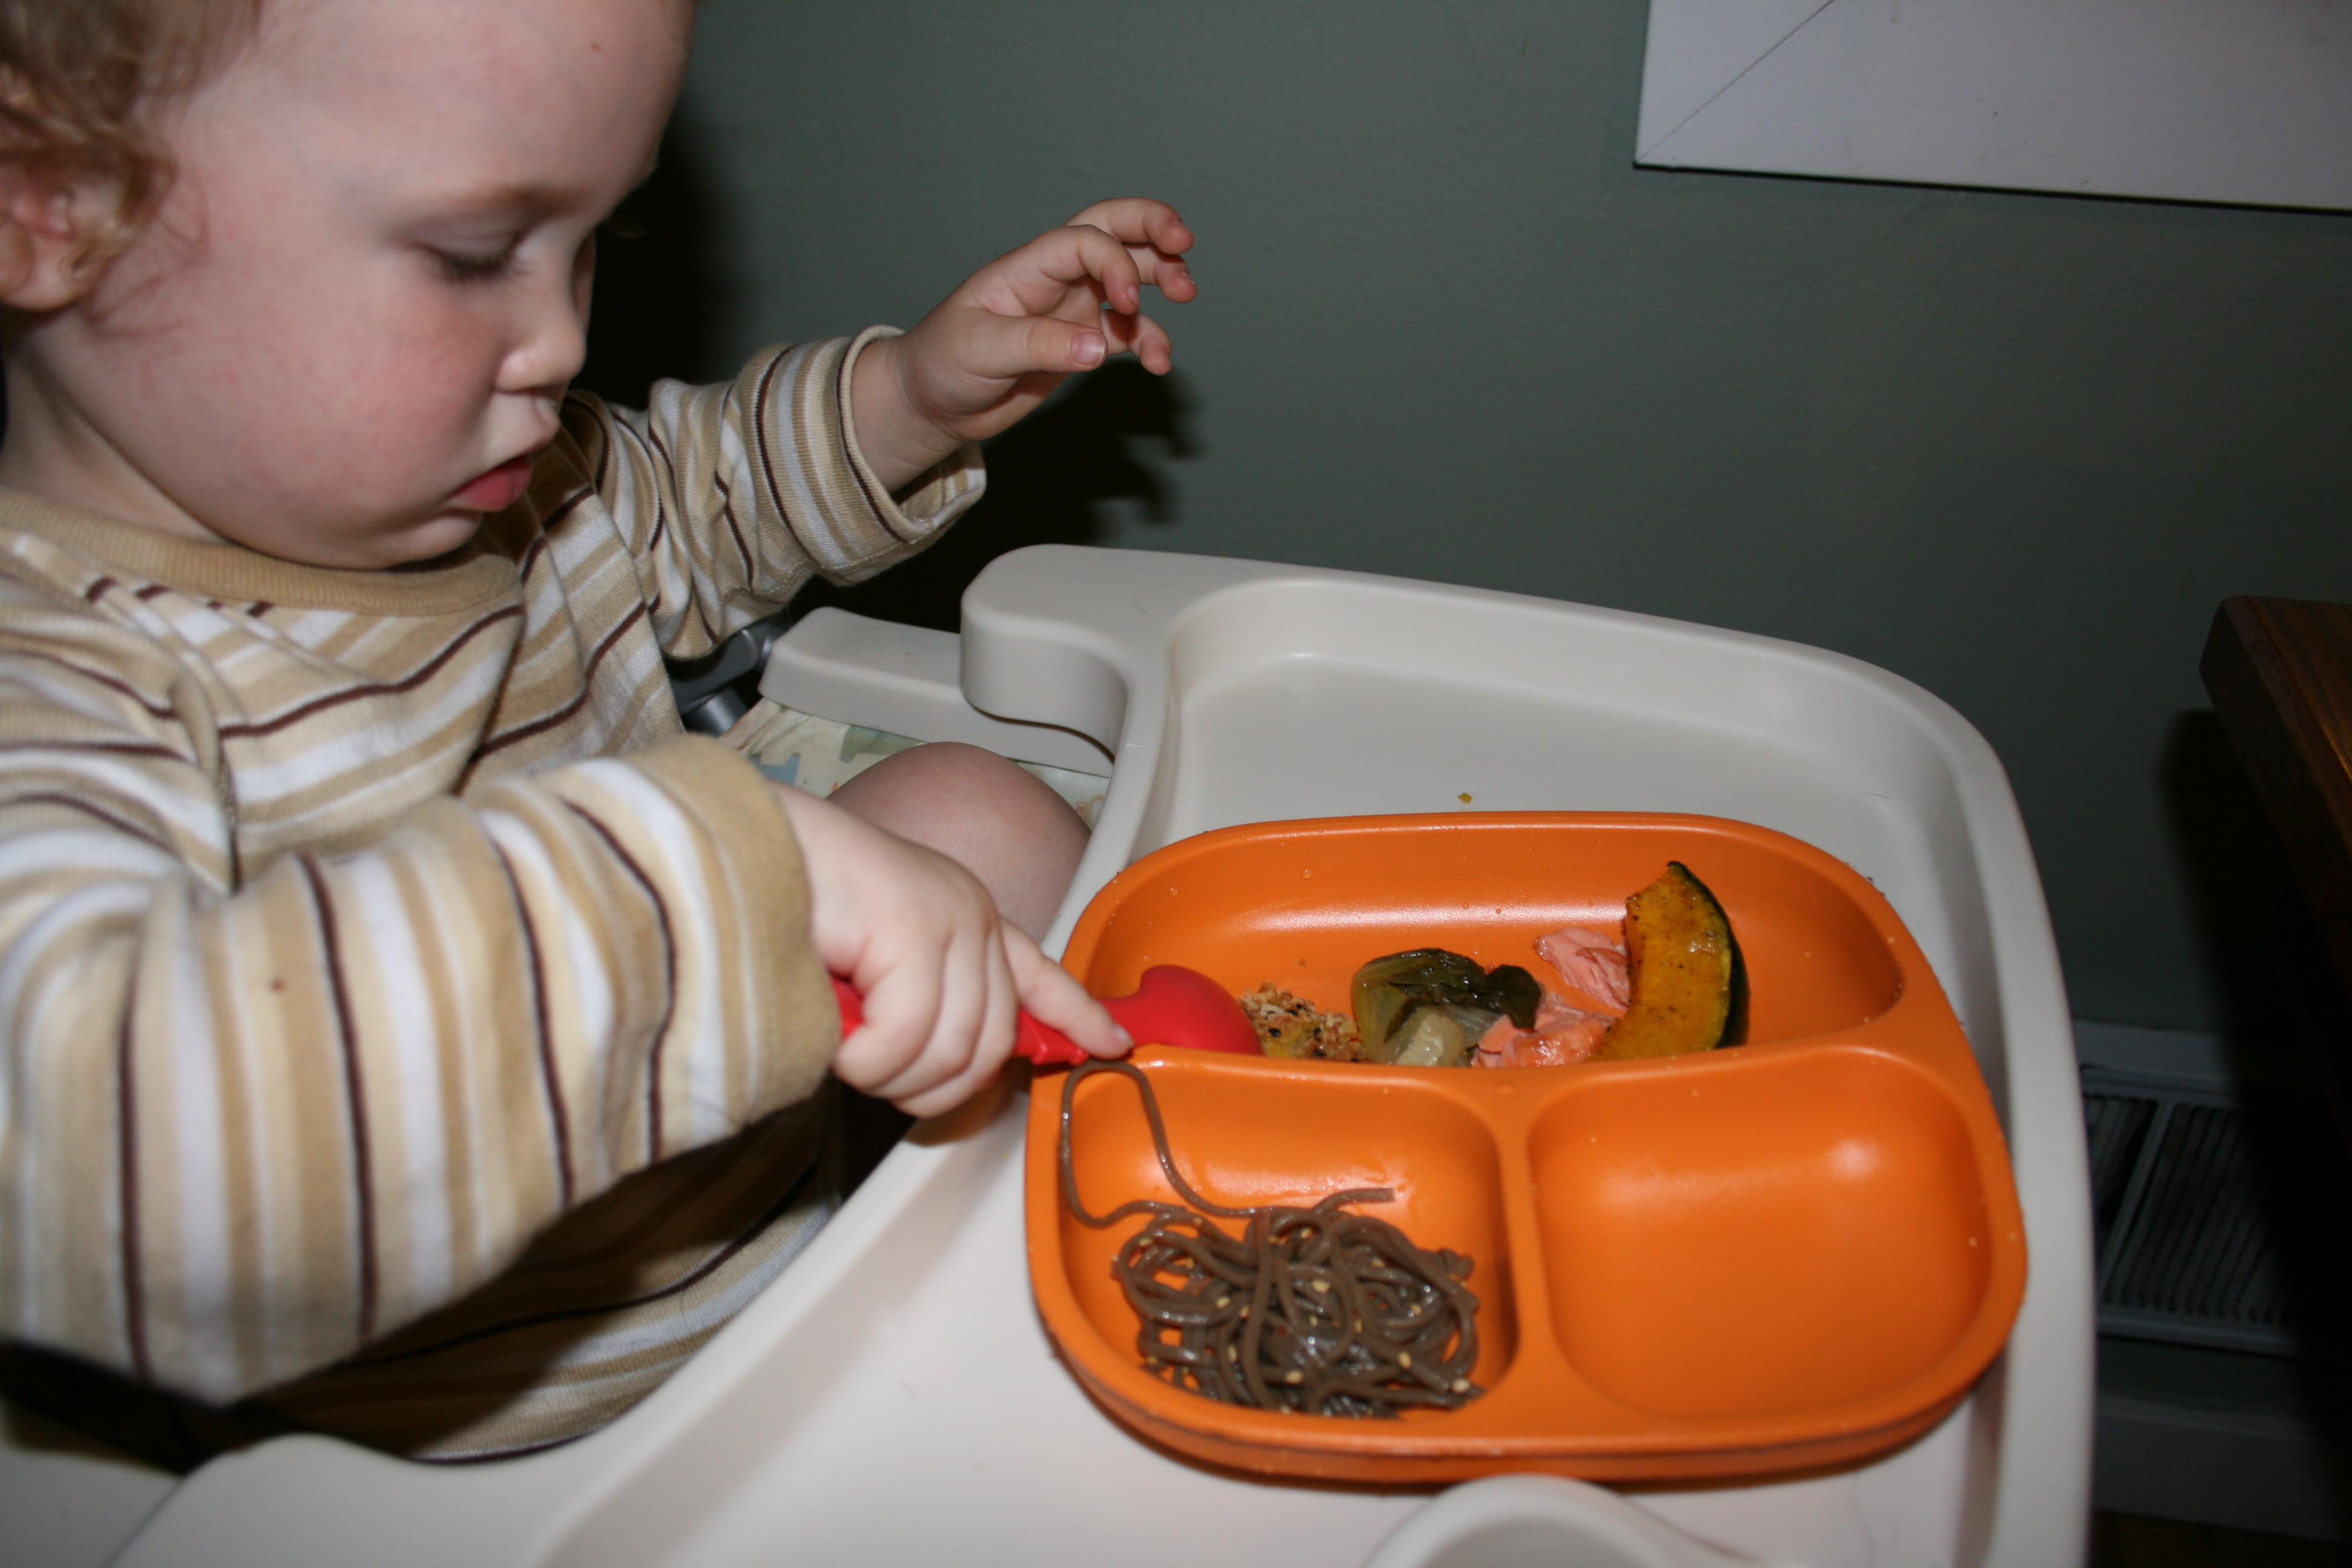
And that’s it! It was a lot of eating, a lot of laughing, and a lot of fully bellies, even that belonging to my kiddo.
Are you ready to try Farmstr?! Well, now you can with your very own $10 OFF promo code: MakeMendGrow10 – my way of saying THANK YOU for being a great reader! You can also sing up for the Farmstr newsletter to learn about new local farmers, in season food for sale!

What’s your favorite farm-fresh ingredient, and how do you use it?
Yours in food,
Raina