Back to basics

Hello dear reader!  I realize the posting has been off and on lately. The free time comes in spurts and so do the posts. I came across an old post I did at my old blog, Tigerlily Designs and realized I don’t just write and update as I used to. No quick hello posts, no short notes on what I am growing. It’s time to get back to that, back to basics.

So, dear reader, how are you? What is new in your world?

The summer was over in a blink, and fall flew by quickly as well. We’re in this odd early winter place where the weather fluctuates between snow, rain and sunny and in the 60’s. It’s all over the map. Never sure how to dress, we grab rain slickers, sweaters, and gloves; maybe even sunglasses. I’ve decided champagne works for all weather types, so I’ve been keeping a couple bottles in the house for special occasions-you know, like a Tuesday.

I’ve been slowly putting the gardens to bed, pulling out the plants, and mapping out the next years’ haul. Straw is covering a few of the beds where my garlic and shallots are nestled in for the winter. The seeds from the leeks, sage, chives and lemon balm are saved and packaged away, ready for the next seed swap and to be planted this spring.

I’m crafting herbal remedies and bath products to help with the gloom and cold of winter, and the freezer is stocked with bone both and soup bases for those days where I am too tired to cook. That’s this time of year-preparation for the long nights, and cold days. Soon, I’ll need to order another cord of wood, and add more fluff to the chicken and rabbit coops-making sure the animals and I are all ready to be snuggly and warm.

This winter, like every year prior, I am doing home repairs-this year is redoing the crawlspace, adding insulation in all of the walls (finally!!) and installing ductless heating. The old, broken furnace and ductwork will be gone; the baseboards taken out; and even the cadet heaters removed. With all of that will come drywall repair and painting, which isn’t my favorite, but it will be great to have one source of heat that isn’t crazy expensive. There’s so many things I want to do, but I keep reminding myself: one project at a time. My sanity and my bank account will likely thank me.

As the days get shorter, and the to do lists gets longer, I am still so grateful for good health, happiness, and the ability to do so many things.

Here’s to longer days, or at least making the most of the ones we have now and getting back to basics.

Raina

Lemon Blueberry Jam

I’ll say it now and a million times again,

I. Love. Jam.

This is the time of year in the Pacific Northwest where berries and stone fruit are ripe and ready to be picked and savored immediately, or prepped to be set aside for the cold, dreary Seattle winters where you need to see some color. That time of year, you’re not going to be getting it from the sky, so it may as well come from the warm glow of something delicious!

This year I made a few jams-huckleberry, chipotle cherry, and my favorite lemon blueberry to have on hand over the winter. All have their place, whether it’s the huckleberry swirled into a cheesecake recipe I’ve got on the ready for this Easter, or the chipotle cherry slathered over a pork roast, with a splash of bourbon before roasting in the oven in the fall; but the lemon blueberry….it’s good on everything. Rich purple color, smooth and shiny texture; it screams summer. It comes together quickly and maintains it’s zip well into the doldrums of winter. You’re intrigued, right?  Sure, but I can hear you now though, but “Rai….canning is scary”!

Spoiler alert: it’s not. The key is to keep everything clean and hot and you’re good to go. Honest.

Ingredients:

2 lbs blueberries** washed, stems removed, and dried out ones removed
3 large lemons, juiced**
1 cup white, granulated sugar

**Shoot for organic where you can, and if you can hit up a blueberry patch and pick those bad boys yourself, you’ll save some money.

Equipment
4 pint jars with rings and lids, sterilized
Heavy bottomed pot, large enough to hold all of your berries and lemon juice
Large pot, tall enough to cover the cans by at least a few inches.
Jar grabbers
Kitchen towels-1 for clean up, one for setting your hot jars on
Pot holders
Ladle, or a deep spoon

Method:

  • Start by prepping your canning supplies-a tip: if it’s going to touch your jam, wash it. Easy, right?
  • Next, Fill your pot up with water, shooting for at least 2 times the height of your jar. When you process these bad boys, the water will need to cover the jars fully. Turn the heat on high. You’ll use this to sterilize your jars and bands.
  • Now, clean your jars! Even if I just opened the box and even if I washed the jars, bands and lids before storing, I wash them all again with a clean washcloth with hot and soapy water. Washing everything is a great time to make sure your jars do not have any chips or cracks-this could prevent sealing of your lids (no one wants mold or botulism), or cracking during processing.
  • Rinse your jars, bands, and lids to remove all the soap.
  • Set your lids aside in a clean bowl and place the jars and the rings carefully in your pot. **You don’t want to boil your lids. This can prevent the lids from sealing.
  • Now that you’re sterilizing everything, it’s time to make that jam!  In a heavy bottomed pot, combine the lemon, sugar, and blue berries and cook over medium-low heat for approximately 30 mins, stirring every few minutes to avoid sticking (and the dreaded burning), until most of the berries have fallen apart and turned into what resembles syrup.
  • You have a few options on what to do from here (yes, jam making is like a Pick Your Own Adventure book). You can keep going, letting that jam cook down even more or you can get ready to can it. I personally like little bits of fruit in my jam and less of a jelly texture. If you’re happy with the consistency, you’re ready to move to filling your jars; if not, continue cooking your jam down another 10 minutes, or until it’s the consistency you want. Keep in mind though, the more you cook it, the less you’ll have as a finished product!
  • By now, your jars have been bubbling away in the hot water and are all ready for your jam, so it’s time to prep your canning area. I lay a towel on the counter, which keeps my jars from moving around, but it also catches the spills I inevitably make. Set your pot of jam on a pot holder next to the towel. This makes for faster work pouring everything.
  • Remember that bowl with the lids? Get ready to pour hot water over them.
  • With your jar grabbers, carefully lift the first jar out of the hot water and pour some of that hot water over the lids until they are fully submerged.
  • Pour the rest of the water out of the jar, back into the pot and set your empty jar on the towel. Empty the other jars back into the pot and set them all on the towel. It’s ok if there’s a few drops of water in the jars, it won’t do anything to your finished product.
  • Slowly ladle or spoon the jam into each jar until they are filled up with 1/4 inch head space (room) from the top of the jar.
  • Take your other towel (or a paper towel), get it damp and wipe off the tops of the jars to remove any stickiness. Stickiness prevents a good seal folks.
  • I like to give a gentle tap to my jars, once filled, to get rid of any air bubbles. Be gentle though, you just heated that glass up!
  • Drain your lids from the bowl of water and place them on top of the jars and place the rings on, and finger tighten. The jars are going to be pretty hot still, so use a pot holder to avoid the hot glass.
  • Using your jar grabbers, gently place your jars back into the hot water filled pot and process (boil) for 15 minutes.
  • Once done, lift them out of the boiling water with your jar grabbers and let rest for 24 hours. The center of the lid should not bounce if pressed.
  • Store for a year with the rings removed, and eat whenever you’re ready!

Easy enough, right?  This is delicious over ice cream, in yogurt, or on toast. Ok, it’s really good eaten with a spoon, right out of the jar.

So there you are! A bit of sunshine in a jar, ready whenever you are.

Yours in a jam,
Raina

As 40 creeps closer…

It’s been  a year since my 40 by 40 list post was created and I am slowly getting through the list! I still have a lot of work to do, but have ticked off quite a few big items. One more year to go to as 40 creeps closer!

38 was the year of bills and home improvements. I paid off a small left over mortgage loan, and paid for a chimney rebuild and a new roof. That will be a lot more money in my pocket in the long run, but it sure was hard to say good bye to all that cash.  It’s also really nice not to have a failing roof, and a leaking chimney (hooray for maintaining structural integrity of this money pit…um, house!)

It was also the year of pushing myself-to learn more, do more, be more. You know, without getting all sorts of overwhelmed.

I also traveled alone, including business trips to Portland for Feast and Vegas to eat and for the Vegas Food Expo. I’ve never really been somewhere by myself, and so this was pretty huge for me!  Feast was my first time away from Izzy and while I was both terrified to be without her, I was so excited to be away and treat myself to a weekend away. Turns out taking a bath by yourself after eating a few thousand calories and then not sharing a bed with a tiny, raging octopus/toddler all night is AMAZING. That trip really prepped me for Vegas, where I hit quite a few of my goals-eating an amazing dinner, getting my first tattoo, singing loudly in front of strangers, and dancing in a huge sea of people.

I wrote more and collaborated with brands while not losing out on any of my creative desires. I spent more time learning herbal medicine and did a lot of wild crafting. I spent time nurturing my heart by making herbal goodies for friends, which reinforced how much I enjoy chemistry, biology and botany!

I built up the farm, too! I brought in 2 rabbits, which led to even more rabbits (see that whole thing here), and worked hard to not screw up growing carrots and peas. My corn thrived and grew taller than my house. I fed neighbors with the extra vegetables, and ripped up my lawn for more gardening space. It felt good to get up and out and push myself physically to make my home what I wanted it to be.

I participated in activities that fed my soul, more than fed my bank accounts. Let’s look at what I’ve been up to this year…the bold, italicized items are completed!

1. Do something that scares me, often!
2. Go to a ridiculously fancy dinner
3. Finally get that tattoo!
4. Pay off a large bill-not super exciting, but getting rid of any bill is more cash for fun
5. Be more accepting of my body, strengths and flaws
6. Go overseas again/travel more
7. Continue to get in shape -eehhhhhhh. A work in progress.
8. Skate more
9. Learn to knit
10. Make sourdough, actually keep it alive for more than 1 week
11. Do 5 push ups, well. Yeah, I said it. 5.
12. Do more karaoke
13. Make a blood orange olive oil milkshake like the one at the Olive Pit, in California-so good!
14. Fix up the garage and make it into a studio
15. Raise rabbits
16. Make more quilts
17. Finish up my herbalism classes
18. Eat fewer processed foods
19. Rock climb again
20. Hunt a deer and properly butcher it
21. Write more (hmmm…check?)
22. Make cheese
23. Go clam digging
24. Set up a friend version of Outstanding in the Field.
25. Teach Izzy to fish
26. Find more happiness-actively seek it out, and hold it tight
27. Successfully grow peas and carrots, and not little dinky ones
28. Bring Izzy backpacking
29. Take a photography class
30. Dance more
31. Build the fence that has been sitting in raw materials in my garage for 10 years
32. Kayak on Lake Washington
33. Ride in a hot air balloon
34. Go to Disneyland
35. Camp on a beach
36. Buy more nice knives
37. Teach more
38. Hike to a hot spring
39. Take a train ride
40. Read more

So what’s on tap for 39? More travel, more food and more finding and keeping what makes me happy. I’ll continue to tick things off of my above list and keep reporting back on all of my adventures!

Yours in squeezing all we can into life!

Raina


In A Jam

I love jam.

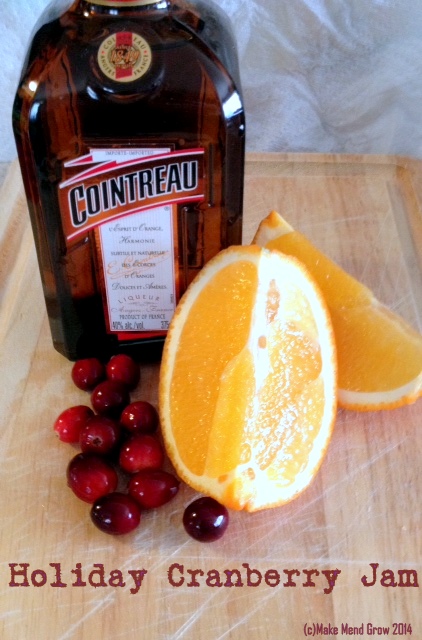
I love it even more when it’s cold and rainy out, and I am missing summer and spring and all of the fresh fruits. Luckily, fall and winter means that cranberries are everywhere, and I can make a quick jam that brings a little sunshine my way. It’s a little jar of tart, sweet, and a great combination of winter from the warming flavors of cinnamon and vanilla, but bright like summer from the oranges and Cointreau. It comes together quickly and makes a great last minute gift, too!

Attachment-1


2 packages (24 ounces total) rinsed organic fresh cranberries, soggy/bad ones thrown out, any remaining stems removed
2.5 cups sugar
1-2 large very ripe orange, juiced (approximately 1 cup juice)
1/2 c Cointreau or other orange liqueur
1 Tb vanilla bean paste, I use this one (affiliate link)
1 tspn cinnamon

In a dutch oven, or heavy pot with a thick bottom (I prefer my dutch oven), add your cranberries, orange juice and liqueur, and turn the heat onto medium. Once your mixture is warmed through, add your sugar, vanilla bean paste and cinnamon, stirring with a wooden spoon. Cook slow and low, keeping the heat at medium low, until your cranberries start to break down and quickly pop when you poke them with a spoon. Continue to cook, approximately 20 minutes until you have a nice chunky, delicious smelling pot of tastiness.

If you’re canning this prefer a thick well-set jam, add 1/2 packet of liquid pectin and cook for 5 more minutes at a low simmer. Process jars according to the jar manufacturers directions and enjoy! If you’re canning this, it makes 6-1/2 pint jars.

I love this with cream cheese on crackers or spooned over french toast!

What is your favorite holiday jam?

Best,
Raina

Farm(str) Lovin’

There’s few things I love more in life than delicious food. What could make it better? Having that food be locally sourced and delivered straight to my house.

Intrigued? Hungry? Let me introduce you to my new friend Farmstr. Oh yes.

So what is Farmstr? If you check out their site (here), you’ll read that Farmstr is an online marketplace that helps people like you and I find and buy direct from local, sustainable farmers. So you get delicious food, and because you’re connected directly to the folks with the tasty goodies, it’s something you can afford. Goodbye middleman!  Better yet is their goal, which is “to help local farmers succeed – specifically those with organic quality and better practices/food. Our goal is to help consumers have unlimited access to clean sustainable local food at fair prices”.

So there you have it:  It’s you getting amazing food, from real people. It doesn’t get much better than that.

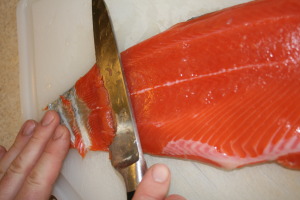
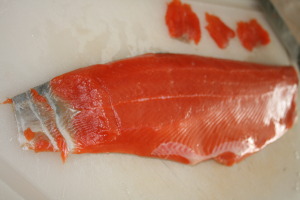
So, what did I pick up?  Oh, dear reader, you’re in for a treat!  I picked up this beauty, the Coho Salmon. Line caught, frozen at sea, and sashimi grade. This salmon is melt in your mouth tender, sweet, and it comes in at an even better price than at your local fishmonger. Now, for what I did with those beautiful fillets…

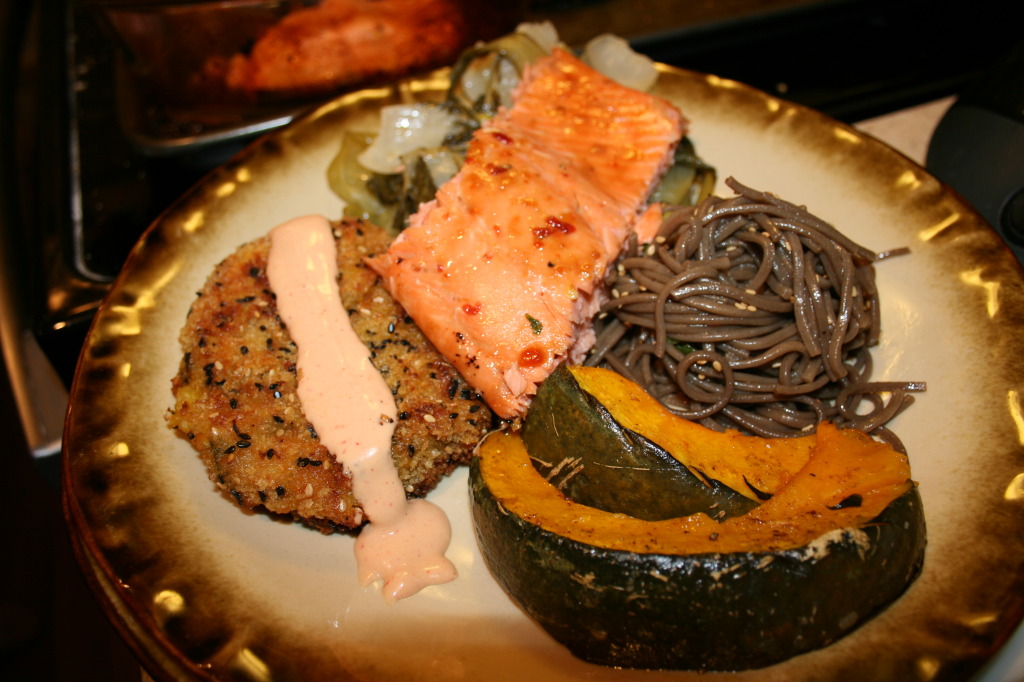
The Menu

Starter:
Salmon Sashimi

Main:
Soba Noodle Salad
Roasted Kabocha squash
Korokke
Sauteed pak choi and bok choy with garlic chili paste
Roasted salmon with a sweet hot glaze

Dessert:
Roasted Asian pears with cinnamon, ginger, and honey
Prosecco with ginger simple syrup

I was in foodie happy-land guys and I want to share the love! Read on! This may look like a lot of work, but it really isn’t. Its a good amount of prep time, but if you do it right, you’ll be sipping tasty drinks and snacking your way through cooking this meal. You’ll also note that I didn’t use much salt in addition to the recipe-the soy and other seasonings add enough. When I could, I used low sodium products and added salt here and there-you can always add more, it’s a pain to figure out how to make things less salty! I also kept the flavors similar. Each ingredient brought it’s own flavor and the theme of seasonings helped to add continuity to the meal, but I found that things didn’t all taste the same-they just tasted like they belonged to each other.

The sashimi was by far the easiest-we sliced the most delicate strips of tender salmon-half we ate plain and half we splashed with mirin, ginger, and a little soy-we let it sit for 10-15 minutes. Both were amazing-the salmon just melted in our mouths. Look at how pretty it is!
IMG_9065 IMG_9062

Soba Noodle Salad

I love this salad. It’s easy, tasty, and goes well with so many different foods. It’s best served cold.

3 bundles (10 total ounces) soba (or buckwheat) noodles
1 large bunch green onions, chopped
1.5-2 Tbspn honey
2-3 Tbspn soy
2-3 Tbpsn mirin
2 Tbspn + 1 Tbpsn sesame oil
1 Tbspn garlic chili paste
3 Tbspn rice wine vinegar
1 Tbspn roasted sesame seeds
1/4 tspn fresh ground black pepper
A dash of ground ginger

Boil the noodles according to the package directions, adding 1 Tbspn sesame oil to the water (it helps flavor them AND will prevent them from sticking together later).

Once the noodles are done-they should be al dente, run under cold water, until they are cool to the touch. Strain thoroughly.

Add 1/2 of the remaining sesame oil and stir to prevent sticking and place in the fridge until the noodles are cooled through. *Pro tip here guys. If you add your tasty ingredients to hot noodles-they suck up all the goodness, and you don’t have any yummy liquid later.  Sauce is good, guys*

While you’re waiting for things to cool off, mix up your remaining ingredients (minus the onions and sesame seeds).

Once your noodles are cool, pour the ingredients and mix – I use my hands – until thoroughly mixed.

Add your green onions and sesame seeds and let marinate for at least an hour.

As with all of my recipes, this is what I find tasty. If you like more of a particular flavor, please add more!

Roasted Kabocha Squash

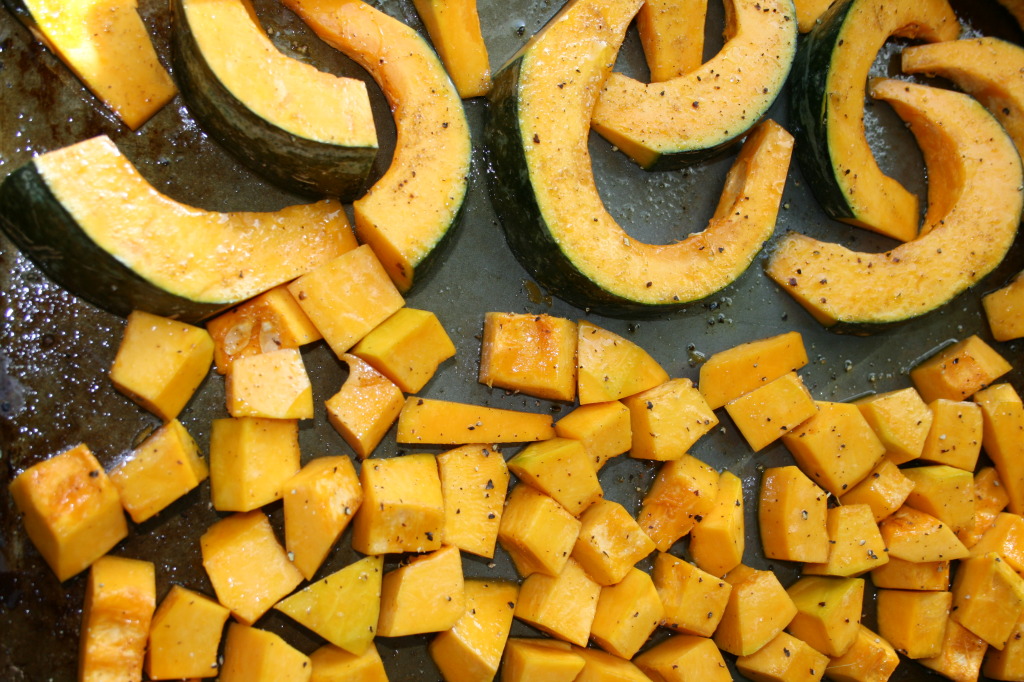
1 medium sized Kabocha Squash, cut in half, seeded, half cut in moons with skin on and half, chopped into cubes, skin removed.
Olive oil
sprinkled with salt, pepper and cumin (yep, you read that right, cumin).

Coat your slices and chunks with olive oil and lay on a cookie sheet, sprinkle liberally with salt, pepper and cumin, and roast at 425 until tender, about 15 minutes.
IMG_9095

Korokke

Oh, Korokke. You delicious pillows of fluffy goodness. I won’t lie. This is where the bulk of the time was spent and it is 100% worth every delicious minute that Nick spent cooking them for me 😉 Even more exciting? You can get them from Farmstr, here.

The half of the kabocha that was cut into cubes and roasted
3 or 4 medium golden potatoes, peeled and quartered
Half of a large yellow onion, diced
5 cloves of garlic minced
1 bunch of green onions sliced thin
1 Tblspn of butter
salt and pepper, to taste
Egg, flour, panko and black sesame seeds
Olive oil-enough to coat the pan and drizzle on the korokke

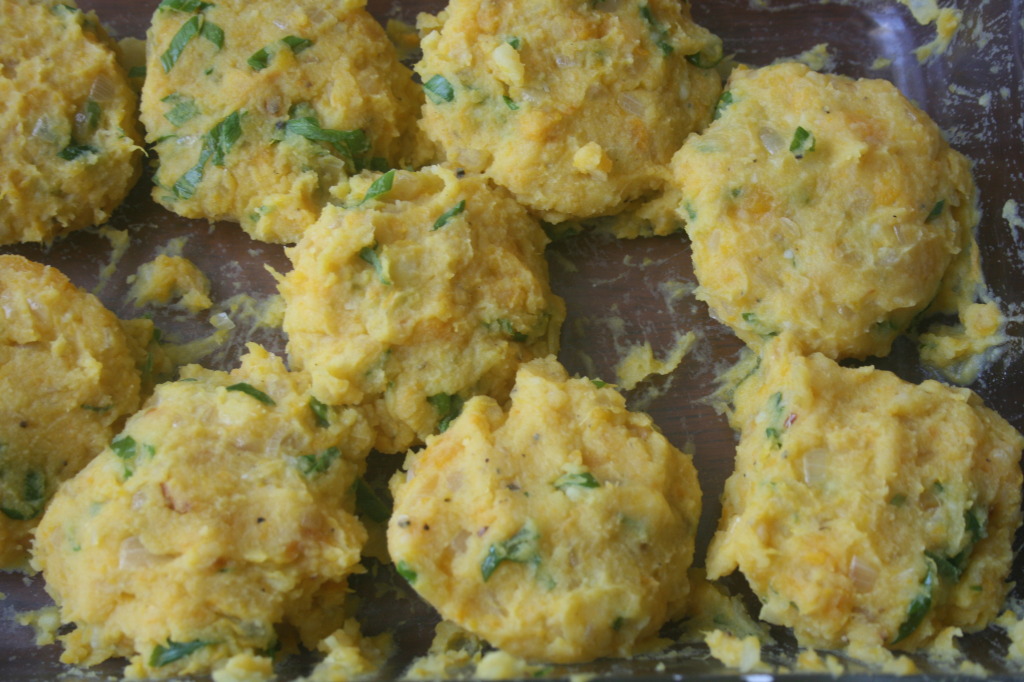
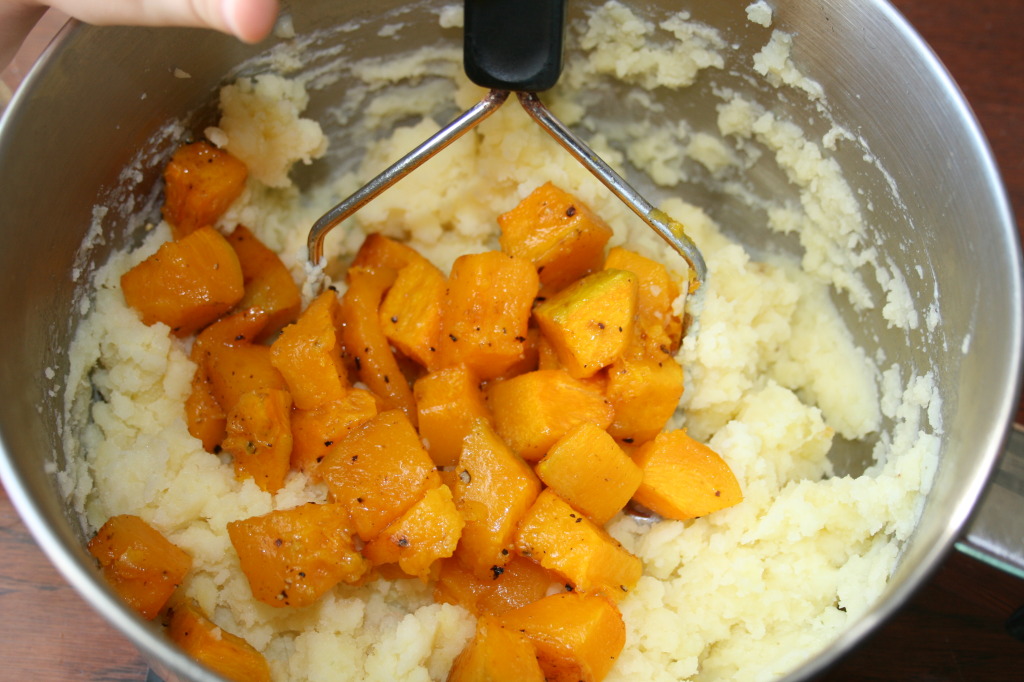
Start by boiling your potatoes. While the potatoes are boiling saute the onions and garlic until they are translucent. When the potatoes are soft, drain the water and mash the potatoes and stir in the butter. When the potatoes are mostly smooth, add the kabocha and mash them together until there are still small chunks of squash. Now add the sauteed onions and garlic as well as the green onions and and stir them all together. Season with salt and pepper to taste. Cool the mixture in the fridge until cool enough to handle.

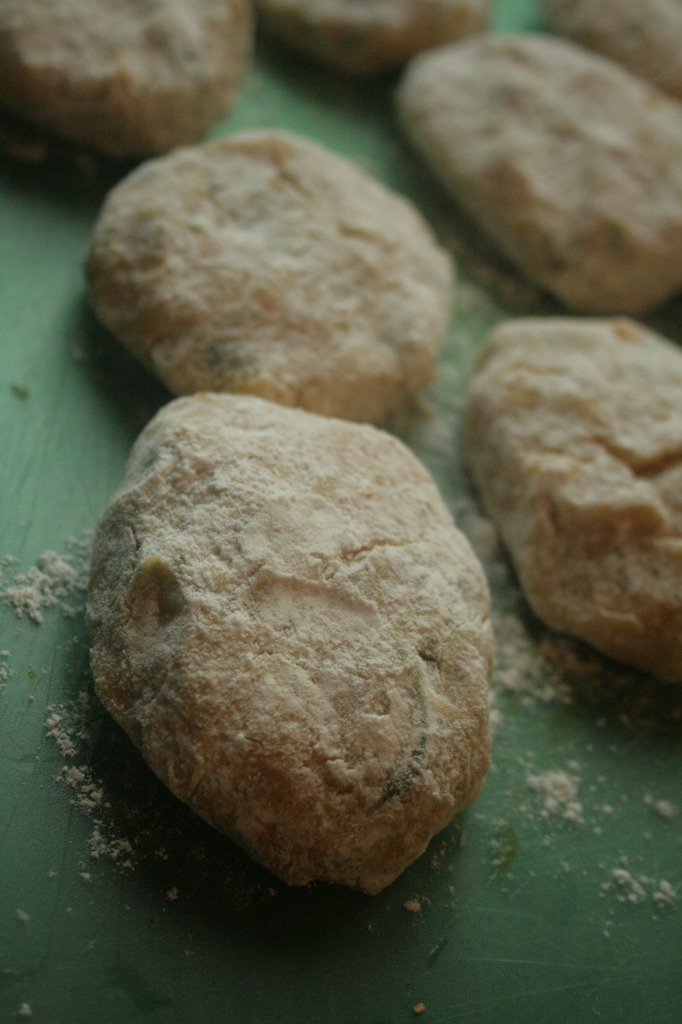
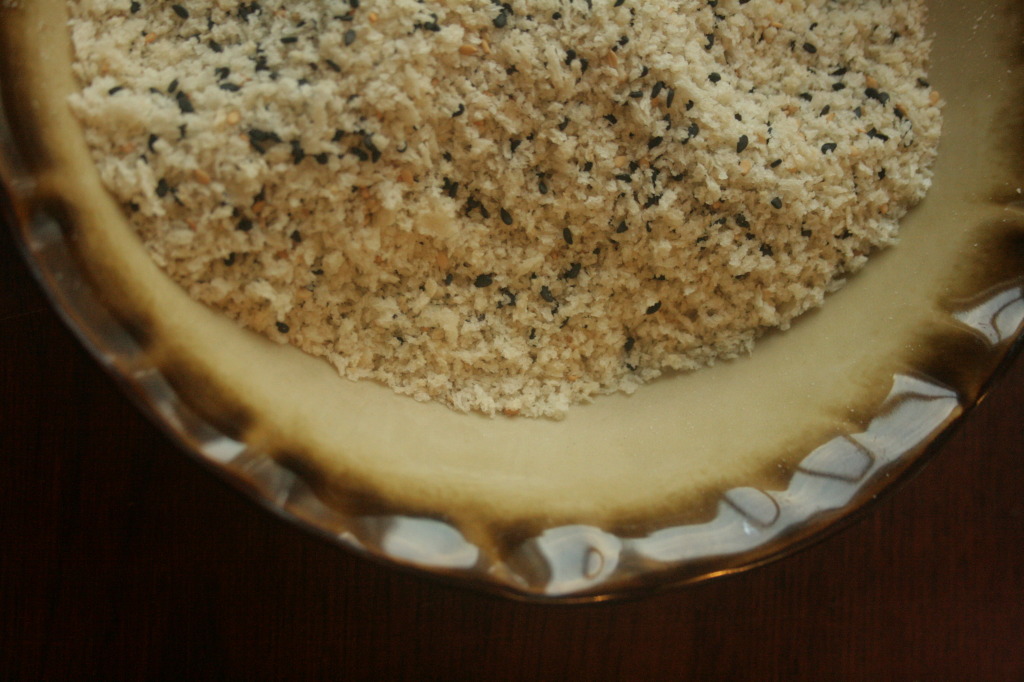
When the mixture is cooled, form into whatever size and shape you like. We made patties. As you form them, place them into a container of flour. Coat the patties in the flour, then the beaten eggs, then the panko with some sesame seeds thrown in. When they are breaded put them on a lightly oiled cookie sheet and drizzle the tops with olive oil. Bake at 450 degrees for 10 minutes then flip the patties and bake for another 10. They should be golden on both sides.

Let cool slightly and enjoy. We ate them with sriracha aioli.


IMG_9102
IMG_9118
IMG_9136IMG_9148

Sauteed pak choi and bok choy with garlic chili paste

1lb each-various greens. I used pak choi and bok choy
2 Tbspn garlic chili paste
Juice of 1 large lemon
Splash of white wine (more if you want a glass 🙂 )
Hearty pinch of salt
1/4 tspn of fresh ground pepper.

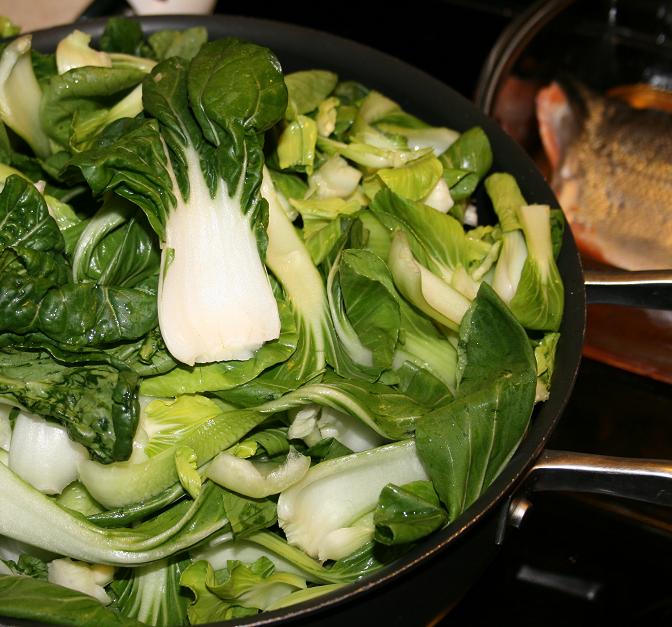
Again, super easy-take your greens, and wash them-no one wants gritty nibbles and shake them out slightly. Add them to a deep pan, add your paste, lemon and splash of wine and cover. Seriously. That’s about it. Toss every few minutes until suitably wilty. I like my greens to have a little bit of a bite on the stems however. Another tip-these greens can be bitter, so avoid a bitter wine or just use chicken stock.
greens
Roasted salmon with a sweet hot glaze

1 fillet of salmon, approximately 1-2 lbs
Marinade:
2 Tbspn honey
2Tbspn mirin
1/4 black pepper
drizzle of sesame oil
1 Tbspn garlic chili powder
Juice of 1/2 lemon

Pour the marinade all over that pretty salmon and let it rest for 10-15 minutes. Roast for 15 minutes at 350 or until flaky.

Roasted Asian pears with cinnamon, ginger, and honey
Do you sense a theme? Roasted and easy! I prepped this ahead of time, and let them roast up while I enjoyed dinner.

2 large Asian pears cored and sliced in quarters
1 tspn cinnamon
2 Tbspn cup ginger simple syrup
1 Tbspn raw honey

Toss all of your ingredients and place in a glass baking dish and bake at 400 for 45 minutes or until golden brown and tender. Add some ginger whipped cream and enjoy! May I suggest some Molly Moon’s Wild Honey or Ginger ice cream to pair? Mmmm….

Prosecco with ginger simple syrup

1 bottle prosecco
Ginger simple syrup

Add 1 tspn syrup to a fancy glass and top with prosecco. Sip happily, as you look over your bounty (and possibly your super full tummy).

And that’s it! It was a lot of eating, a lot of laughing, and a lot of fully bellies, even that belonging to my kiddo.
Are you ready to try Farmstr?!  Well, now you can with your very own $10 OFF promo code: MakeMendGrow10 – my way of saying THANK YOU for being a great reader! You can also sing up for the Farmstr newsletter to learn about new local farmers, in season food for sale!
IMG_9193

IMG_9205

What’s your favorite farm-fresh ingredient, and how do you use it?

Yours in food,
Raina