Modern French 75

We’re back with Day 3 of Valentines Day Gifts that rock! You’ve made it half way through the week folks; you deserve a reward! I don’t know about you, but I love, love, love something that looks fancy, tastes fancy, but is really easy to put together. My modern version of the French 75 is just that, fancy enough for a date night, or a treat to get you through the week.

What makes this different than a normal French 75? I use limoncello from Letterpress Distilling, instead of lemon simple syrup. It adds a little more kick, but a nice lemon taste, without the extra sweetness. I really love the folks at Letterpress Distilling, a local Seattle distillery; they focus on simple, quality ingredients, avoid additives like fake color. I had a chance to visit with them and sample their vodka and their limoncello. Both have a clean, crisp flavor, and the price point is low enough ($34) that you can pick up a bottle (or three) without feeling guilty. To make it better, Skip and his staff are genuinely kind and love what they do. I can’t say enough great things about these guys.

Ready to treat yourself and your loved one to a special treat? Let’s do this!

lemon

Wet the rim of two champagne flutes, and dip in sugar (optional, but oh, so pretty)

Per glass, use the below ratios, but feel free to tweak as you want.

1/2 shot limoncello
1/2 shot gin (I recommend Hendrix)
Pour carefully into your flutes, and top off with champagne.

That’s it! Simple, pretty, and delicious.

Standard disclaimers: use sense when drinking and avoid driving, lifting heavy things, texting those you shouldn’t…you know, the basics.

We’re one day closer to the weekend, folks!
Raina

Slow Cooker Meatballs with Balsamic Reduction

I love food and for me, nothing says love like a home cooked meal. I also really love things that come together quickly and don’t require a lot of work, but still taste like I spent a lot of time cooking everything. Day 2 of Valentine’s Day Prep is just that; an easy to make, delicious recipe for Slow Cooker Meatballs with Balsamic Reduction!

This recipe is special enough for a date night, but it’s perfect for a relaxing get together with friends. The flavors are also mild enough that I can add to a pasta sauce for spaghetti, or add more BBQ sauce for a messy, delicious sandwich. You can also make them smaller and put them on picks, for a quick and convenient appetizer. They are that flexible. This recipe was also featured on Sidetracked Sarah as a guest post, and has received a lot of awesome feedback from Pinterest and plain hungry people! I also love that I can use my Instapot for one more tasty recipe!

slow cooker meatballs

The Recipe:

1 lb ground turkey-although you can use any meat you choose
1 large egg, beaten
1 cup bread crumbs or panko (I love using panko, the end result is a little crunchier)
1 large onion, sliced
1/3 onion, minced
3 cloves garlic, minced
2 pinches pepper
1 tsp Salt
1 pinch each: rosemary, thyme and oregano, rubbed between your palms to break them up
2 TB red wine, or beef stock if you prefer
1 TB barbecue sauce (trust me here guys! The sugar breaks down SO well!)
Balsamic vinegar – 1/3 cup you’ll need this a couple times

This is a pick your own adventure recipe, guys!! If you want to make the meat balls up in advance, start with the meatball step and put them in the fridge until you’re ready to use them.

Not waiting? Here’s where you start: Place your sliced onions in the Crockpot-this will act as a little raised nest to keep your meatballs from swimming too much in the yummy liquid! Add your wine or stock and a good splash of the balsamic-about half.

Next, make up your meat balls. To do this, add your beaten egg, your minced onion, the garlic, your panko or bread crumbs, your ground turkey, and herbs and mix. The key is to do this all quickly and not handle the meat too much-you don’t want the fat to start melting from handling. Once everything is mixed, you’ll form the balls-I grab just enough to fit in my palm and roll. Place those on top of the onions.

Now, for the glaze! Mix the remaining balsamic with your BBQ sauce and brush the sauce over the meatballs.

Cook on low until you’re ready to eat (I find it takes 4-5 hours on low) or cook on high for 3. Check to make sure they are done by cutting one in half. That’s it! Easy, right?

Drizzle the liquid from under the onions on top of the meatballs, as it should have thickened up some from cooking! If you want to add another step, you can reduce the liquid even more and slather that on like a hearty, thick sauce. Don’t forget about those onions, either, they make a great addition!

Now for the last step-go enjoy those bad boys!

How will you eat these?

Yours in food,

Raina

How Lovely! Valentine’s Day Gifts That Rock.

I don’t know about you, but I am not the biggest fan of Valentine’s Day. I’d like to be, really, I would. There’s SO much pressure, and frankly, why only celebrate love one day a year?! Don’t even get me started on all the chintzy crap that comes along with the day. Sound jaded? You bet your sweet patootie I am. I don’t want to settle for mass-produced junk, and you dear reader, shouldn’t have to either.

I can hear you now, asking what the alternatives are!

Don’t you worry, I have you covered!  All this week, I’ll be setting you up with recipes, crafts, and cocktails that will make your sweetie swoon, but won’t break the bank. Sounds good, right?? Read on!

Here you have it, a week of love with Make, Mend, Grow!

Monday: Sugar Scrub (see below!)
Tuesday: Slow Cooker Meatballs with Balsamic Reduction
Wednesday: Modern French 75
Thursday: The Gifts that keep giving-good gifts you’d actually like to get (you know, in case you really need a hail-Mary!)
Friday: Up-cycled Cards!
Saturday: Kids craft-sun catchers
Sunday: A sweet adventure!

Phew, that’s quite the line-up, isn’t it? Sounds pretty awesome, right? Let’s get started with that sugar scrub.

scrub

Do you need a quick gift that comes together quickly and doesn’t cost much? This is it. Seriously, this scrub comes together in less than 5 minutes, and costs less than $10. Plus, if you can make it in large quantities for holiday gifts! How could you not feel lovely with this!

This one is a bit of a cheat post, and I am pulling on a post that I wrote a few months back, and darnit, I am all about recycling here at Make, Mend Grow! Check out my post for that scrub here, and let me know what you think!

Come back tomorrow for another post to woo your love!
Raina

Well hello, 2016!

Well, hello dear reader! Welcome to 2016!

We’re already part way through February and it’s been a busy 2016 already. I’m excited for the year ahead and all that comes with a new year! How about you? Before I get to all of the new year activities, let’s look at all that 2015 brought!

My biggest goal for 2015 was to eat more, and explore the world through food. I accomplished that goal (weight be damned). We traveled as well, to Kansas and we also hit the road to camp, and to explore. Kiddo aced her feeding issues, and we prepped for her last surgery. 2015 fed my soul and challenged my mind with new garden beds, becoming a certified Master Composter and Soil Builder (what, what!), and taking courses on herbalism, and teaching gardening and composting to children. It brought another year as President with South Park Arts, and all the fun events that came with that organization. I celebrated another year at my company, went through the transition of being bought out by a new company, and was even able to take back a program I used to manage. It was a year of growth professionally and personally and I am happy with all I accomplished.

2015 wasn’t all about me; oh no!  It was a big year for Izzy too! When the year started, we had specialists coming to the house weekly and then monthly to help us wean her off of the g-tube and to teach her how to eat on her own. 2015 also included numerous trips to Seattle Children’s, to make sure she stayed in great health and that she stayed well above her developmental targets (and boy, did she). We accomplished our huge goal of getting her to eat on her own thanks to the hard work of so many specialists and the support of her daddy and our family. She moved out of my bed, and into her own room and we mastered potty training. When I look back on all that she accomplished, I am blown away by how strong and resilient she is, and how willing she is to learn and change. This child is truly amazing, and I am so, so lucky to have her. I am happy to say that she rocked her g-tube removal and the surgery this past month went very well! It’s been so lovely to have that chapter of our lives closed.

On to the new year!  I love a new year; the excitement, the potential, the new goals! 2016 is about taking care of things; that old to do list, the myriad of home improvement projects, myself. I have a list of things a mile long, but I am slowly ticking them off, one by one. The year started out with braces (which are SO much more expensive for adults!), and bids on a new roof and chimney repair (for $32K-ouch). We’ll be rebuilding the chicken coop, and building up the garden beds. I want 2016 to be the year that the old projects are handled, to make room for the new (new studio in the back yard would be lovely for 2017!). I continue to map out road and camping trips and am exciting to bring Izzy to Yellowstone and on her first backpacking trip as well.

I won’t lie, 2015 felt like the year of just keeping up. I did great at work, but at home…it felt like there just wasn’t enough time to get to the crafts and the adventures that I wanted to. While I accomplished some pretty amazing things, I definitely took on too much and didn’t take the time to plan it all out. I’ll be glad to see that change as I minimize what all I take on, continue to map out goals, and actually taking the time to write-up the steps involved, so it’s attainable. To help support that, I’ll be hiring out quite a few projects, instead of attempting to do it myself.

So there you are-2016 is the year of getting things done, but not all the things this time, and with help. I feel good about that 🙂

Speaking of getting things done, I never posted my winter/Christmas pictures with you all, so please keep scrolling and see how much fun we had! Bam-two things accomplished with one post!! As always, thank you for sticking with me another year, keeping up with all things crafty, food-related and Izzy-ful. I am so grateful for each of you. What will 2016 bring you?

IMG_0964
IMG_0975 IMG_0990 IMG_0995 IMG_1012 IMG_1046 IMG_1050 IMG_1053 IMG_1065 IMG_1085 IMG_1086 IMG_1098 IMG_1101 IMG_1109 IMG_1124

Yours in happiness,

Raina


Go Wild

I love wild game, and any chance I can get to cook with it, I take! I was excited to work with Marx Foods and come up with some fun recipes using their New Zealand venison.

A little on Marx Foods-you know how I love working with local businesses; Marx Foods is based here in Seattle, and supplies top rated foods that they test before offering. You’re not going to get stuck with something that isn’t amazing. There’s a brick and mortar shop just over in Queen Anne, but there’s a world of delicious items to be found on their site. I also love the idea of choosing foods that are sustainable, well-raised, and do not contain added hormones, or antibiotics. The Cervena venison from Silver Fern Farms fits that bill and is lean, delicious, and easy to work with. It’s a great alternative to beef, and has a lovely game flavor, that isn’t overwhelming. My belly? Happy.

I tried the 8-Rib Frenched Rack and the venison leg medallions– one pack was enough for a dinner party and a Sea Hawks party. Are you ready to see how to put together two easy meals? Read on!

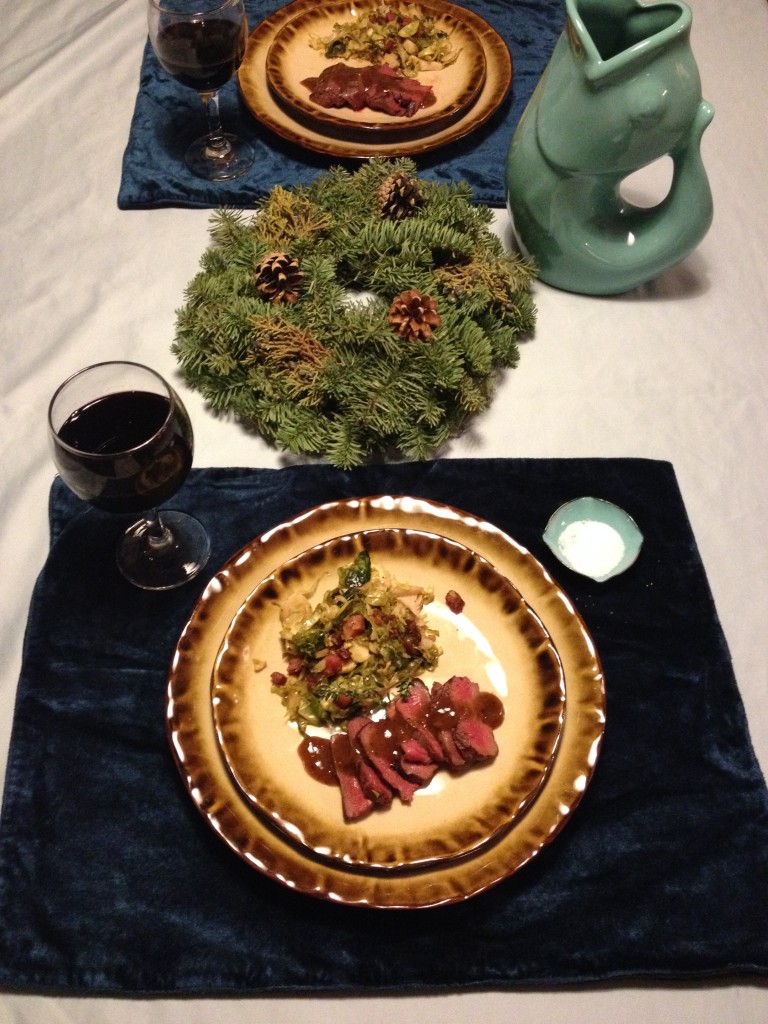
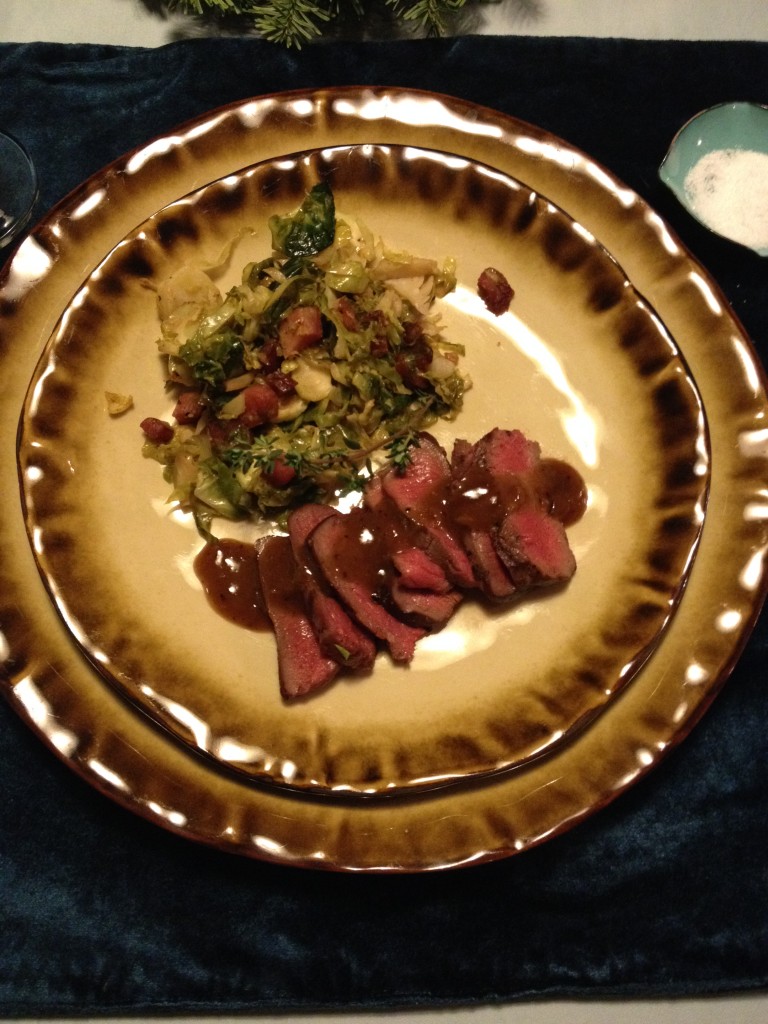
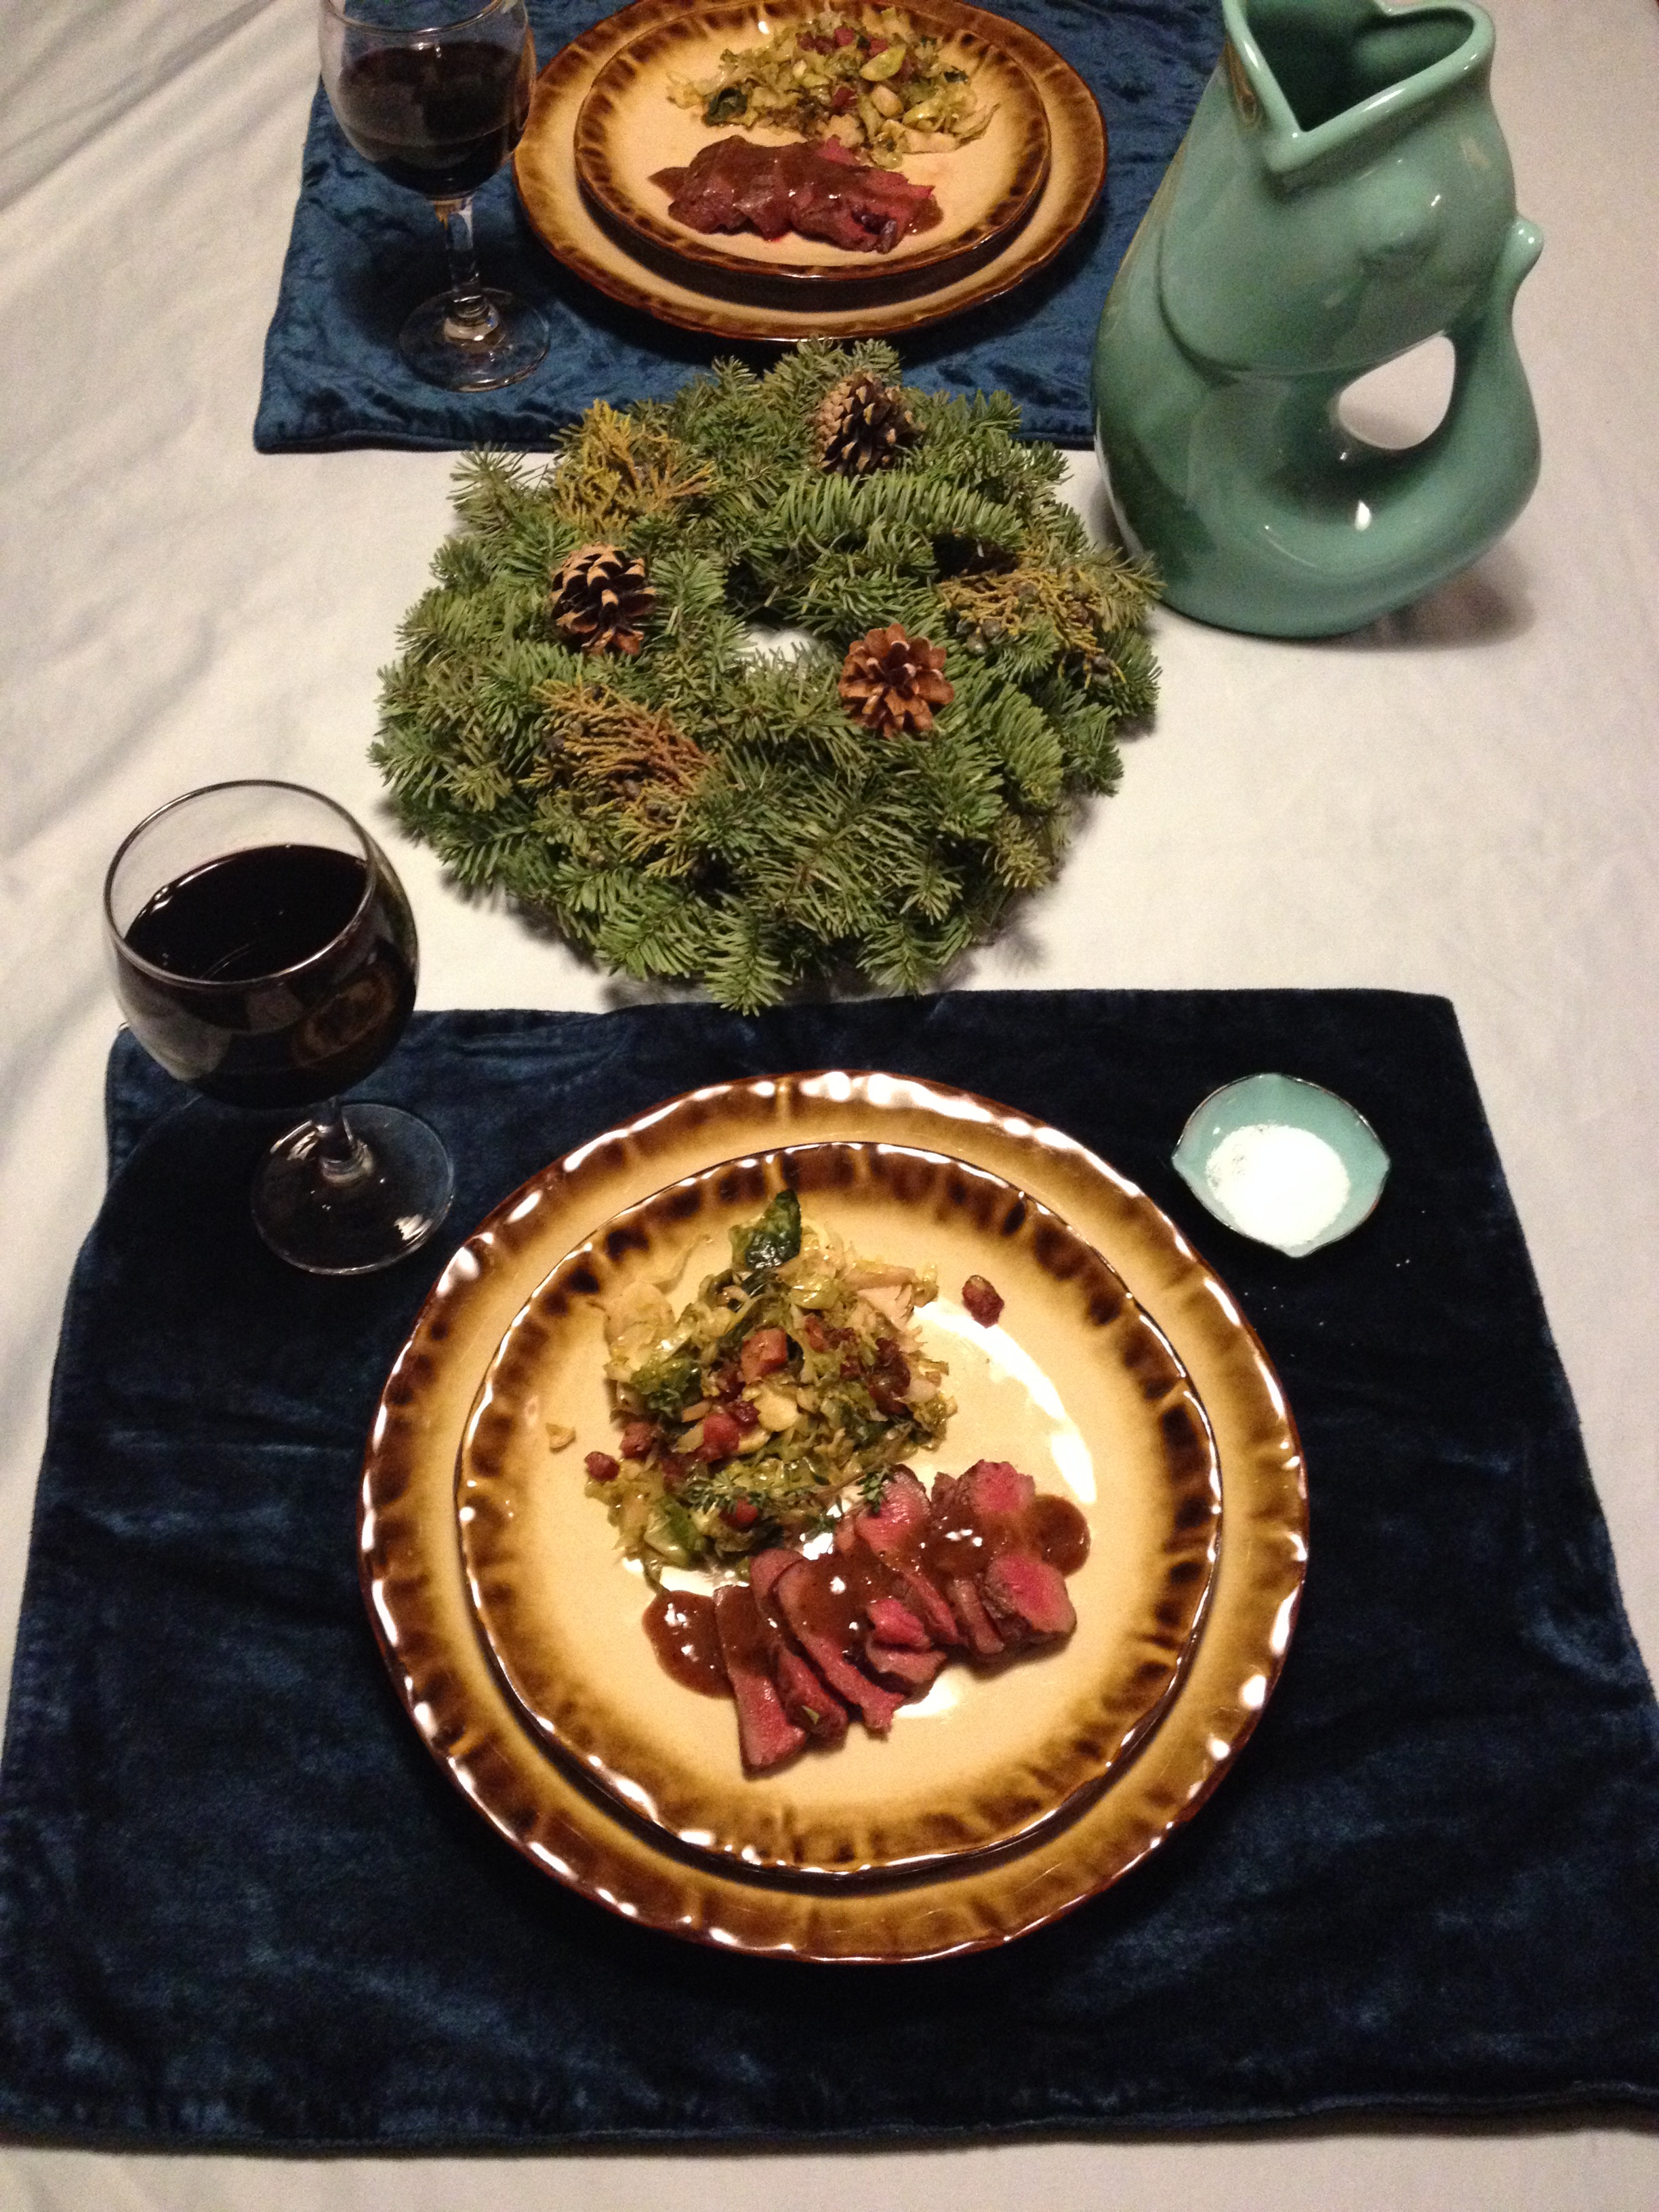
First up was my dinner party meal, Grilled Venison Medallions with Gin Sauce.

IMG_1532 IMG_1535
Most people don’t automatically think gin when cooking game, but when you think about it, it makes sense. It’s earthy, warm, and the juniper berries pair well with the gaminess, but also cuts through it, making an excellent pairing. There’s not a ton of it in this recipe, so it just adds a little something tasty in the background. When grilling your medallions, each pack is about 2 lbs.

To start, make your Gin Sauce:
2 cloves garlic, minced
2 Tbsp onion, minced
1 Tbsp olive oil
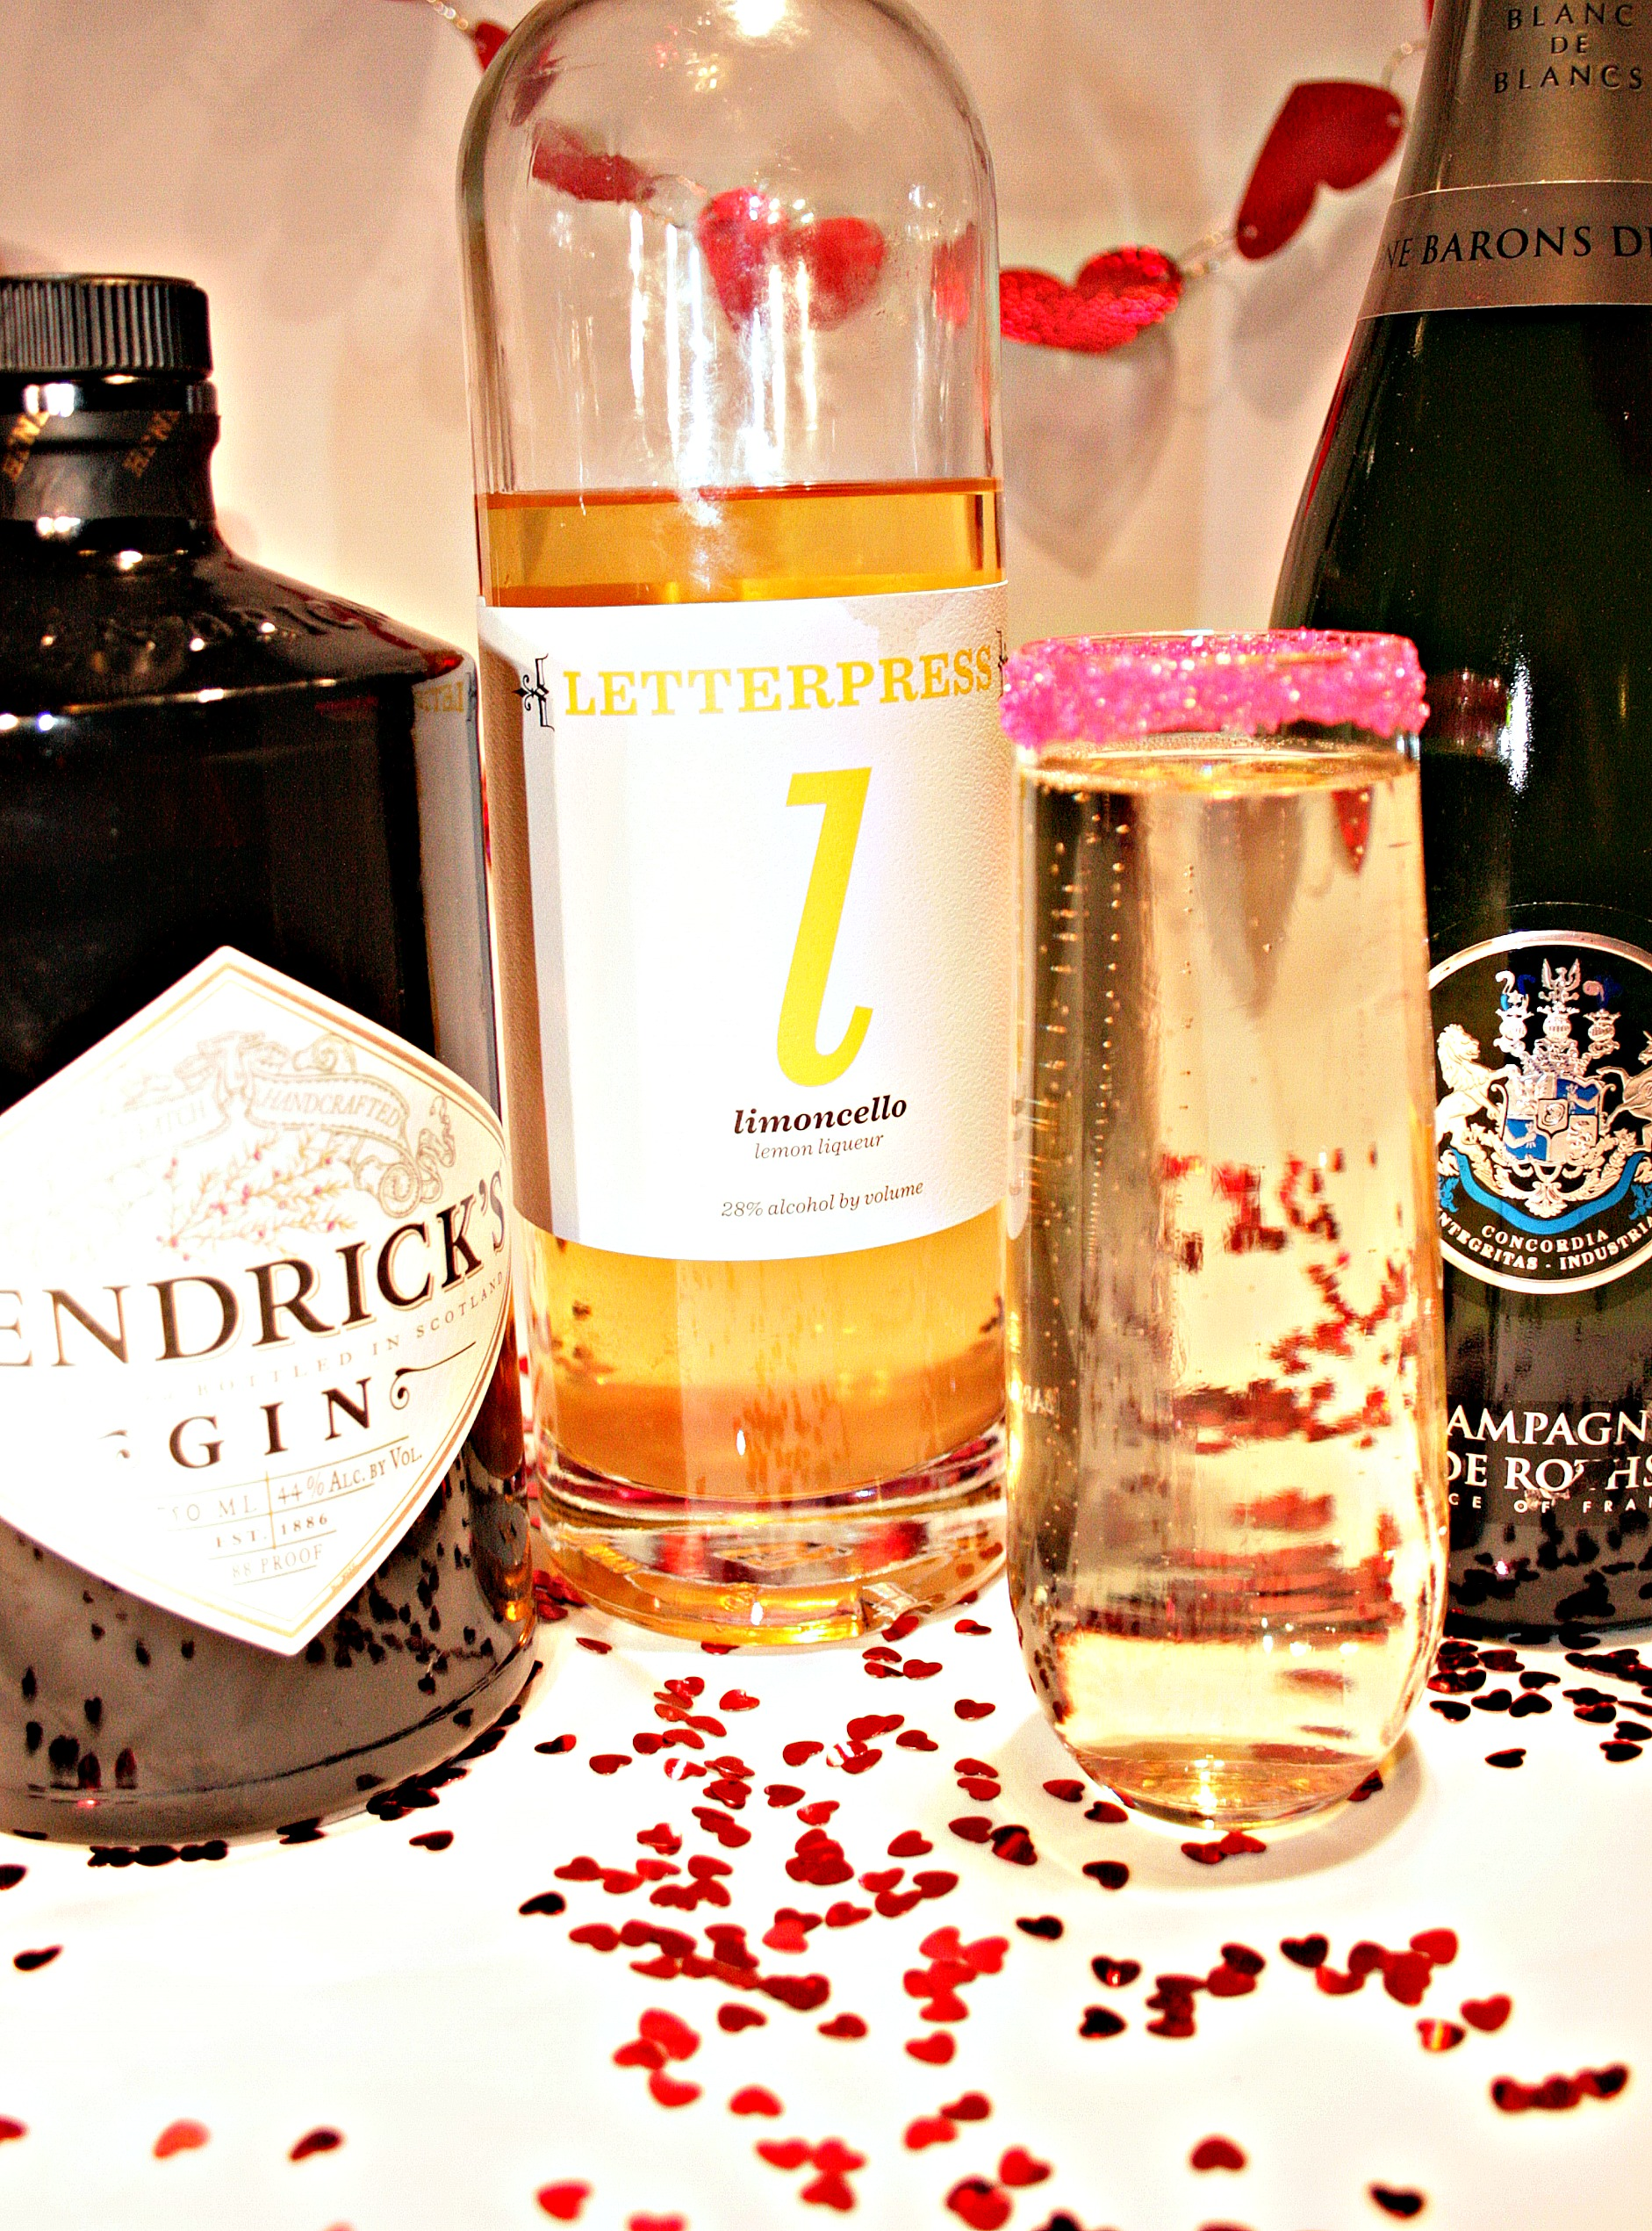
1/3 c gin, I used Hendricks (use 1/8 tsp juniper berries and a small sprig of rosemary, if you don’t want to use gin)
16 ounces stock, we used a combination of duck and turkey stock that we made from leftover bones. If you use store-bought, please cook longer and make a roux, as ours had a high gelatin content.
Pinch each, salt and pepper

Saute your garlic and onions until starting to brown, which should take approximately 5 minutes. Deglaze with the gin and simmer, 2-3 minutes. Add your stock and reduce by 3/4, or until you have a thickened version of your original liquid.

For the medallions:
I went simple here. I sprinkled on salt and pepper and grilled quickly for 2-3 minutes on each side. A note: Venison is super lean, so it can dry out quickly. You don’t need to cook it long, so a good sear will go a long way. Game meat is really best served rare, or a light medium rare to retain the texture and keep it from getting dry. One you remove from the grill, let that meat rest! The juices will redistribute through the meat, making it even more lovely. You can wait 10 minutes, right? I know, I know…that sauce is smelling amazing.

Drizzle the sauce over your medallions and serve. It’s really that easy and comes together in less than an hour. The sauce cooks itself, too, which makes this an easy to make weeknight recipe! I love these paired up with shredded Brussels sprouts, sauteed with bacon and garlic until tender, another simple recipe.

I should also note, that my daughter, who is a toddler with a g-tube and who thinks all meat (except for bacon) is gross, LOVED the medallions. Seriously guys. This dish was a winner to a toddler. If that isn’t an endorsement, I don’t know what is!

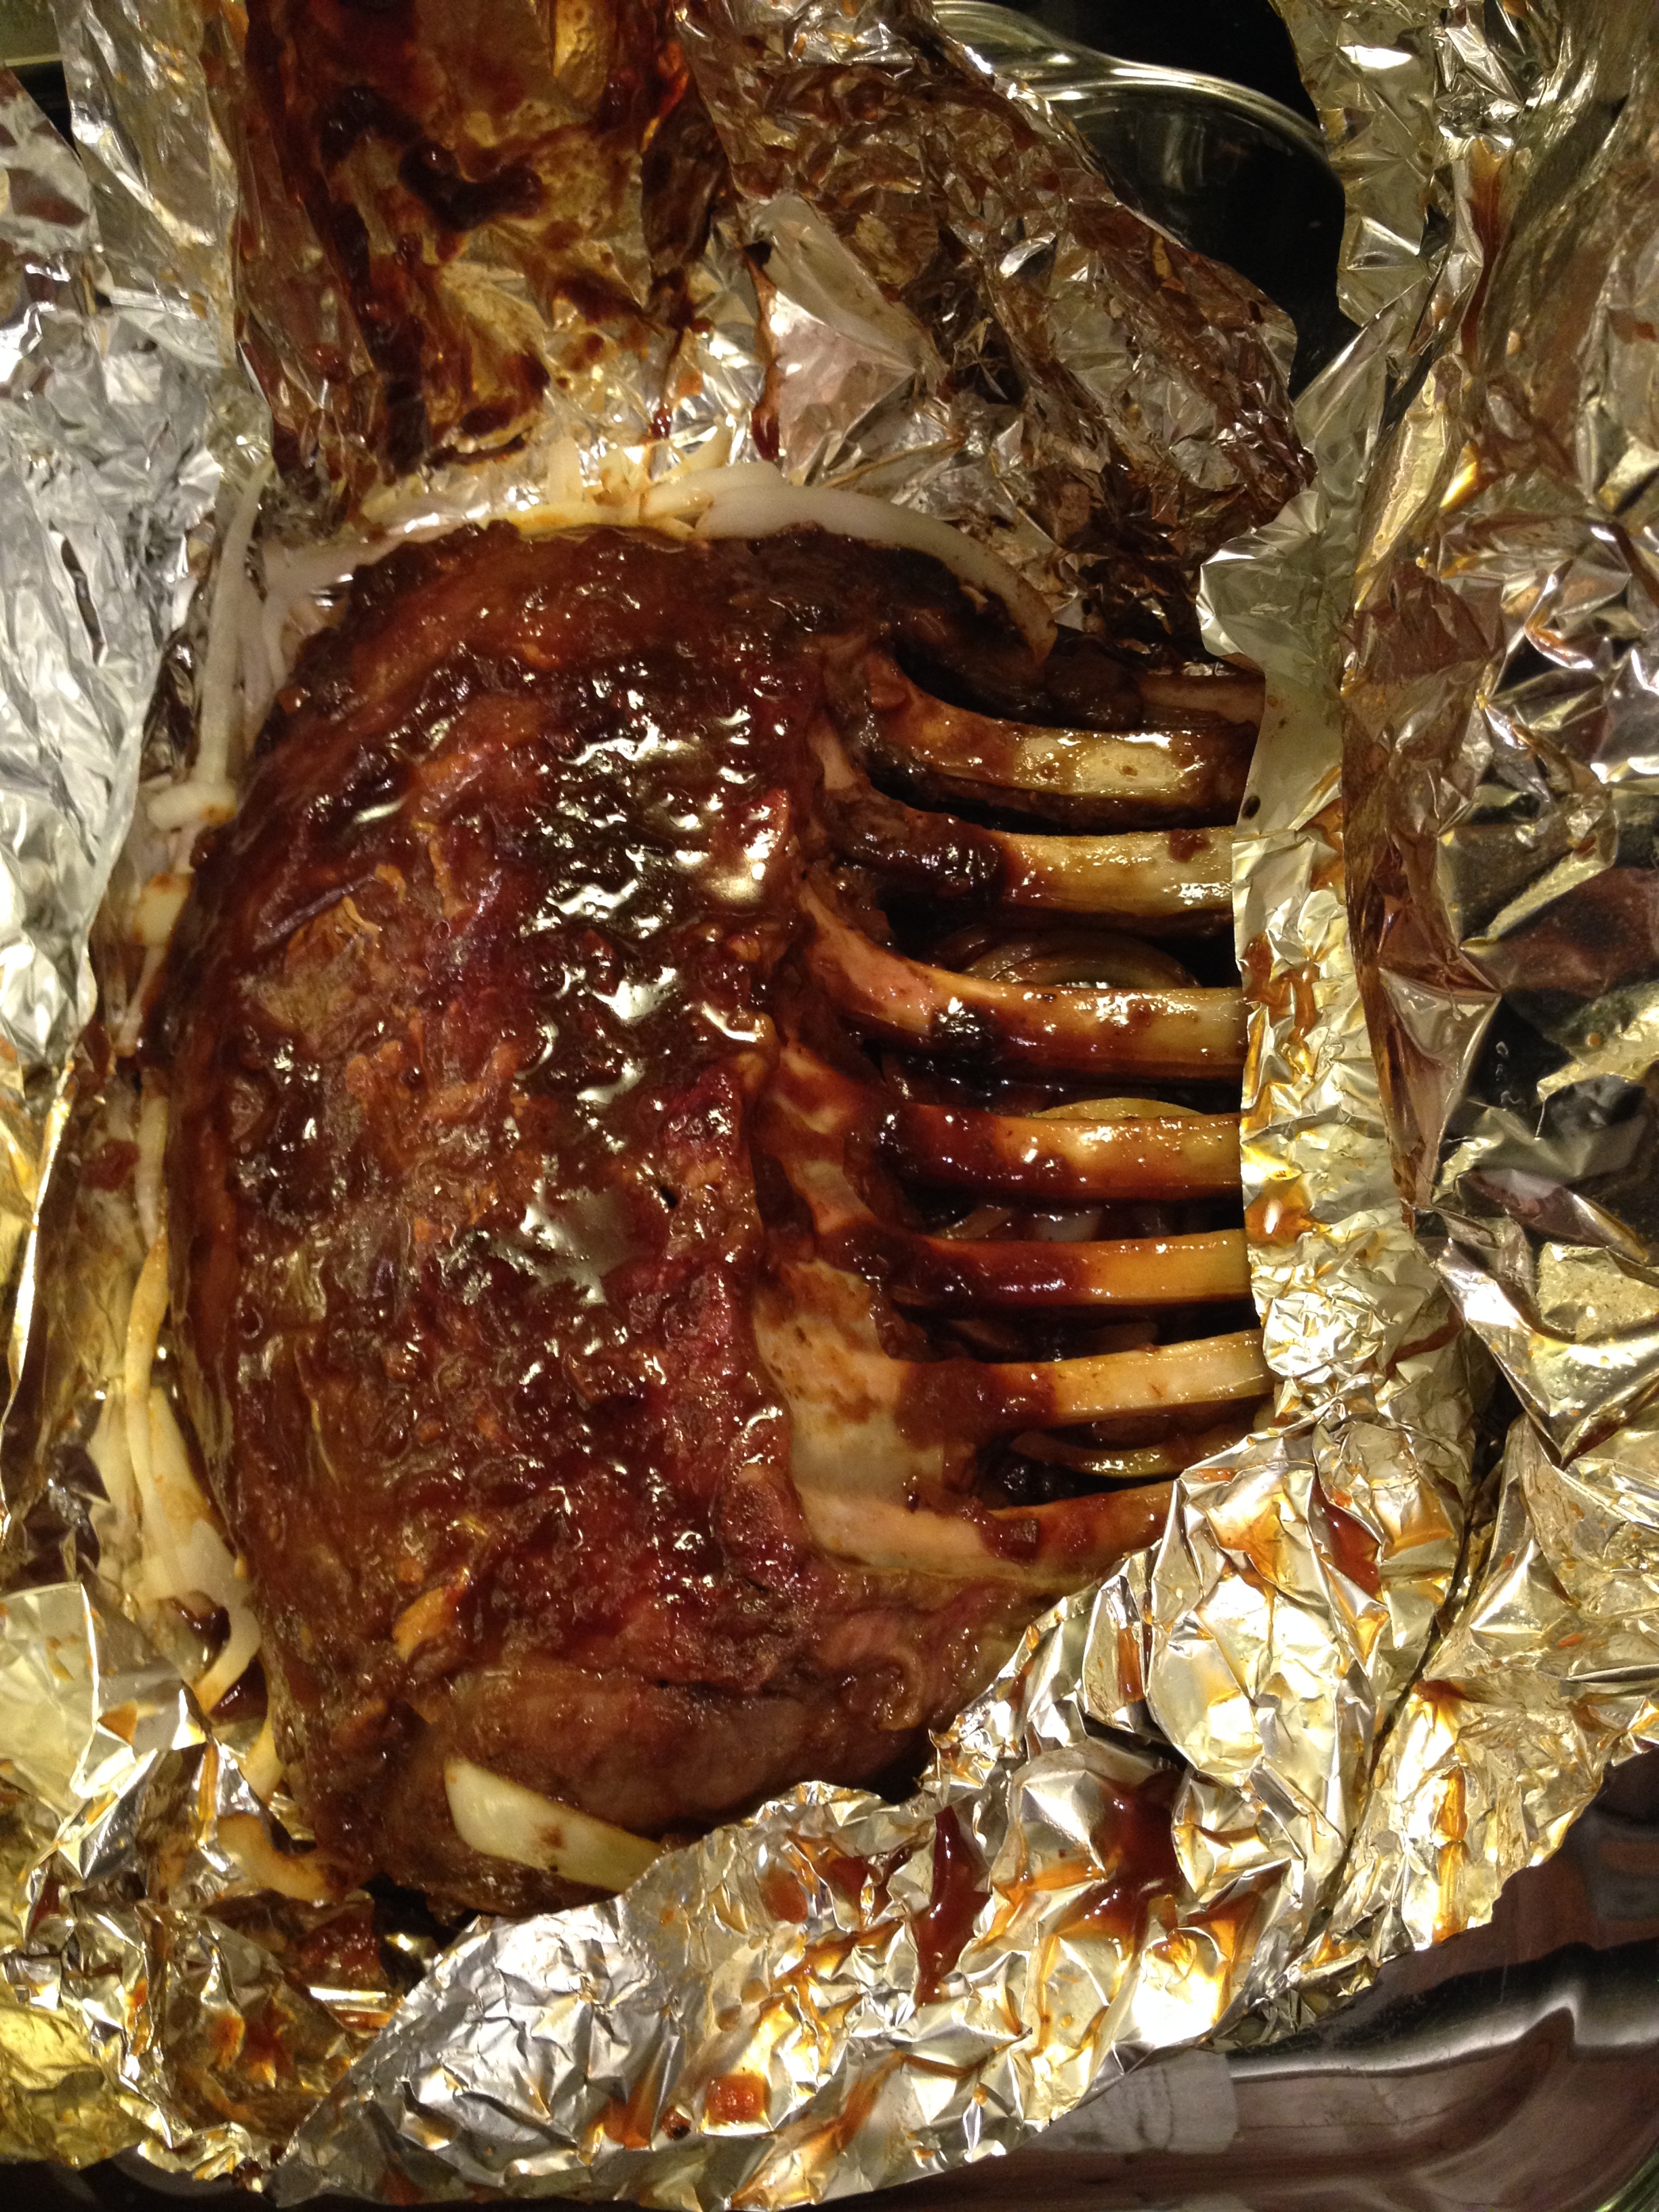
Next up was my football favorite, Venison Ribs with Whiskey Stout Barbecue Sauce!

IMG_1526IMG_1542
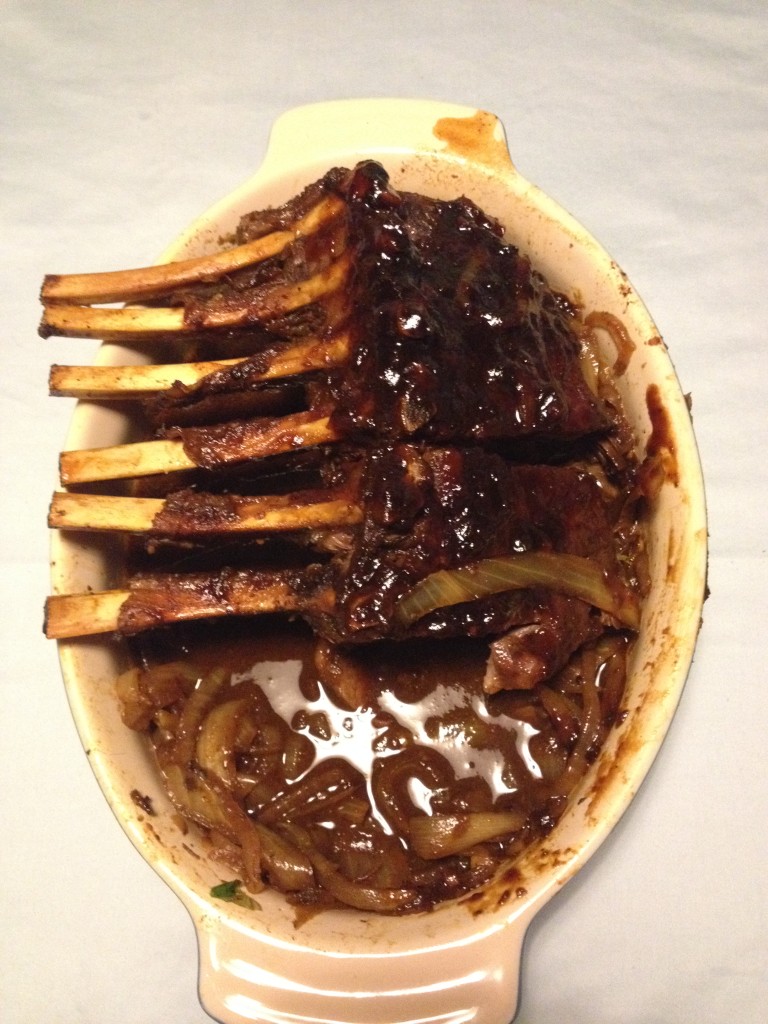
A lot of people think about treating this like a roast, I wanted bigger,juicy and a little saucy. I saw the ribs and didn’t want to separate them, I wanted big, juicy, tender ribs.  The secret to this one was to brine the rack overnight to help retain moisture, so that I’d be left with a tender, meaty rib that would fall off of the bone. The sauce is smokey and rich, and adds a little heft to this lean meat. You won’t miss your normal ribs one bit! Messy? Yes. Amazing? So, so yes!

Let’s start with a simple brine:
Pour 3/4 c salt and 3/4 c honey in a heavy bottom pot and add 1/2 gallon of water, over medium heat until all ingredients dissolve. Let the mixture cool completely.  Once cooled, submerge your ribs for 12 hours, or overnight in the fridge. The next morning, pull them out of the brine, and give a quick rinse and pat them dry. Set them aside to come to room temperature. The nice thing about the brine is that it gives you time to make your barbecue sauce in advance! I love meals that you can do in pieces.

Whiskey Stout Barbecue Sauce
1/2 onion, minced
3 cloves garlic, minced
1 Tbsp olive oil
16 ounces dark beer-I would use a stout or a smokey porter
5 Tbsp tomato paste
1 hearty pinch of salt
2 pinches pepper
3 Tbsp brown sugar
3 Tbsp apple cider vinegar
1/2 Tbsp Worcestershire sauce
2 shot whiskey, I used Woodford Reserve bourbon
1/2 Tbsp cumin
1/4 Tbsp smoked paprika
1/8 c honey
1/2 Tbsp molasses

Saute your onions and garlic until lightly brown, and deglaze with the beer and stir, bringing to a boil. Add the rest of your ingredients, until you get to the honey and molasses. Simmer until reduced by half, about 20-25 minutes, and add your molasses and add your honey and molasses, continue to stir, to allow these last two ingredients to combine. Continue to simmer until your sauce is a consistency you like-I like a good, thick sauce, so I cooked the sauce for another 15 minutes.

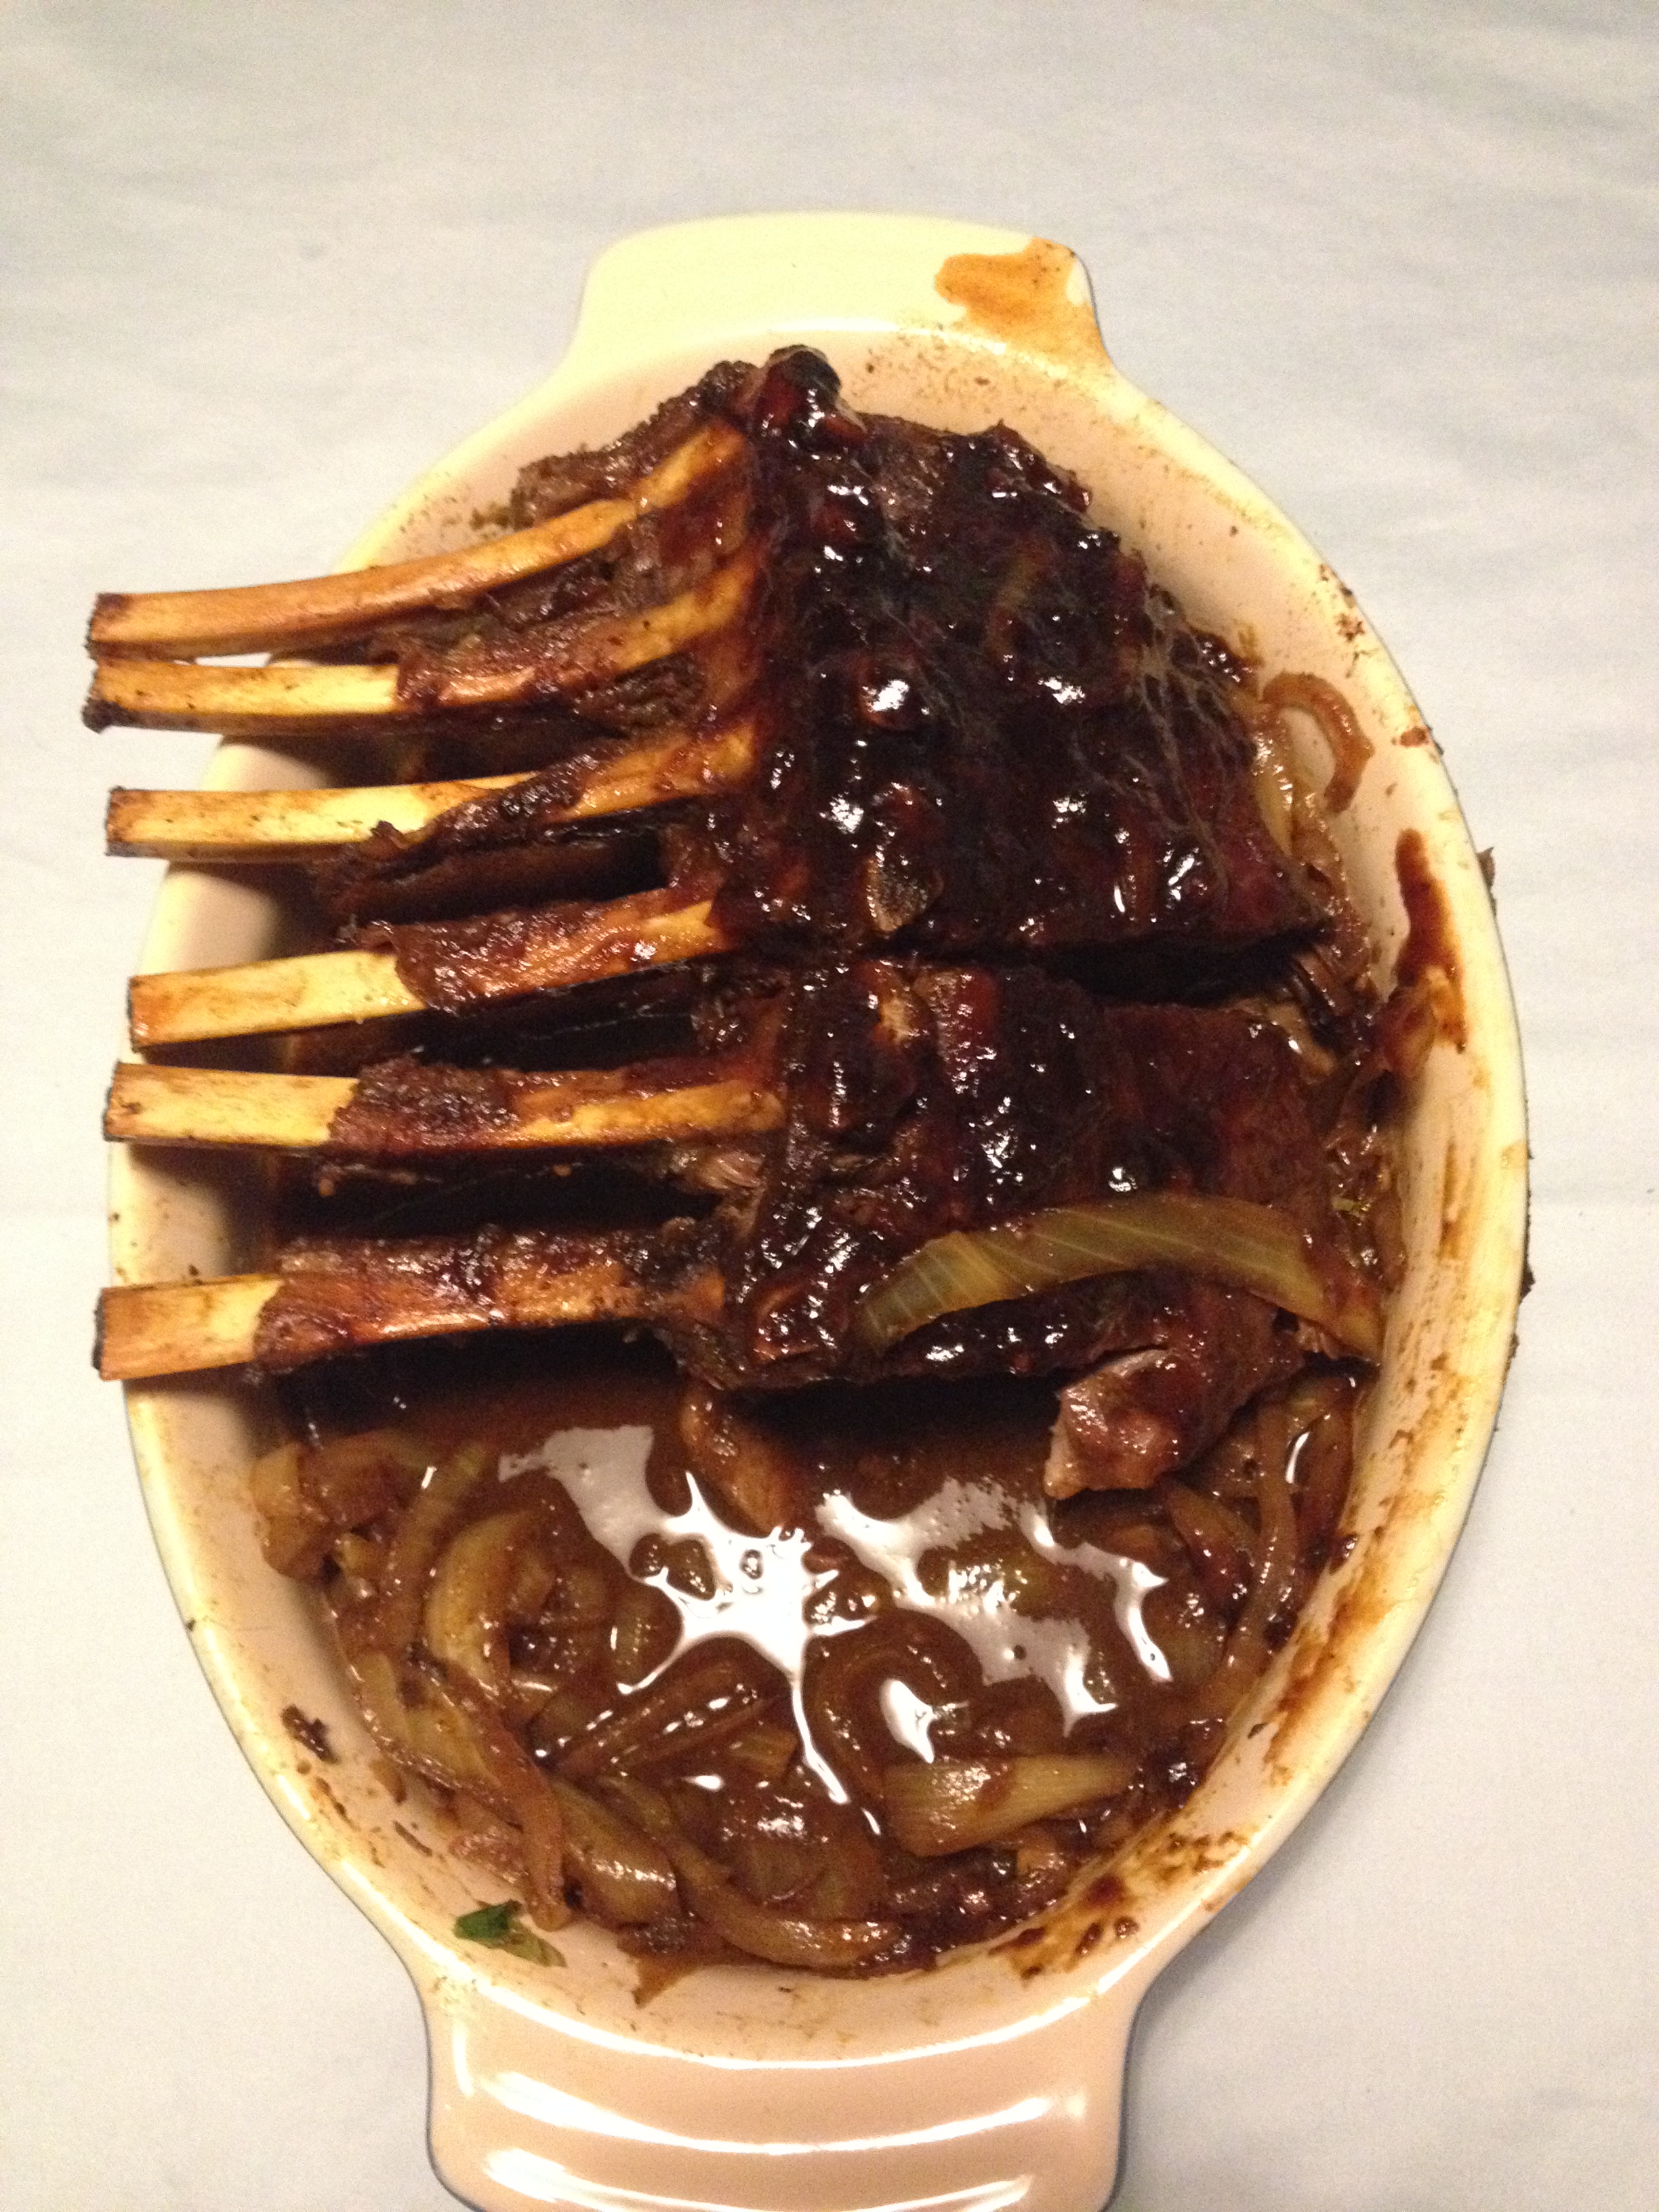
Line a glass pan with enough tinfoil to make a pouch for those lovely ribs. I put some sliced onions down as a first layer to add moisture, flavor, and to keep my ribs from cooking too much. Lay the rack of ribs down on top of the onions and slather your sauce on the top. Flip over and repeat. Save some of the sauce for drizzling over your ribs when you serve. From here, close your tin foil, and place in a 250 degree oven for 2 hours. You want slow cooking on this to really let the sauce and the venison to cook together. Two hours later, pull them out and let them rest for at least 10 minutes. Slice into sections and enjoy! These ribs pair well with my crock pot apple sauce, made with cinnamon, brown sugar and a little apple brandy. To make this, take 4 large apples, core, and chop into chunks. Sprinkle with 1/2 tsp of cinnamon, 1/4 cup brown sugar, 1/4 cup of apple brandy (I used Calvados). Add all the ingredients to your crock pot, and cook on low overnight.

Again, I really enjoyed working with the venison from Marx Foods and can’t wait to eat my way through the rest of their online store!  What would you make with venison? Leave a comment below, I’d love to hear about what you’re making!!

To great food,
Raina
**Standard disclaimer, blogging helps to pay the bills. I promise to only showcase foods and goods that I trust!**
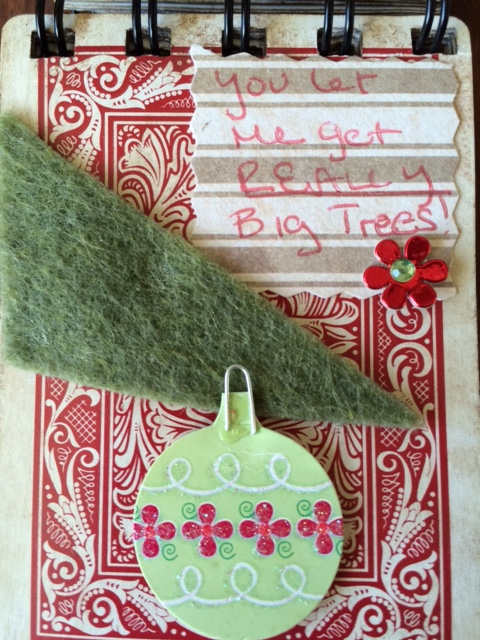
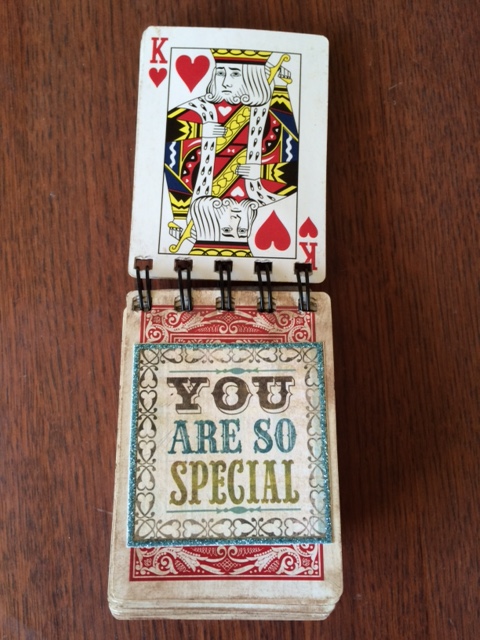
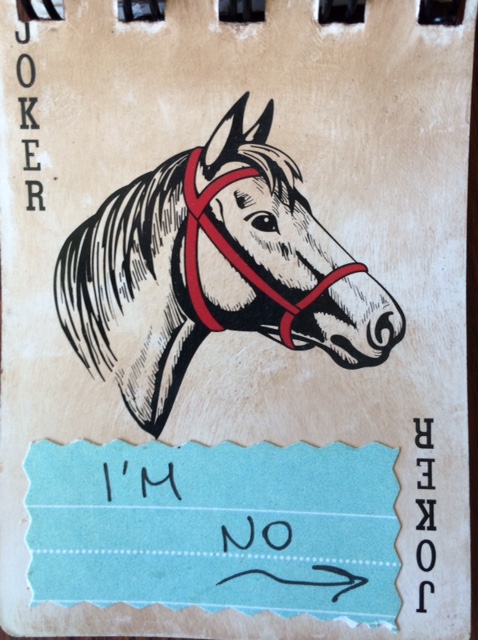
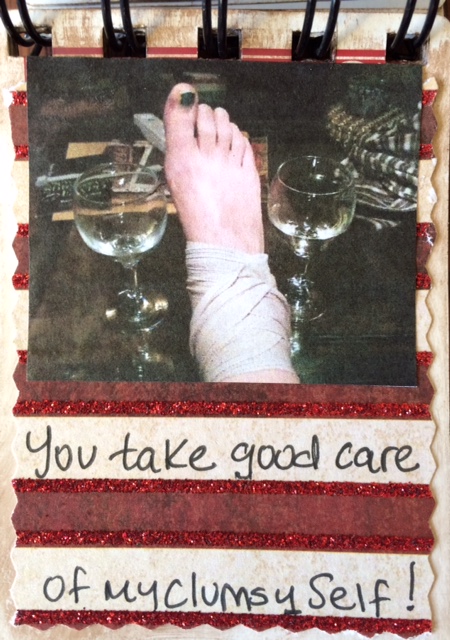
On the road again

Hello, there!

Lately, we’re squeezing every ounce of sunlight and fun out of every day, and have been so lucky to get on the road again. October and early November brought cooler weather and cabin camping with friends in North and Southern Washington. First was Battleground State Park, for a (mostly) girls camp trip with my mom, Izzy, my best friend and her family. It was three cabins, 4 adults and 3 kids and (happily) enough beer to make the fall chill go away. The trip wrapped up with antiquing, and finding an awesome embroidered quilt. I think this is one of my favorite ways to wrap up a trip: bringing home a little something to decorate the house, but remind me of my adventure.

The most recent trip was at Rasar State Park with Izzy, Nick and another couple and their kiddo. We played cards, games, watched movies and relaxed on both trips, and it felt so good to get out into nature.

On both trips, the girls hunted down fairies and played as much as their energy and the rain would allow. Us adults hung out by the fire, playing games, or at the table talking well into the night. It was good for all of us for relaxation.

This time of year makes me so happy-it’s cool, but not too cold and the constant rain hasn’t set in fully, allowing us to adventure as much as possible. As winter approaches, I am so glad that we took the time to get away and recharge.

IMG_0607 IMG_0614 IMG_0587 IMG_0560 IMG_0567 IMG_0573 IMG_0582 IMG_0554 IMG_0530 IMG_0518 IMG_0515 IMG_0929 IMG_0934 IMG_0954CampingCity of ConcreteFall roads

Where will fall and winter bring you?

Yours in travel,
Raina

Sew Long

Hi there!

It feels like it has been a long time since I just sat down and was able to sew. I forget that it is really a relaxing activity for me. The feel of my scissors cutting through new fabric, matching up of corners, the sound of my machine whirring as fabric comes together into something more than it’s original  parts.

A few years ago, I started making quilts and clothes for myself and Izzy. I am by no means great at it, but I love teaching myself a new skill and enjoy watching something come together from a pattern, or a sketch. You know that feeling when you sit down and just focus on one task and when it’s completed, you feel both relaxed, but proud of yourself? Sewing does that for me. I love it.

I recently had a chance to try fabrics from the Little House on the Prairie Andover Fabrics Collection. The fabric has an awesome vintage look, with pretty colors and patterns. Even better? It holds up well when you have to pull out stitches after not lining up seams. Fabric that doesn’t fray when you pull stitches is great-you have less waste, less frustration and you can feel OK with having to redo a quilt patch when needed (even if you end up redoing it three times for one section like me). The fabric also has a good feel-thick and soft, right off the bolt.

Here’s a look into what I am working on! Its a few squares into a sampler quilt that will be twin sized. Izzy’s room is filled with vintage and antique items, and this quilt should fit right in!

First, I started off easy, making a patch quilt block, with a lot of little squares. It came together quickly, which inspired me to branch out and make something a little more complicated that I sketched out.


IMG_1303IMG_1306IMG_1316IMG_1308

After that, I wanted to go bigger and make this next block, a Drunkards Path. This one was hard, was the one that I had to redo a few times and am still tweaking to get it just right.

fabric

IMG_1302

Fun right? A little time, a little patience, and a glass or two of wine, and you have some fun quilt blocks. That’s my kinda craft.

Interested in getting your hands on your own fabric? You can enter the rafflecopter for a chance to win all of this awesome swag, valued at over $380! What could you win??

    • A fat-quarter bundle of all three Little House on the Prairie® fabric collections
    • A limited edition tote bag made of Little House on the Prairie® fabric
    • The Deluxe Remastered “Little House on the Prairie” Complete Collection DVD Set
    • “The Legacy of Laura Ingalls Wilder” DVD
    • The Quilting with Laura book
    • The World of Little House book

swag

So there you go. You have ideas, the allure of fun goodies; now all you need is to enter to win!

a Rafflecopter giveaway

For more information and ideas, please check out the Little House on the Prairie site!  Thank you all for reading! What would YOU make with these fabrics?

Yours in sewing,
Raina

Disclaimer: I did receive a sample of the fabric to help create this post, but the opinions are all mine! My promise to you, dear reader, is that if I don’t like a product you won’t see it here.

Falling Leaves

Oh, how I love this time of year! The leaves are falling, the weather is cool and crisp, and everything is bathed in a golden glow. Fall came so quickly this year. The hot and sunny days were quickly replaced by shorter days requiring more and more layers. We’ve been spending our days crafting, cooking, playing, and camping; trying so hard to squeeze as much as possible in before it gets dark or the need for a nap takes over. Despite being busy, I try to keep to fall tradition and head to a pumpkin patch and this year was no different. Izzy and I bundle up, and make our way to play and find the most loveliest of pumpkins.

I look at these pictures and think, “Oh! My big girl! My beautiful love. She’s growing so fast!” I can barely see the baby in her now, but I love this phase she’s in-the constant energy, the desire to learn and explore.  These are my favorite days with her. We spent hours at Carpinito Brothers, playing with the critters, making corn angels, playing in the hay; her happy squeals loud above the noise of the other kids. I loved walking through the pumpkin patch with her, watching her look at each one closely in an attempt to find just the right one. “Is this the one Momma? No, momma this isn’t it. I’ll keep looking!”.  After hours of climbing, jumping, playing, and talking to critters, we settled on one massive pumpkin, and three smaller ones. We returned home to snuggle and talk about what other adventures we should go on next. I am so grateful for this time of year, and the adventures with her every day.

My heart is full.

IMG_0908
IMG_0907
IMG_0884
IMG_0870
IMG_0869
IMG_0855
IMG_0850
IMG_0838
IMG_0826
IMG_0808
IMG_0802
IMG_0778
IMG_0759
IMG_0749
IMG_0753

Making the most of local

I love making the most of local foods, idea of knowing my farmer, and exactly where and how my food is raised, and the idea of using all parts of an animal any time I can makes me happy. I feel good knowing that the meat I am eating was well cared for, loved and had the chance to roam. Guys, let me show you something.

okanoganKatahdin lamb

This is Island Mountain Farm, in the Okanogan Highlands, where I get my lamb. Lovely right? Those little guys are Katahdin lamb, a breed raised for excellent meat quality. They are happily raised and finished on dryland pasture and happy animals, raised well in open areas, means healthy and good meat. They are just one of the farmers you can connect with at Barn2Door.  Remember my Salmon Post? Local food delivered straight to you is amazing! Barn2Door is a marketplace where you can buy sustainably grown meat, fish, fruits, vegetables & items like lamb and even real maple syrup right from producers and growers. Farmers, fishers, ranchers and gardeners have their own store – like Etsy for farms –  where they showcase the food they have for sale, and manage direct communications, sales and fulfillment (local delivery, national shipping or both!). Want more info?  Check them out, sign up for their newsletter, and keep reading for a discount code! Who doesn’t love that?!

Over the next few weeks, starting with this post, I have a goal: I’ll stick with my love of showing you how good it can be to know your food and where it comes from, but I want to help you feel comfortable with different types of meat and cuts of meat. Are you ready?

Years ago, families used more of the animal than we do now-if you were to ask your grandparents, or your great-grandparents, likely they would tell you about how they ate things like organ meat, things like liver, kidneys. They used these other parts of the animal because they knew how to cook it, it was good nourishment, and often, it was something that they raised themselves. I love the idea of getting back using as much of the animal as often as possible. It’s respectful of the animal, and can be lower in cost. If you looked in my freezer right now, you’d see a lot of random things-tripe, beef tongue, hearts, various kidneys, beef and chicken bones for stocks. All good, tasty and nourishing things, but not the standard foods you may be used to seeing. At first, I was nervous about cooking them. Would they be good? Are they hard to cook? Would my family and friends think I am crazy for serving them this stuff? So far, the odds have been in my favor. Like any food, how you cook it, and how you present it is key. Keeping things simple, with good ingredients is a great way to make food approachable.

My recipe for you all today is Seared Lamb Kidneys With Red Wine Glaze. It’s super easy from start to finish, and if you can cook bacon, you’ll be more than good on this!  I’ll start with the basics and add a couple quick twists.

Seared Lamb Kidneys With Red Wine Glaze
Serves: 6-8 as an appetizer, 4 as a hearty side
Time: 45 minutes

Ingredients:

1 lb lamb kidneys
4 slices thick bacon
1/4 c red wine-I used a Sangiovese
1 cup stock – I used lamb stock
1/4 tsp pepper
1/8 tsp salt or more to taste
3 cloves garlic, minced
3/4 of a small bulb of shallot, finely chopped

Method:

Island Mountain Farm Lamb Kidneys

  1. Trim any excess tissue or fat from around the kidneys, cut them in half and remove the tough, white core.
    kindeys with skinkidney core
  2. Chop them in small bite sized pieces and set your kidneys aside.
  3. Mince your garlic and finely chop your shallot, set both aside.
  4. Chop your bacon into bite sized bacon and add to a cool, deep pan-I like my 3 quart dutch oven for this. Fry your bacon until crisp and remove-placing it on a paper towel to drain.
    chopped bacon sauteed bacon
  5. Add your shallot and sweat in the bacon fat, until they just start to get translucent – about 1-2  minutes and then add your garlic until it starts to turn a light, light brown. You’re getting close!
  6. Add your lamb kidneys and let them cook. You want them to get a little seared, and a little more yummy about 2-3 minutes Don’t stir!
    cooking kidneys
  7. Add your salt and your pepper and flip your kidneys. Cook for another 5-10 minutes, or until there is very little red remaining. Pull out, keeping any liquid (if any) in your pan and place off to the side.
  8. Add your wine and scrape all of those tasty bits off of the bottom of the pan (this is called deglazing).
  9. Add your lamb stock and your reserved bacon.
  10. Let this reduce to about 1/3. If it doesn’t thicken up, pull out a few tablespoons of the liquid, mix in a spoon full of flour until incorporated and add this all to your sauce.
  11. Plate your kidneys and drizzle your sauce over it all!
    IMG_0738

That’s it! Serve as a side, or as an appetizer on toasted baguette.

Now for the twist!

Do everything above, but throw your kidneys in a food processor and blend up until smooth to make a dip. Add to crostini and drizzle your sauce over them. If you’re not quite ready to try kidneys, this recipe works really well with liver, too (same amounts as the above!).

SO easy, right?

Are you ready to get local food straight from the farmer? Head on over to Barn2Door, enter your zip code, find something amazing, and add in the code MAKEMENDGROW15 -at check out for $15 off a $50 purchase – good from now through November 6. Please check out Barn2Door on Facebook, and Island Mountain Farm’s Barn2Door site, their Website, and Facebook Page!

I’d love to hear from you on what you pick up and make!

Yours in whole foods,
Raina

Disclaimer: While I do love Island Mountain Farms and Barn2Door, this is a sponsored post. Photos of Okanogan and the Katahdin lamb courtesy of Island Mountain Farms, all other pictures are my own.