
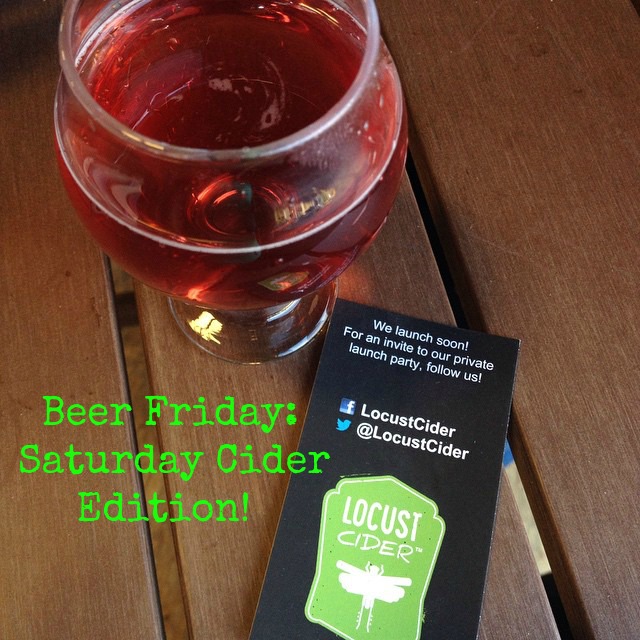
Beer Friday is back with a Saturday Cider edition twist y’all, and I couldn’t be happier! You know I love beer Friday, but I’m just going to put something out there:
Sometimes it is too darn hot for beer.
I know, I know. I can hear the gasps and feel the stares of shock. Trust me here; I have something that will quench your thirst and make you happy.
Cider.
Ok, not any old cider, but Locust Cider, made here in Woodinville Washington. Score for the local business lovers, too!
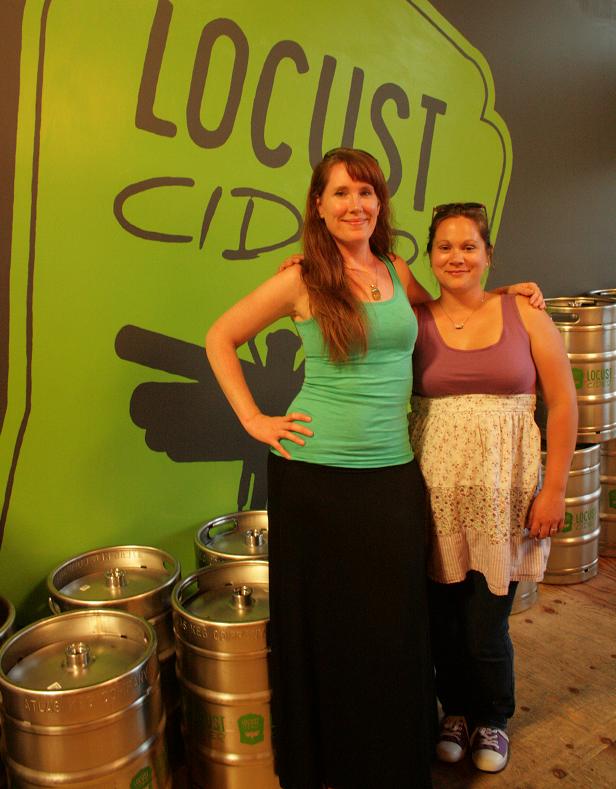
I had a chance to attend an event there Wednesday night with a fellow foodie and pastry chef, Lauren. We sampled 4 main ciders, and 2 sneak previews and I am in love. All of the ciders were crisp, fresh, and to my happiness: not too sweet! These are easy to drink, sit in your backyard with a plate of ribs and let the cider cut through that delicious fat. Are you hooked yet?

Here’s what we had:
Original Dry: this is their flagship and carries an ABV of 6%. It’s clear, slightly golden and crisp. It’s just slightly bubbly and it is so good. This one is your go to for BBQ and fattier (read: delicious) foods.
Next up was the Summer Berry, a yummy blueberry cider, with a ruby hue and a lovely 4.5% ABV (which means you can totally have more!). What I enjoyed most about this one was that even though you could taste the berries, you didn’t lose the apple. It was very well balanced.
My personal favorite was the Dark Sweet Cherry, a pale pink, almost rose color. At 6% ABV and slightly more sweet than the others, this was my clear winner. It had a good sharp cherry taste, but again, the apple flavor was still present. I am kicking myself for not getting a growler of this! I can see myself using this in a reduction or a glaze for pork loin.
The last regular release we tried was the Green Tea Hard Cider made with decaf Chinese green tea. They add it twice (pre and post fermentation). so you get the subtle grassy taste from the tea, but you don’t lose any of those yummy apple flavors. This one also has an ABV of 6%.
As if that wasn’t enough, we were also treated to two soon to be released specialty ciders: the Normandy Bittersweet Reserve and the 6 Month Aged Washington Apple blend-these were definitely a treat, both still crisp, but with more body, and more tang than the others. I can’t wait for these to go into regular release!
Overall, I give these ciders a solid 9, with the Dark Sweet Cherry a 10. I love that one!
So, I bet you’re ready to try these ciders, right? If you’re worried about the trek to Woodinville, don’t be! You can find these in Haggen grocery stores and in some local bars in Seattle. The price point is easy to swallow too, averaging $9 for a 6 pack. You can also pick up a growler for a great deal too!
Normal disclaimer-I did receive delicious treats to allow me write this post, but all of these opinions are my own and I would be doing a shout out even without the cider perks! Now, get over there and have some cider!
Raina


 After two hours of talking, laughing, and eating, we were done, leaving happy and full and with a renewed passion for the market.

