I love making the most of local foods, idea of knowing my farmer, and exactly where and how my food is raised, and the idea of using all parts of an animal any time I can makes me happy. I feel good knowing that the meat I am eating was well cared for, loved and had the chance to roam. Guys, let me show you something.

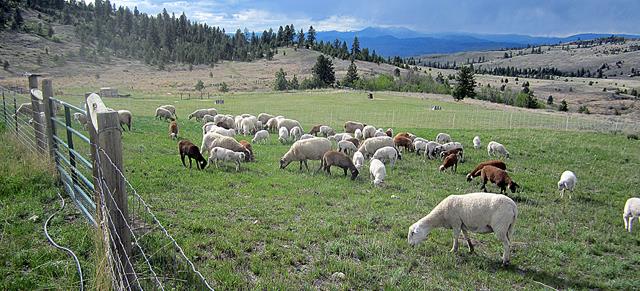
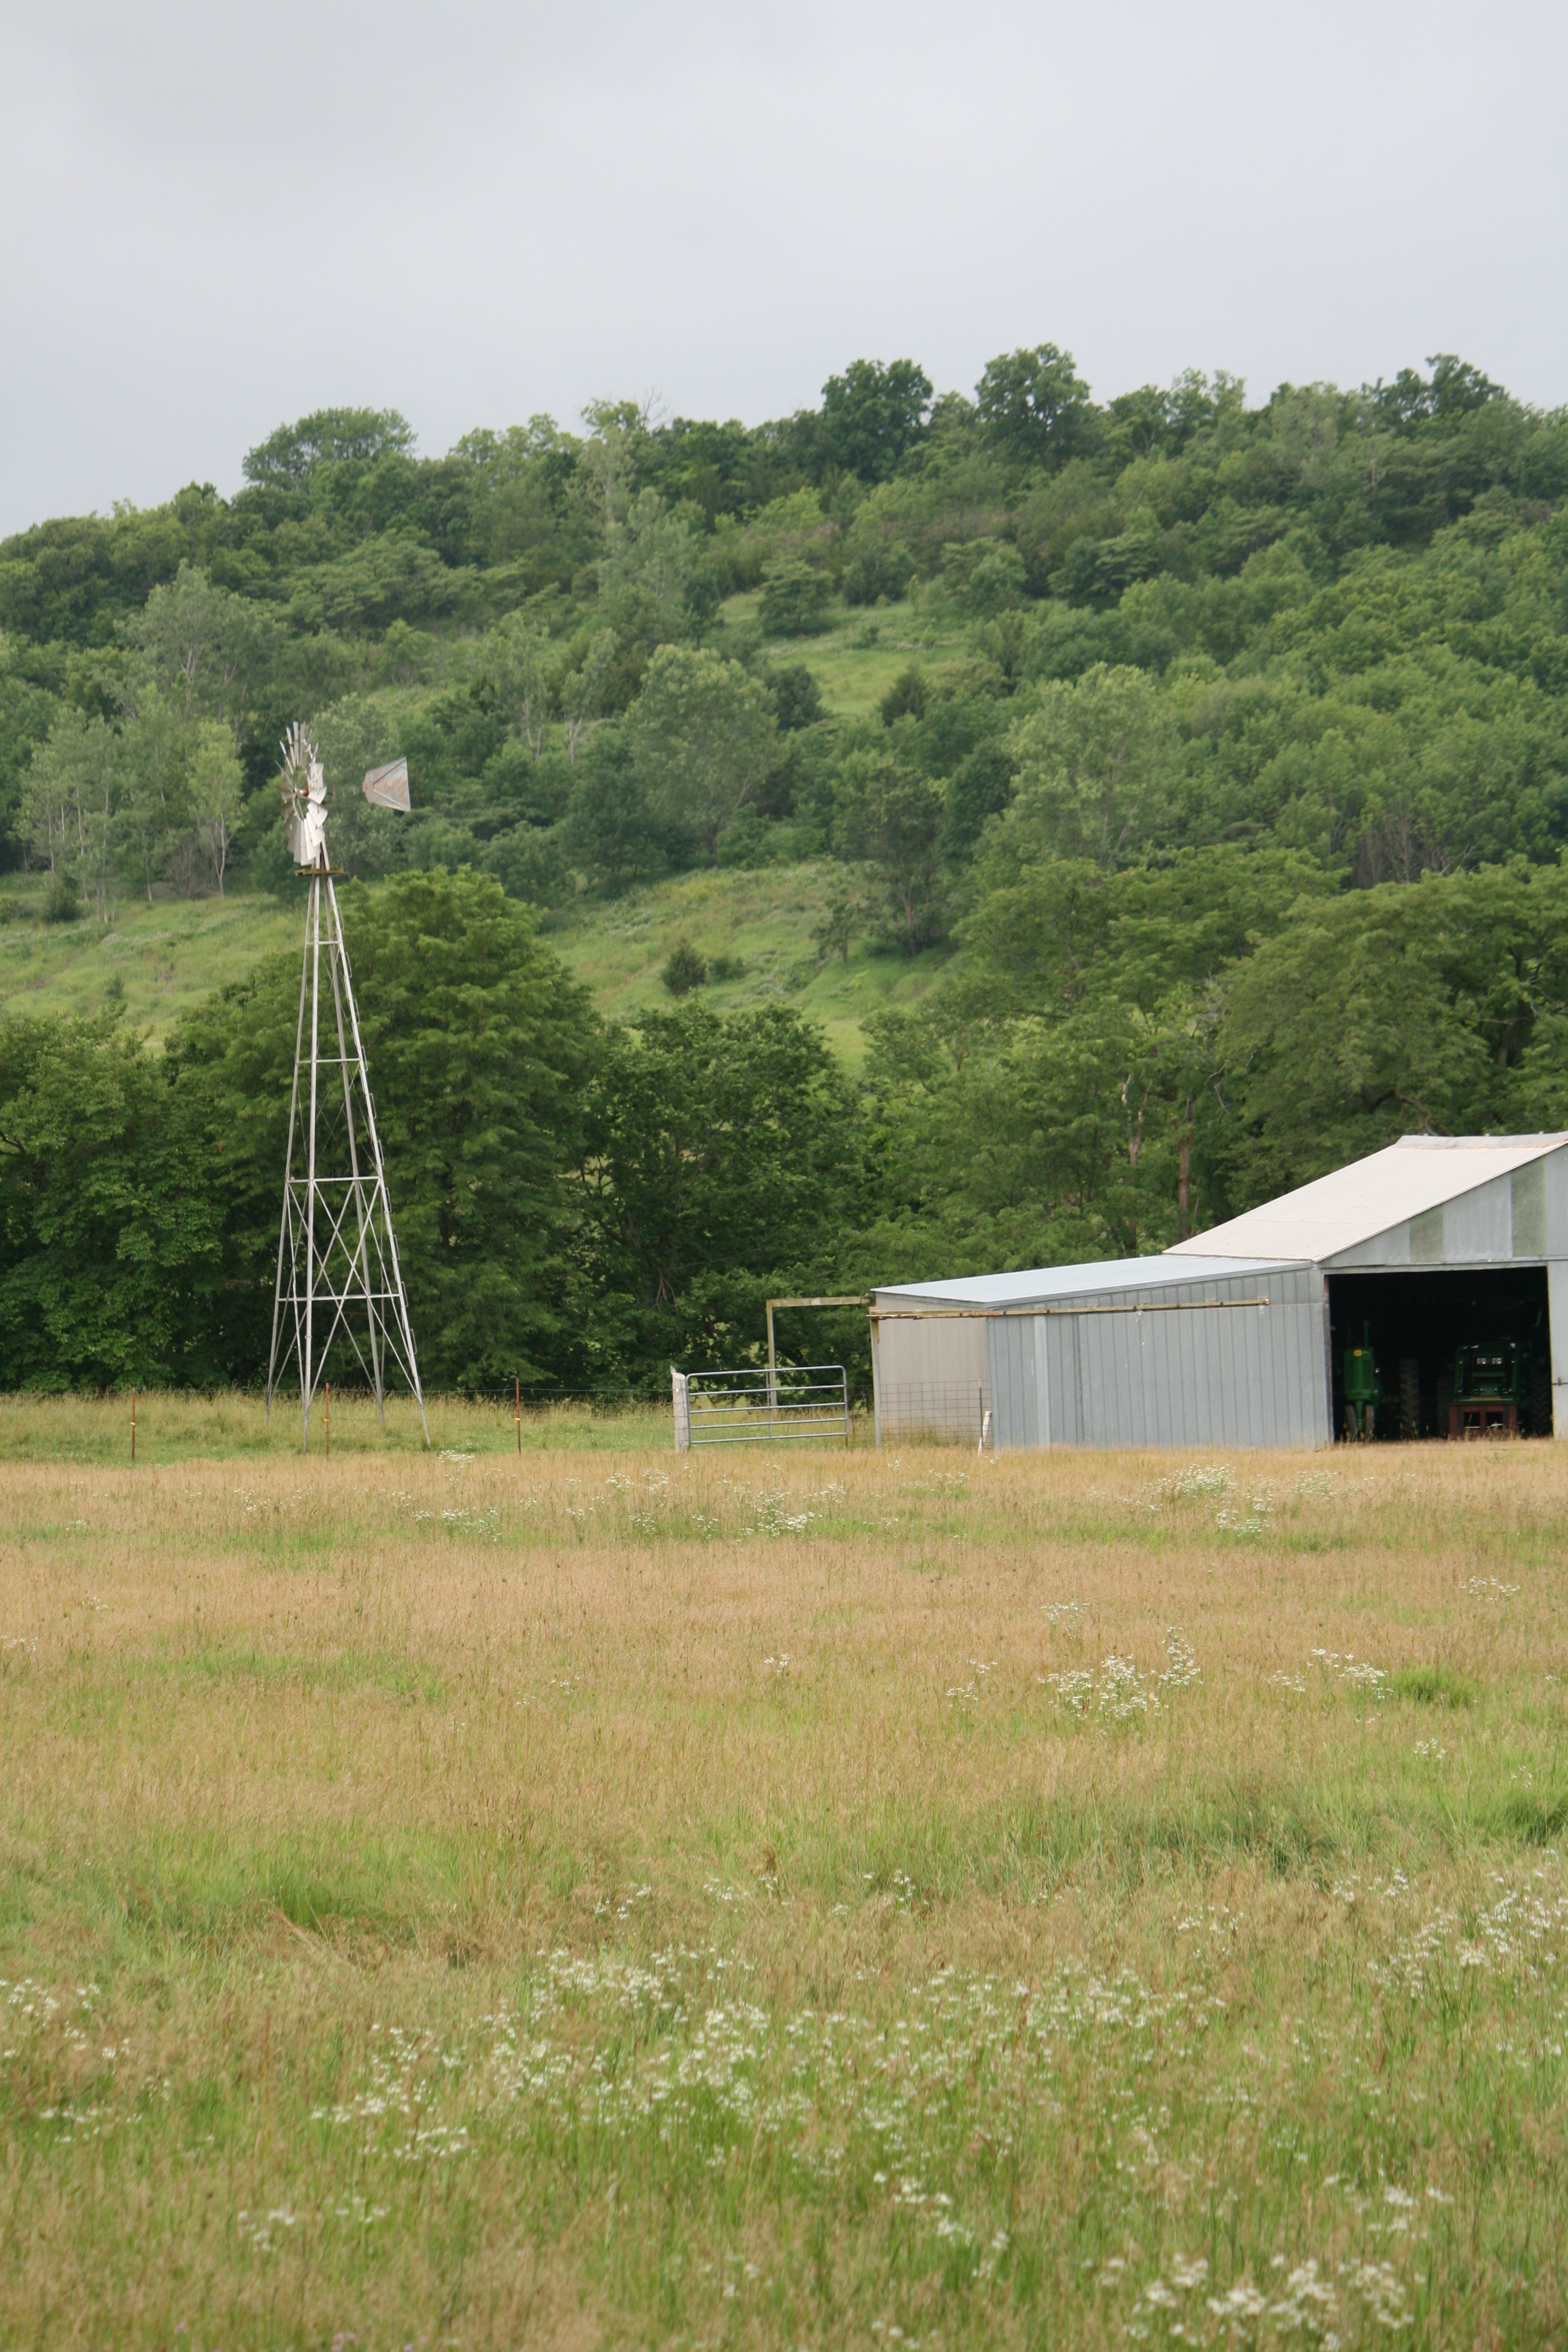
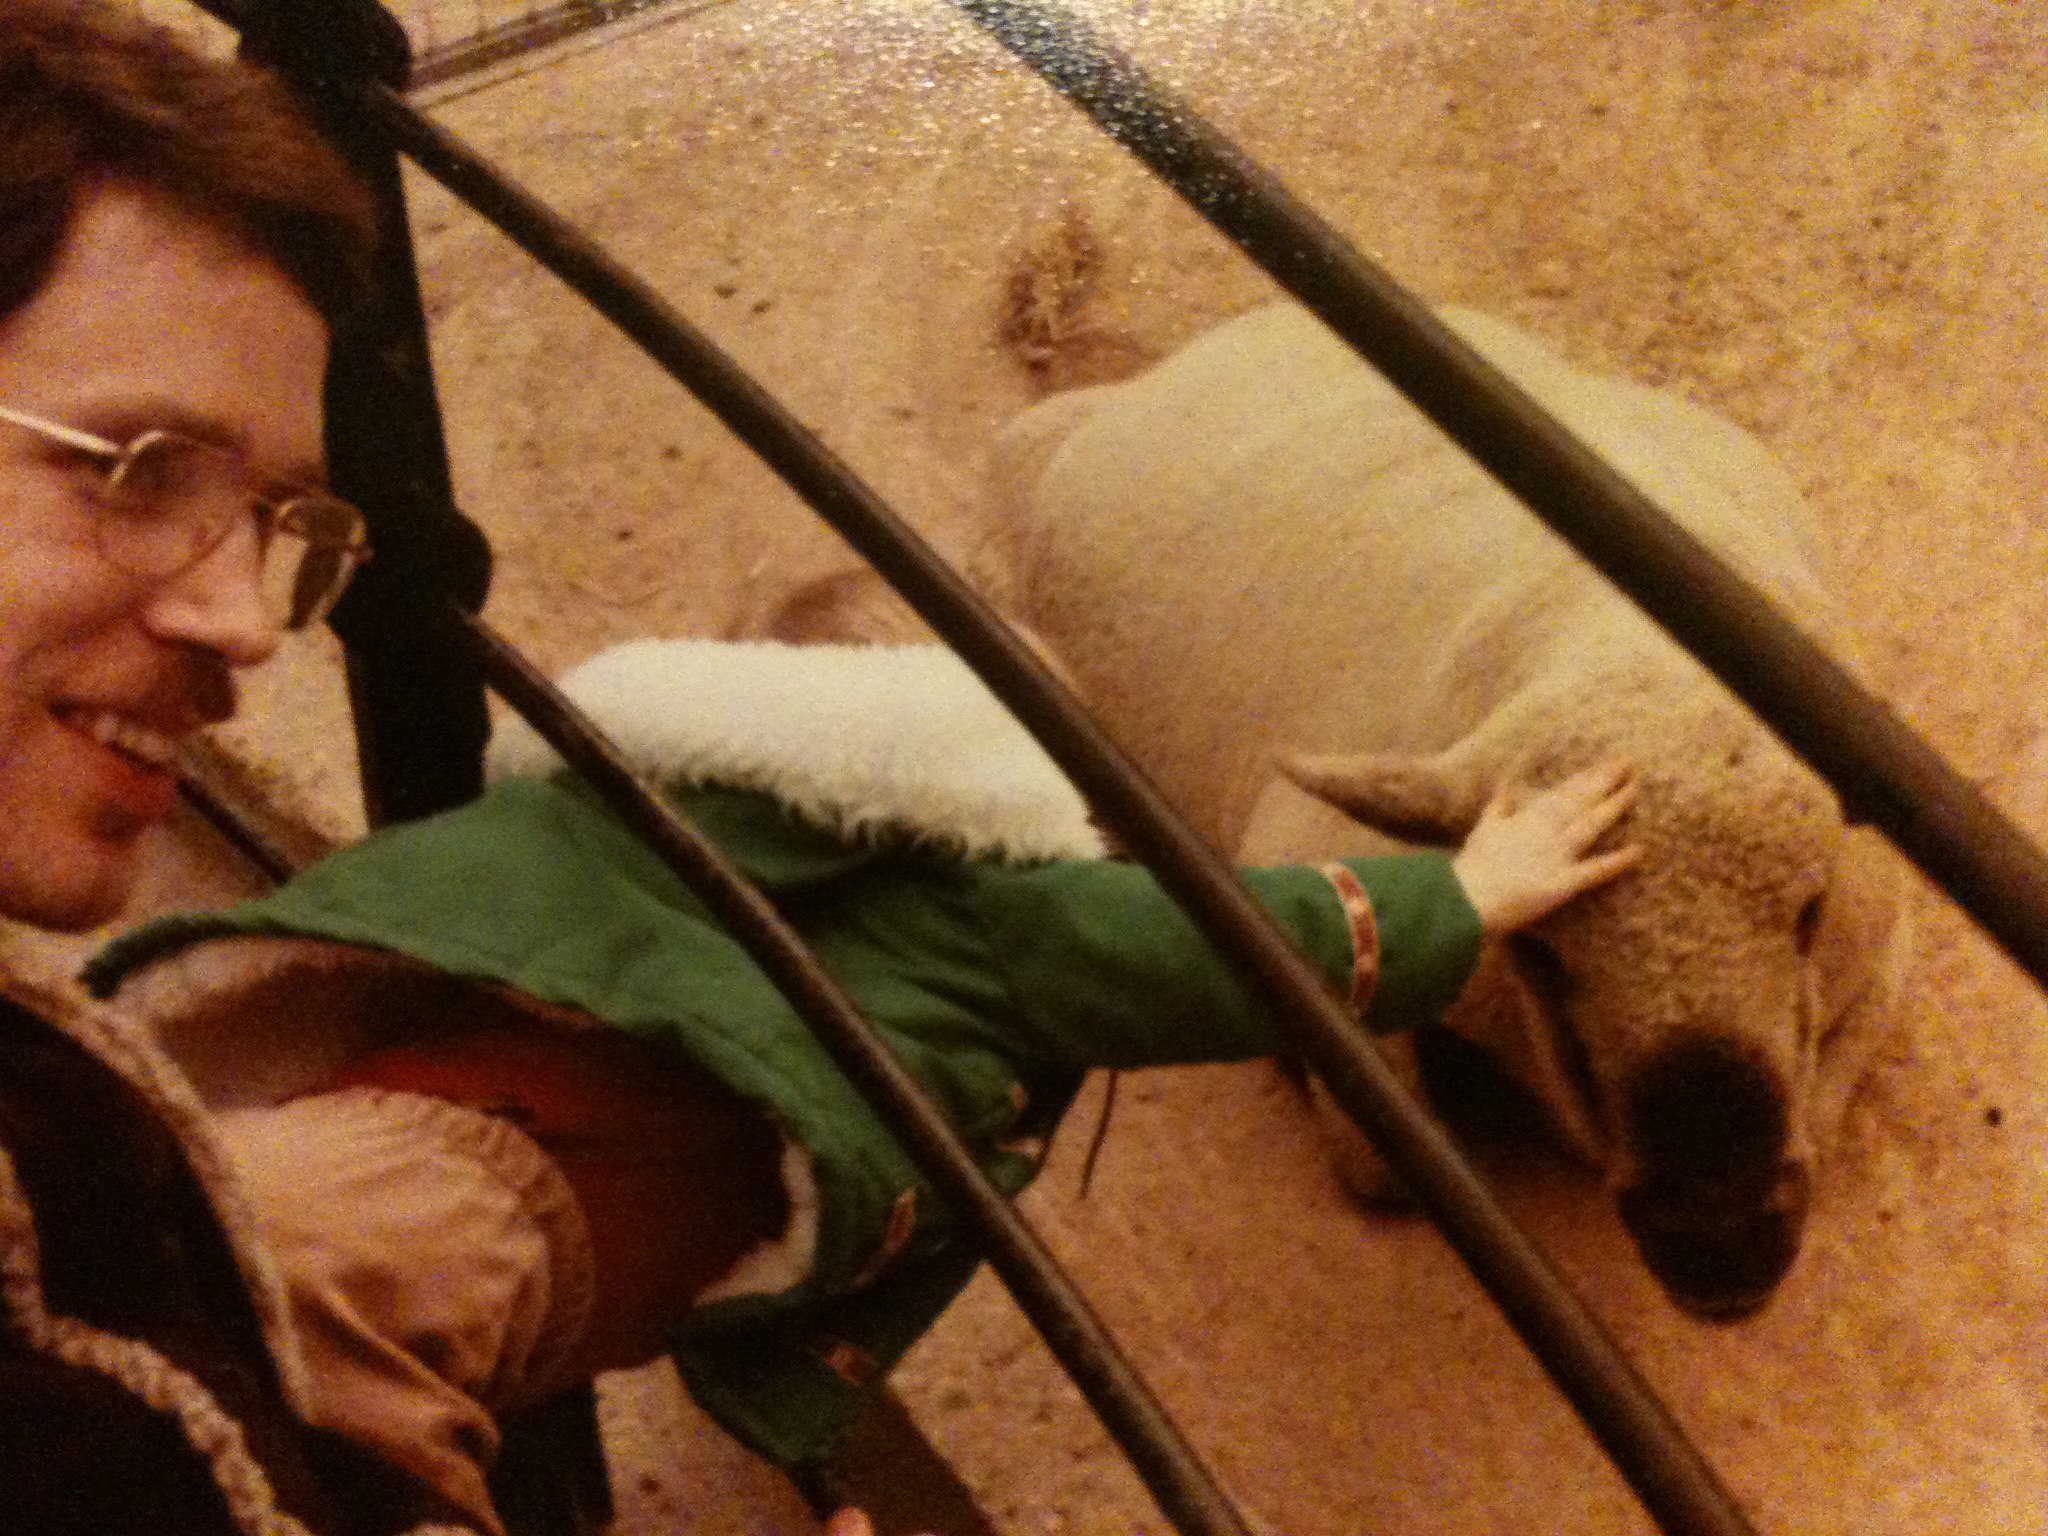
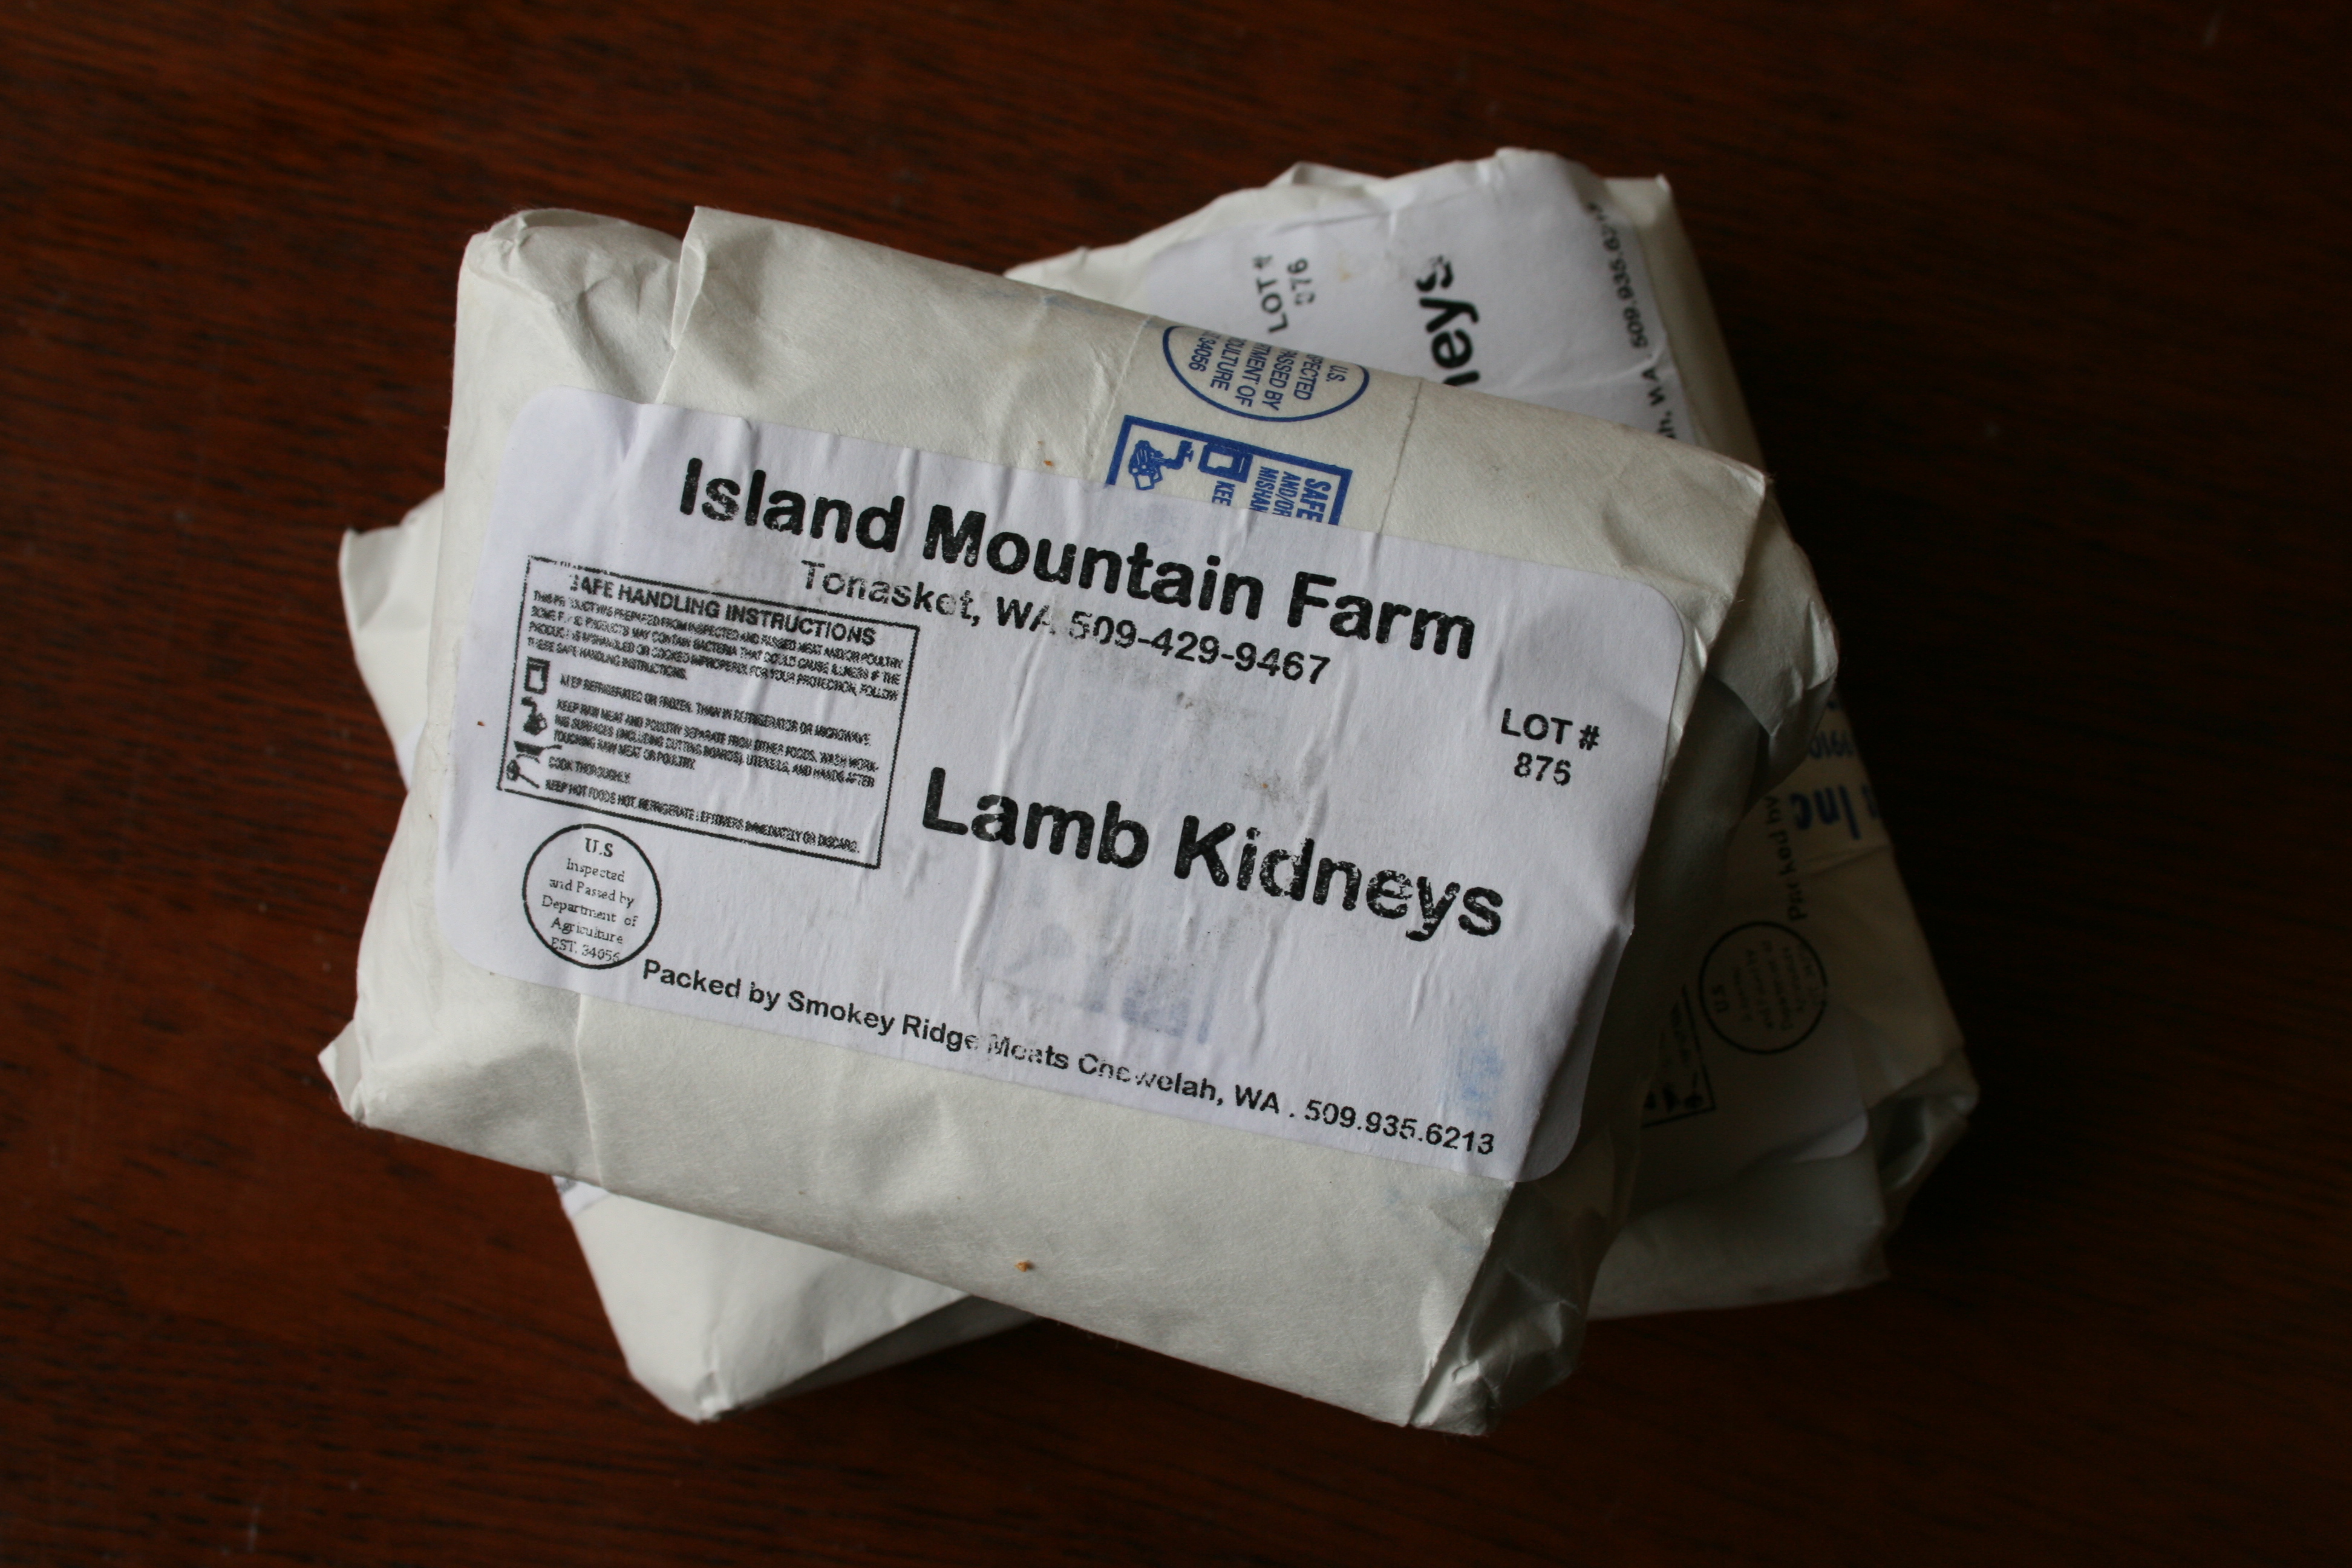
This is Island Mountain Farm, in the Okanogan Highlands, where I get my lamb. Lovely right? Those little guys are Katahdin lamb, a breed raised for excellent meat quality. They are happily raised and finished on dryland pasture and happy animals, raised well in open areas, means healthy and good meat. They are just one of the farmers you can connect with at Barn2Door. Remember my Salmon Post? Local food delivered straight to you is amazing! Barn2Door is a marketplace where you can buy sustainably grown meat, fish, fruits, vegetables & items like lamb and even real maple syrup right from producers and growers. Farmers, fishers, ranchers and gardeners have their own store – like Etsy for farms – where they showcase the food they have for sale, and manage direct communications, sales and fulfillment (local delivery, national shipping or both!). Want more info? Check them out, sign up for their newsletter, and keep reading for a discount code! Who doesn’t love that?!
Over the next few weeks, starting with this post, I have a goal: I’ll stick with my love of showing you how good it can be to know your food and where it comes from, but I want to help you feel comfortable with different types of meat and cuts of meat. Are you ready?
Years ago, families used more of the animal than we do now-if you were to ask your grandparents, or your great-grandparents, likely they would tell you about how they ate things like organ meat, things like liver, kidneys. They used these other parts of the animal because they knew how to cook it, it was good nourishment, and often, it was something that they raised themselves. I love the idea of getting back using as much of the animal as often as possible. It’s respectful of the animal, and can be lower in cost. If you looked in my freezer right now, you’d see a lot of random things-tripe, beef tongue, hearts, various kidneys, beef and chicken bones for stocks. All good, tasty and nourishing things, but not the standard foods you may be used to seeing. At first, I was nervous about cooking them. Would they be good? Are they hard to cook? Would my family and friends think I am crazy for serving them this stuff? So far, the odds have been in my favor. Like any food, how you cook it, and how you present it is key. Keeping things simple, with good ingredients is a great way to make food approachable.
My recipe for you all today is Seared Lamb Kidneys With Red Wine Glaze. It’s super easy from start to finish, and if you can cook bacon, you’ll be more than good on this! I’ll start with the basics and add a couple quick twists.
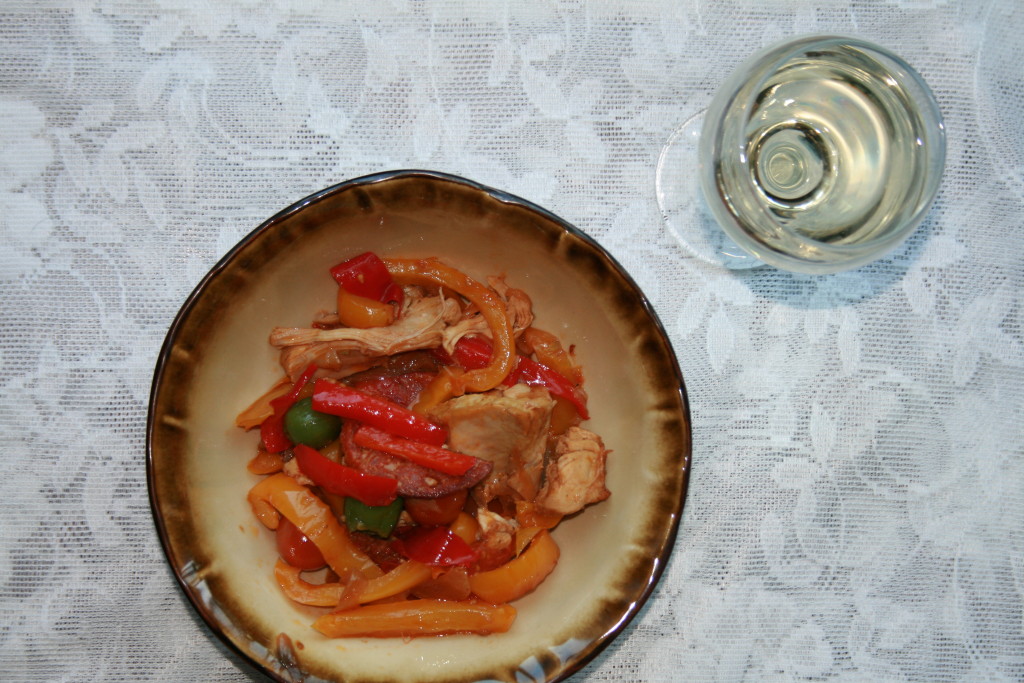
Seared Lamb Kidneys With Red Wine Glaze
Serves: 6-8 as an appetizer, 4 as a hearty side
Time: 45 minutes
Ingredients:
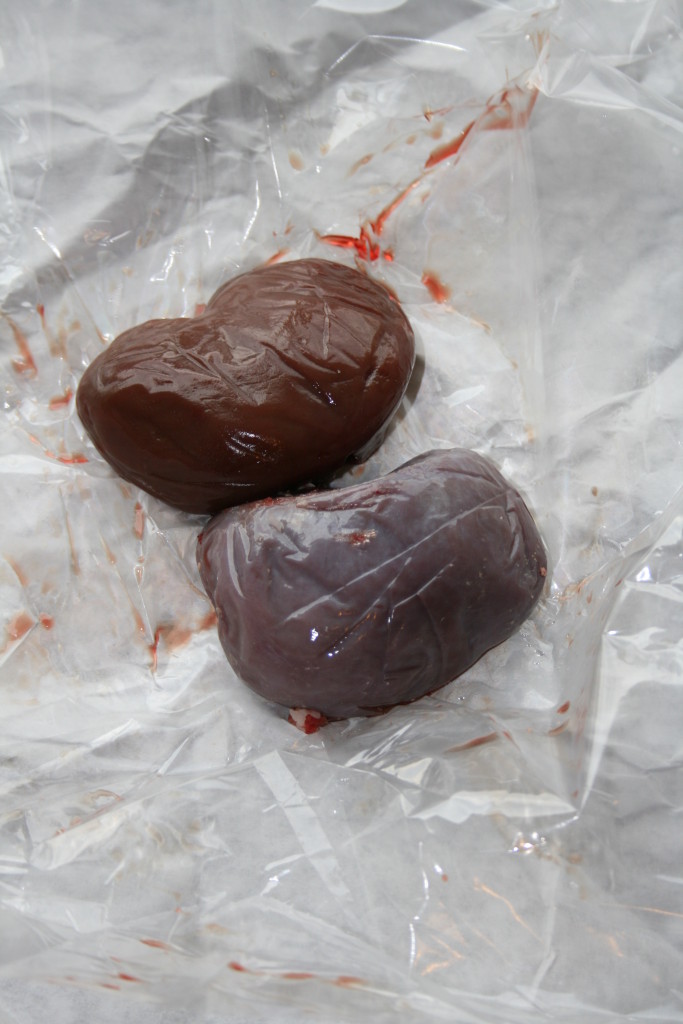
1 lb lamb kidneys
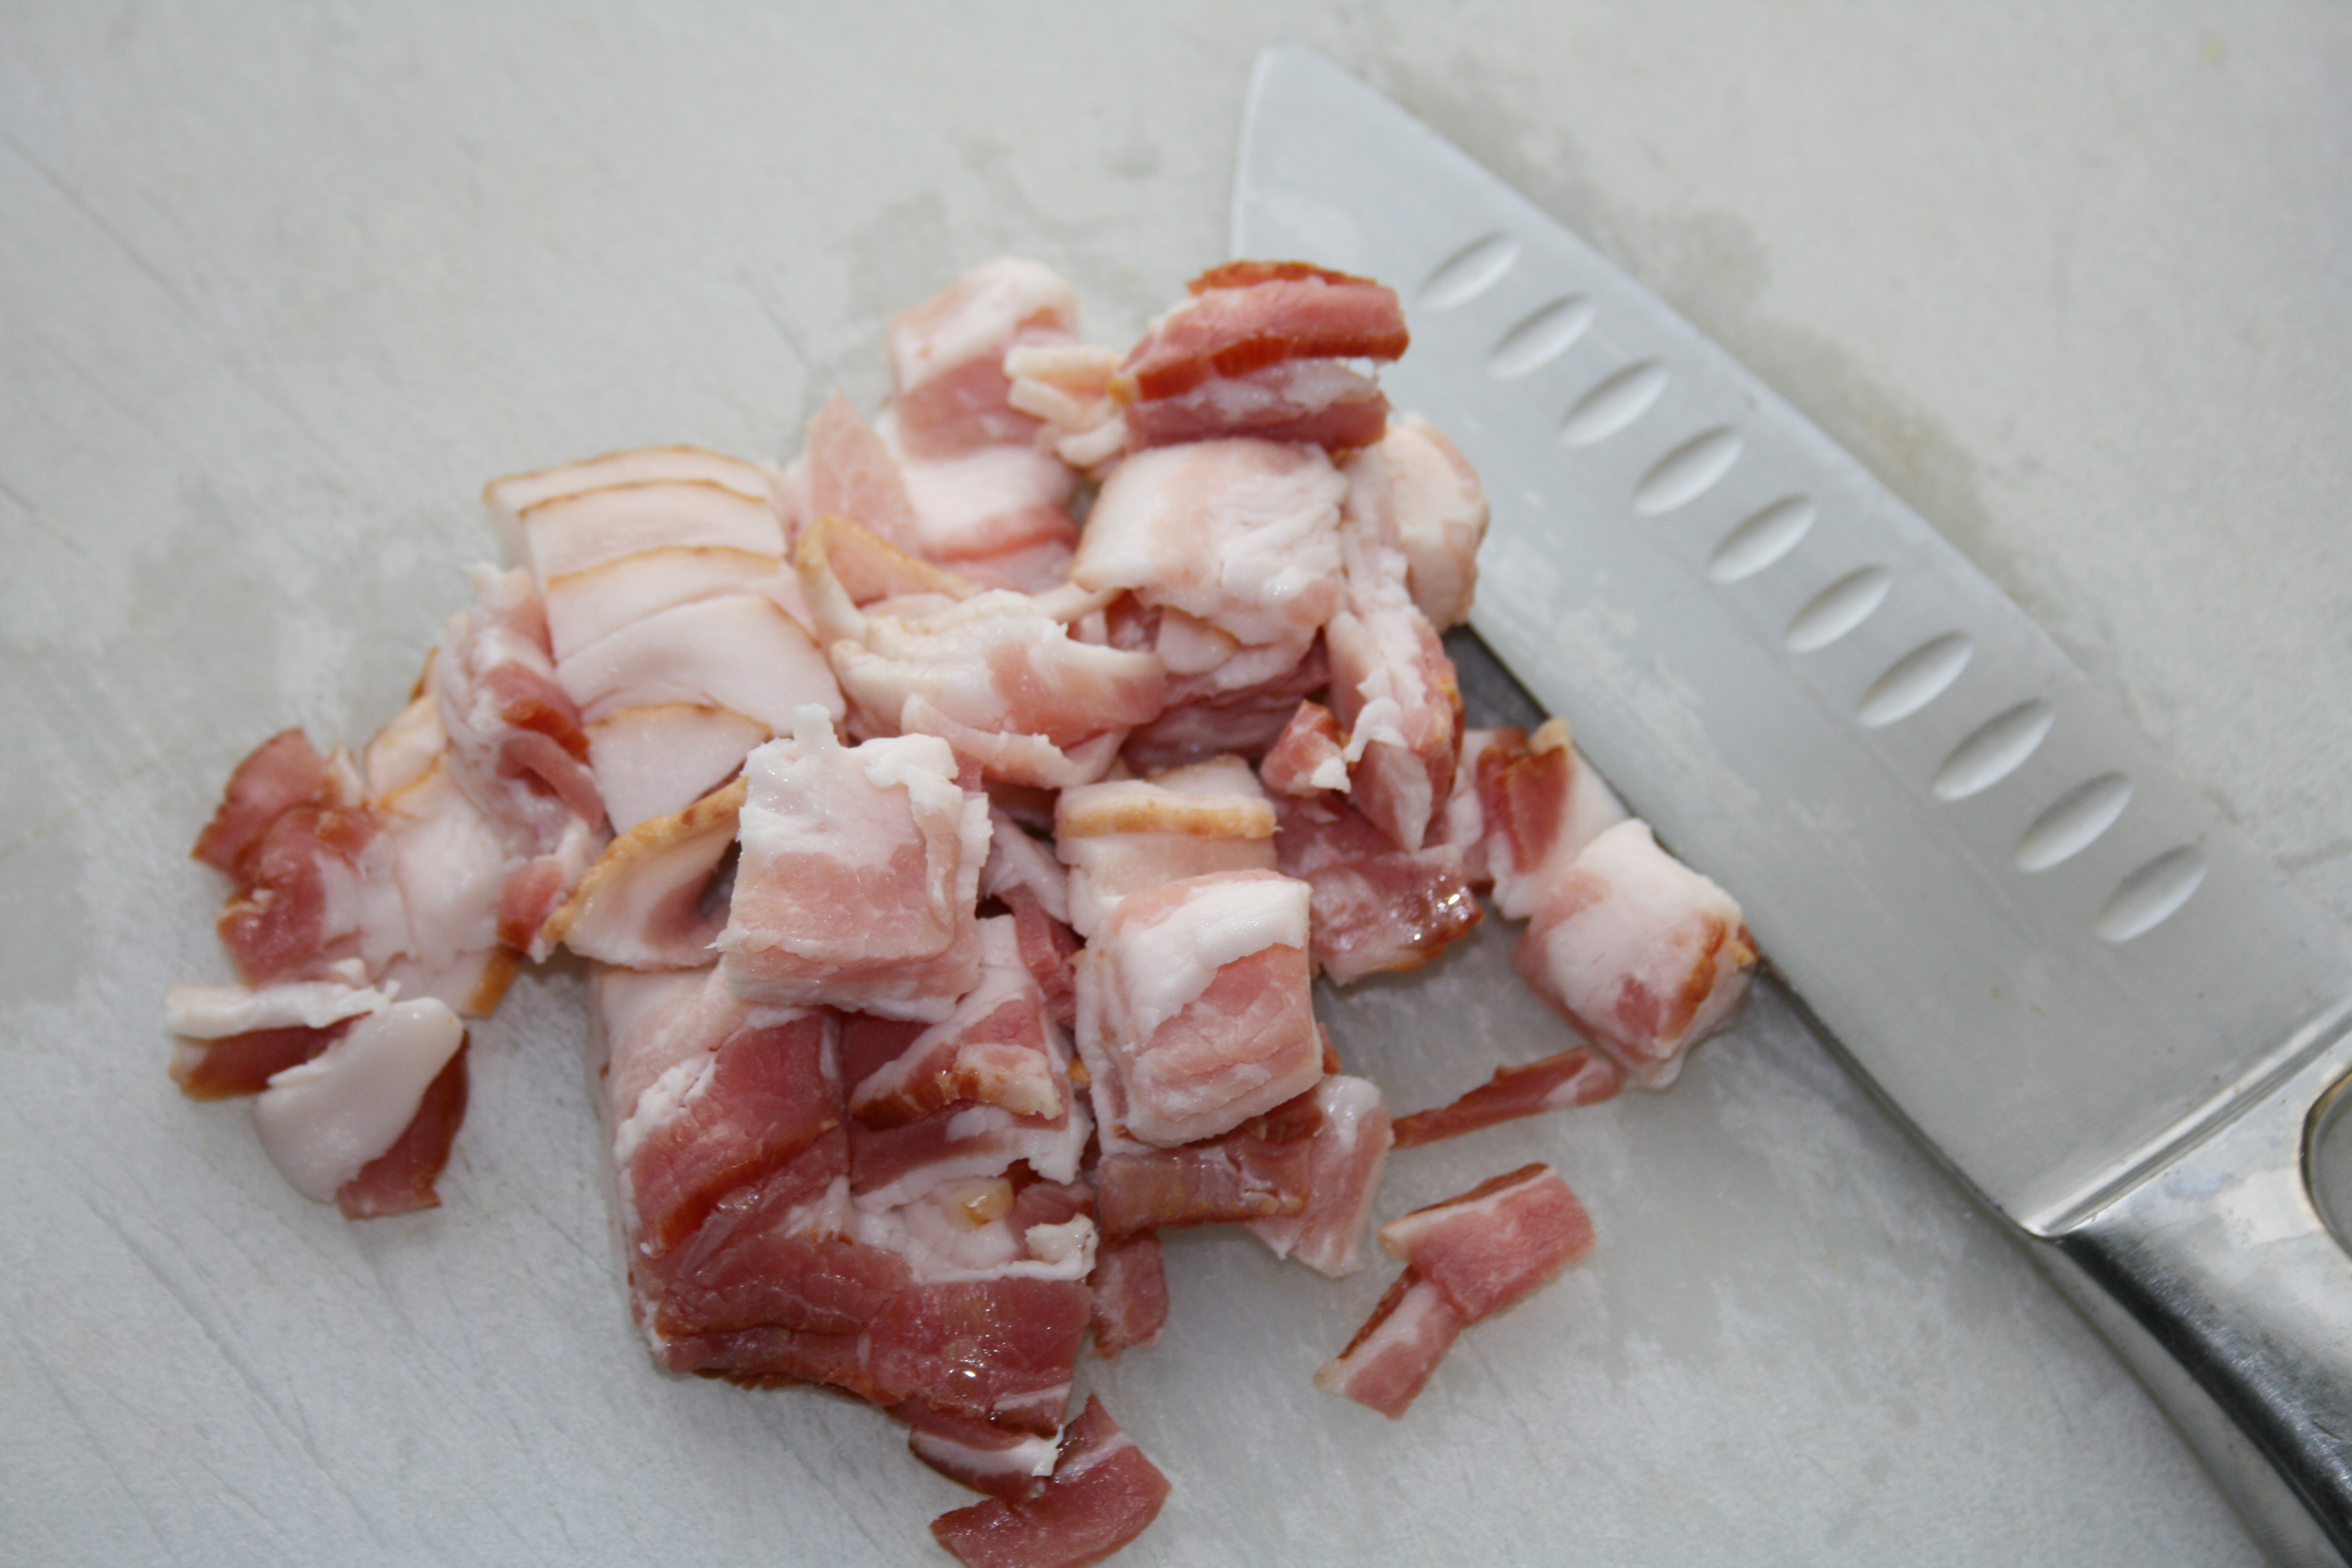
4 slices thick bacon
1/4 c red wine-I used a Sangiovese
1 cup stock – I used lamb stock
1/4 tsp pepper
1/8 tsp salt or more to taste
3 cloves garlic, minced
3/4 of a small bulb of shallot, finely chopped
Method:
- Trim any excess tissue or fat from around the kidneys, cut them in half and remove the tough, white core.
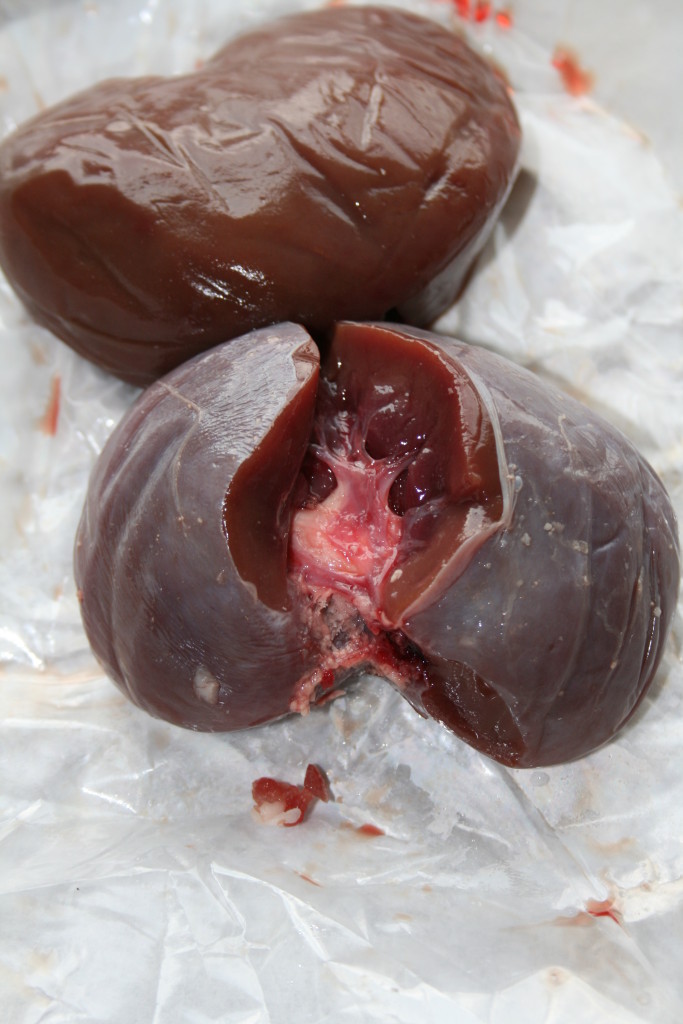
- Chop them in small bite sized pieces and set your kidneys aside.
- Mince your garlic and finely chop your shallot, set both aside.
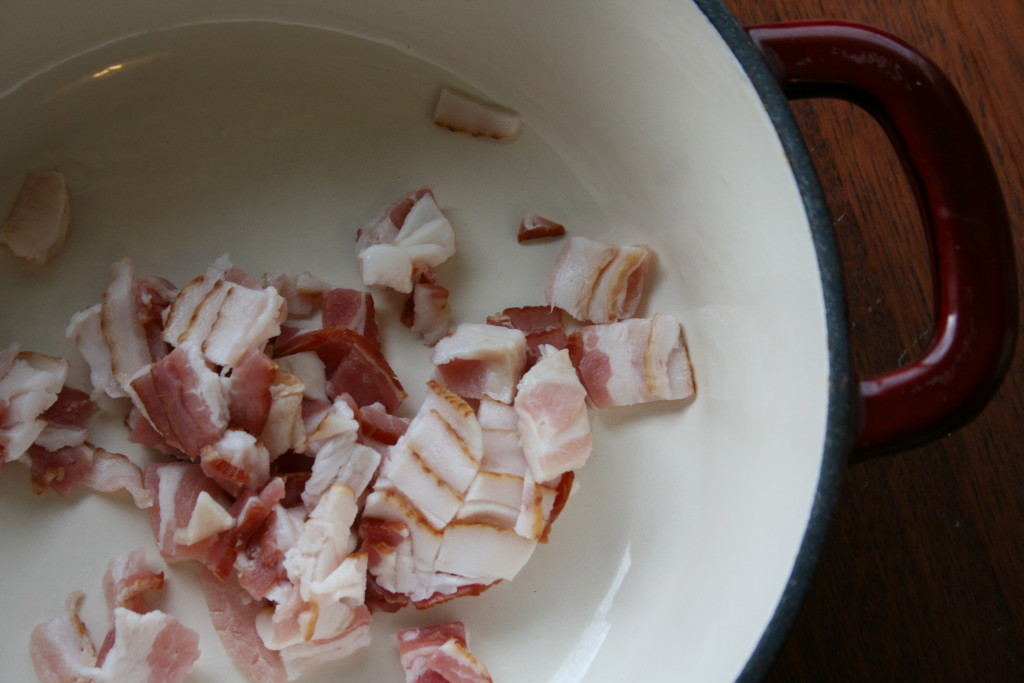
- Chop your bacon into bite sized bacon and add to a cool, deep pan-I like my 3 quart dutch oven for this. Fry your bacon until crisp and remove-placing it on a paper towel to drain.
- Add your shallot and sweat in the bacon fat, until they just start to get translucent – about 1-2 minutes and then add your garlic until it starts to turn a light, light brown. You’re getting close!
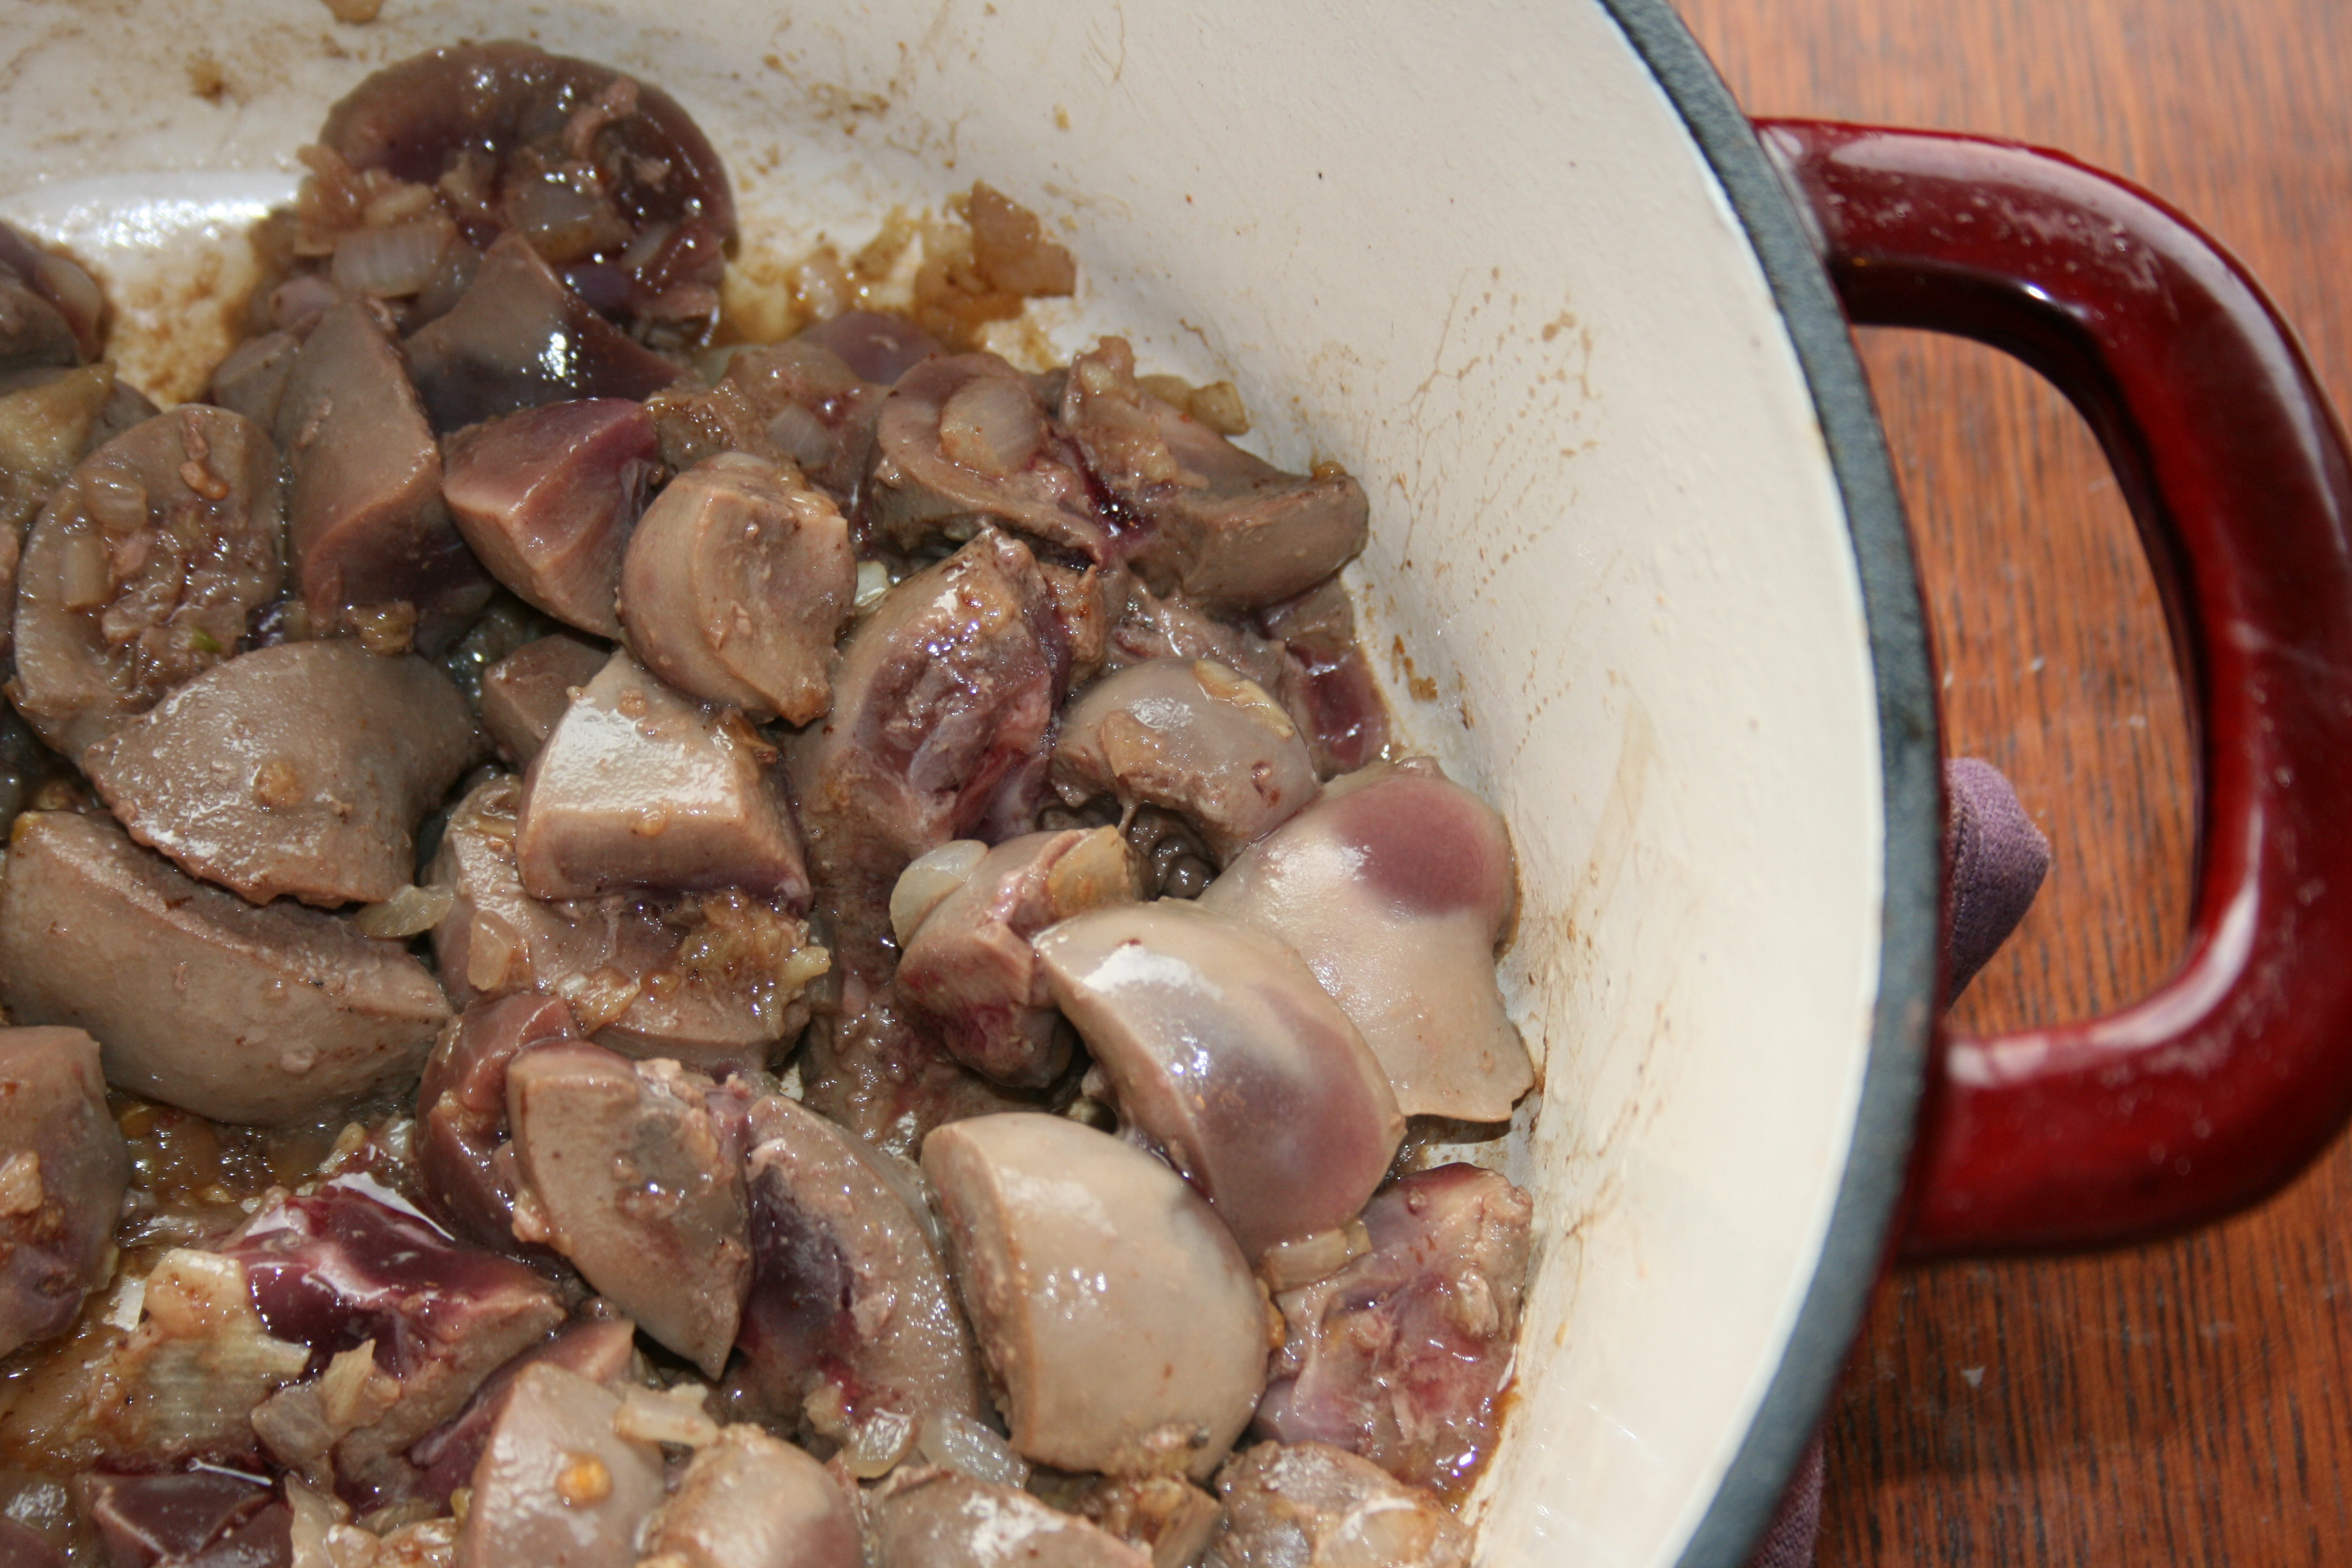
- Add your lamb kidneys and let them cook. You want them to get a little seared, and a little more yummy about 2-3 minutes Don’t stir!
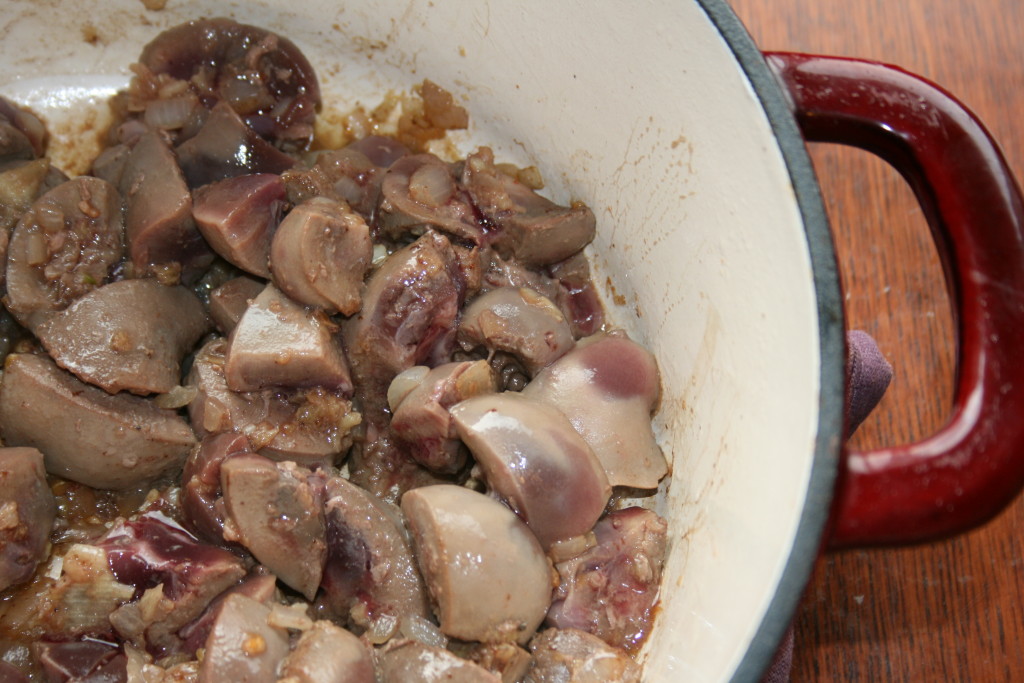
- Add your salt and your pepper and flip your kidneys. Cook for another 5-10 minutes, or until there is very little red remaining. Pull out, keeping any liquid (if any) in your pan and place off to the side.
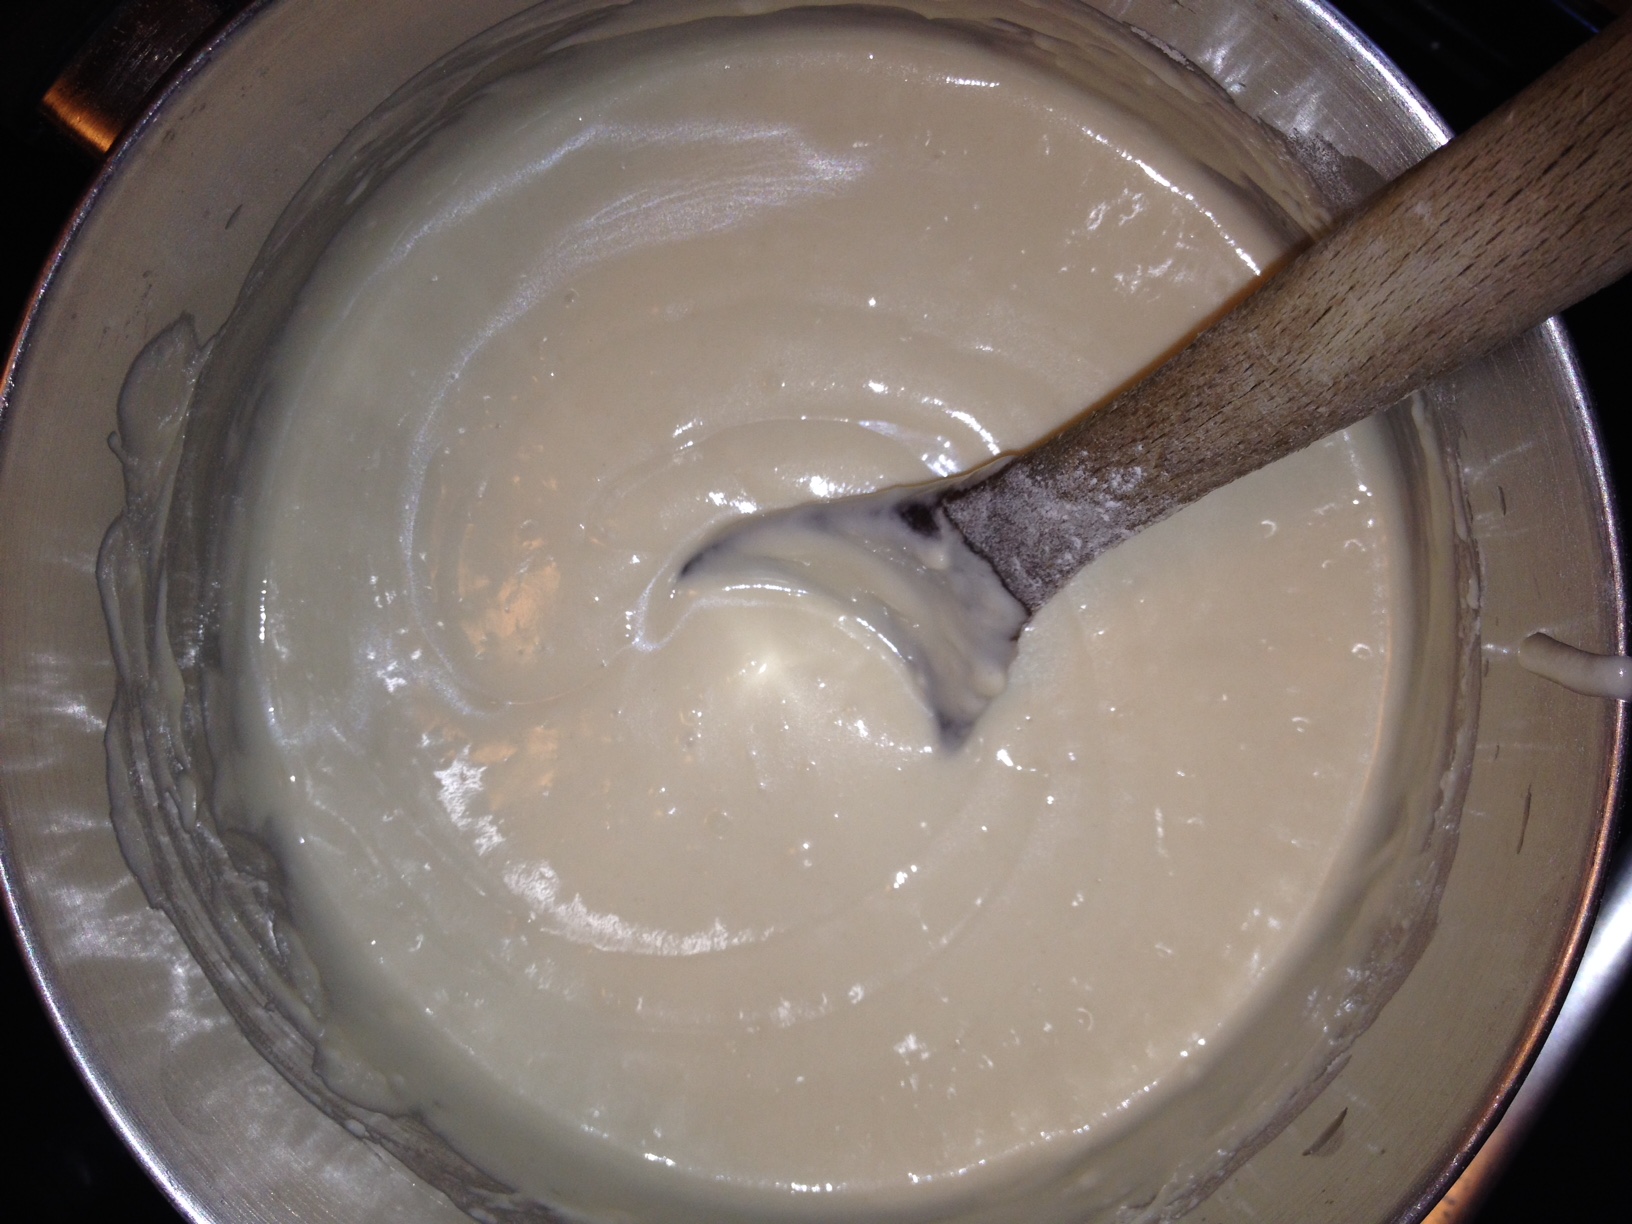
- Add your wine and scrape all of those tasty bits off of the bottom of the pan (this is called deglazing).
- Add your lamb stock and your reserved bacon.
- Let this reduce to about 1/3. If it doesn’t thicken up, pull out a few tablespoons of the liquid, mix in a spoon full of flour until incorporated and add this all to your sauce.
- Plate your kidneys and drizzle your sauce over it all!


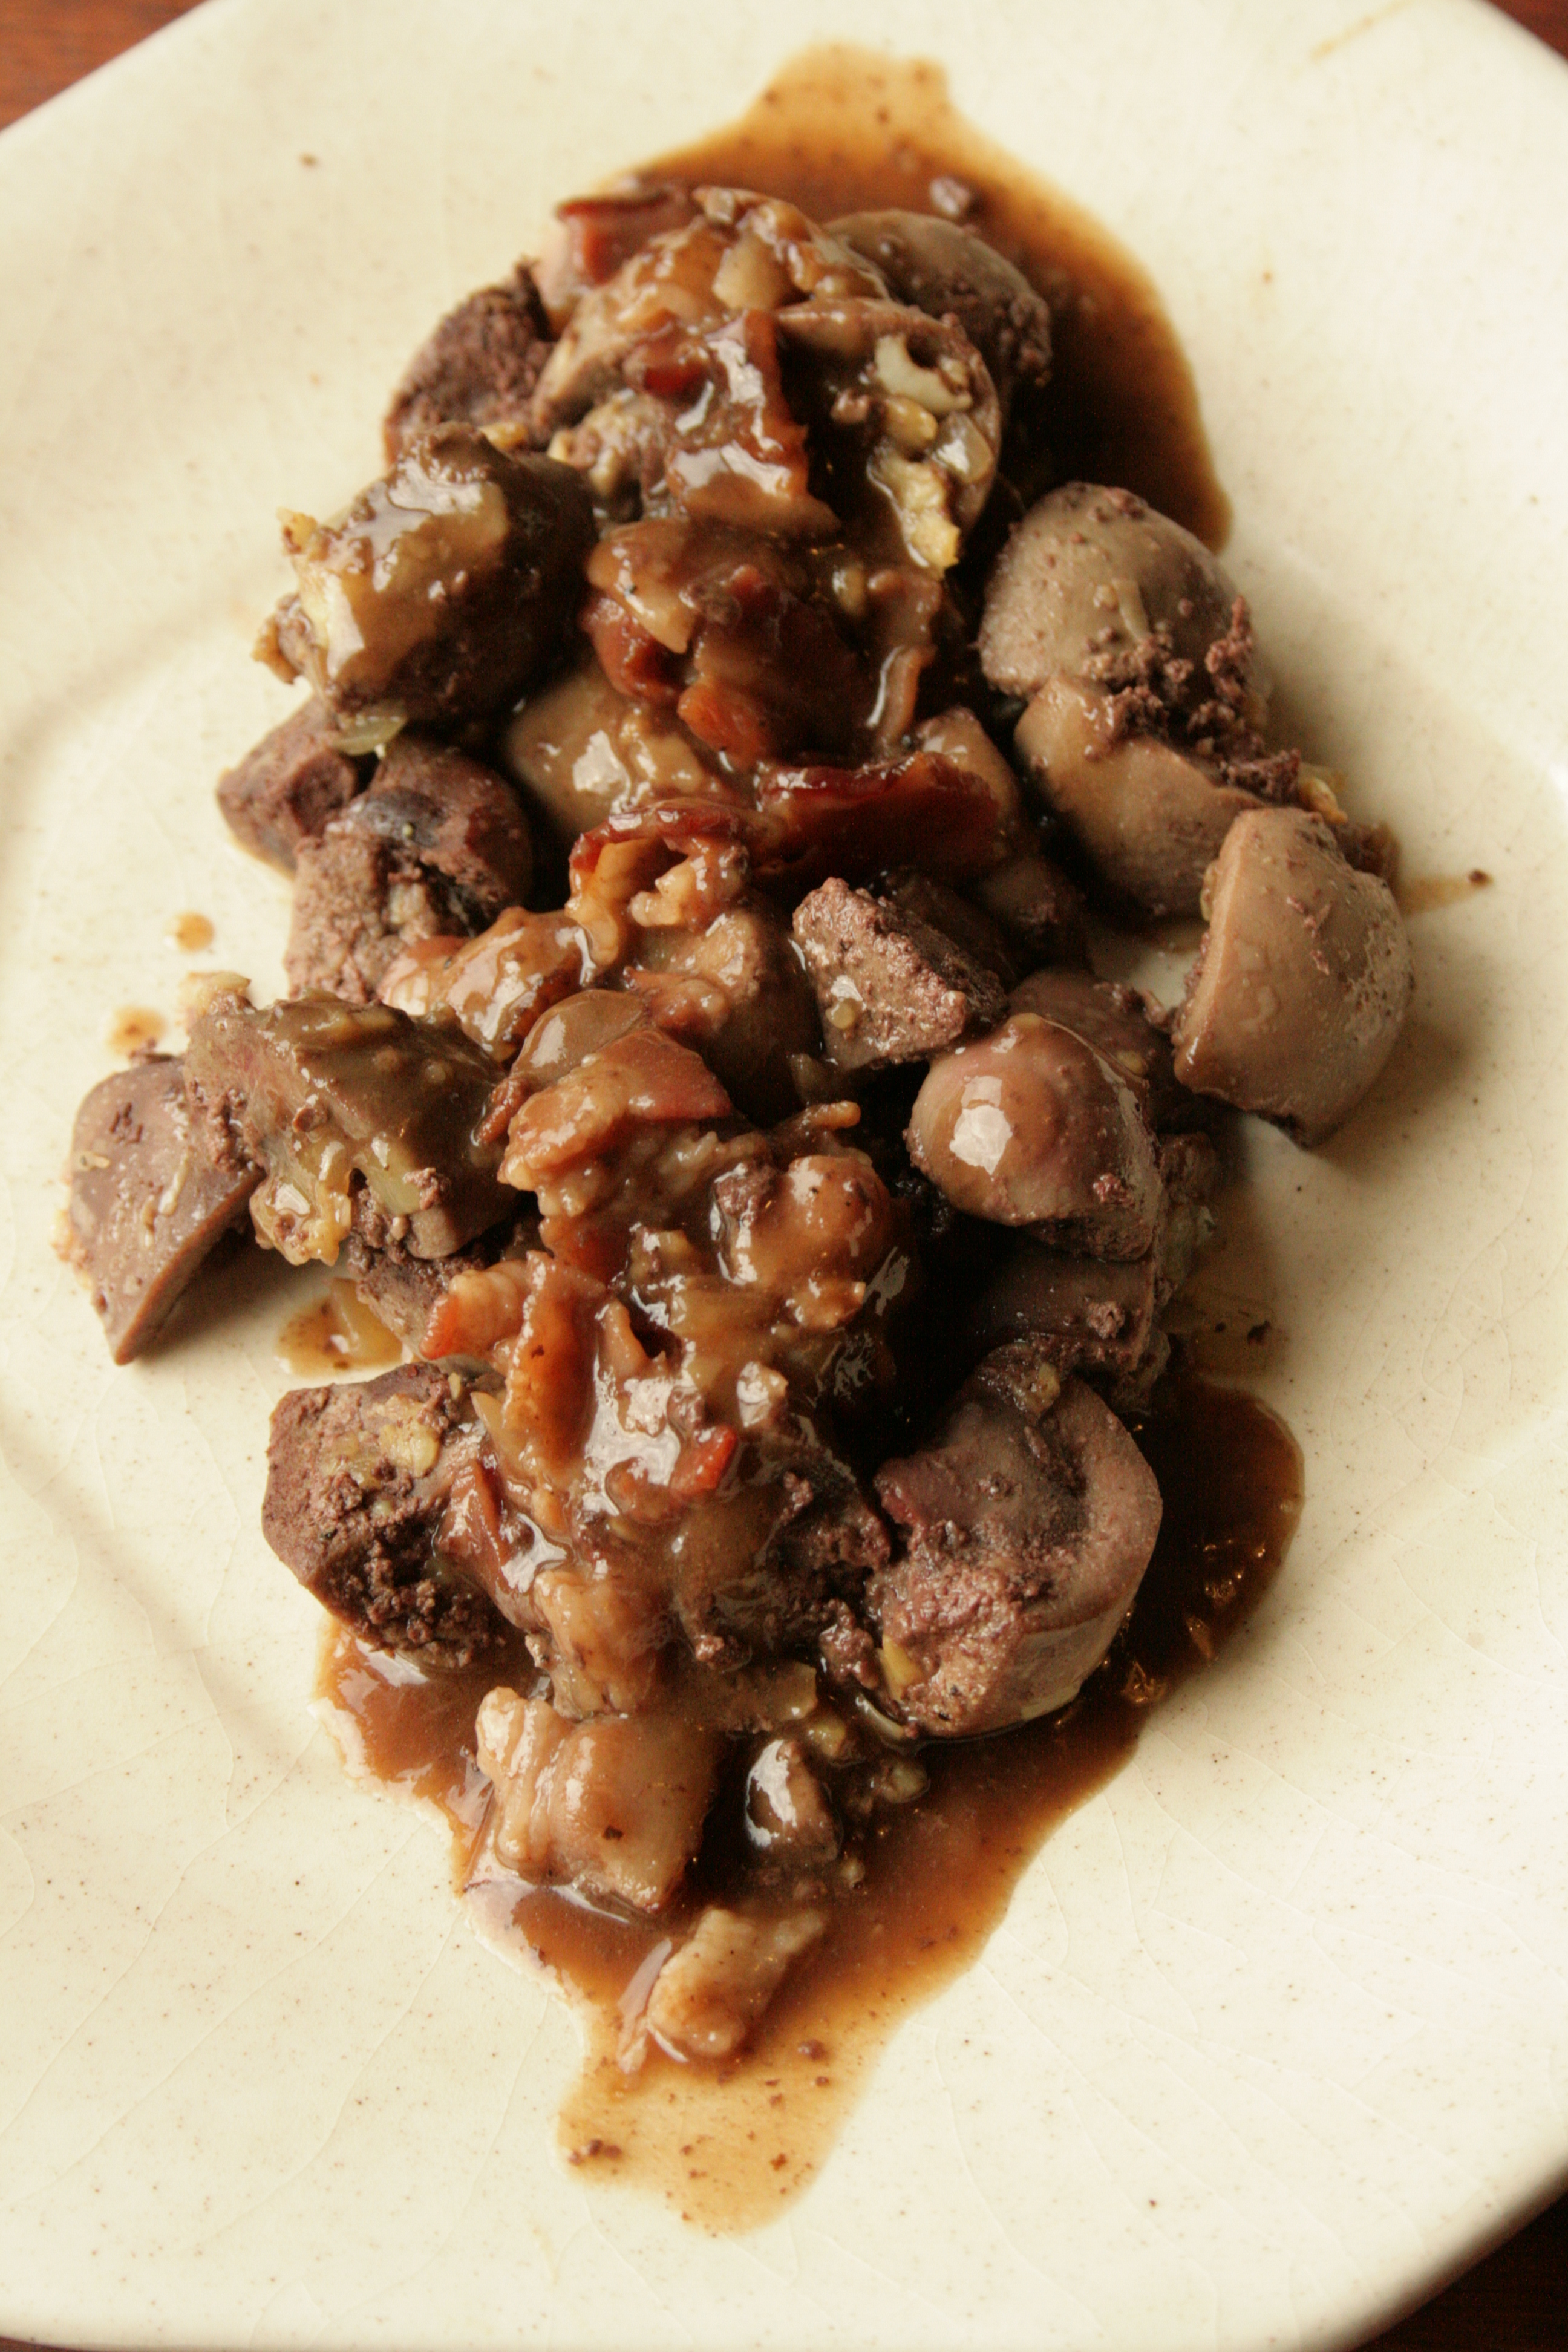
That’s it! Serve as a side, or as an appetizer on toasted baguette.
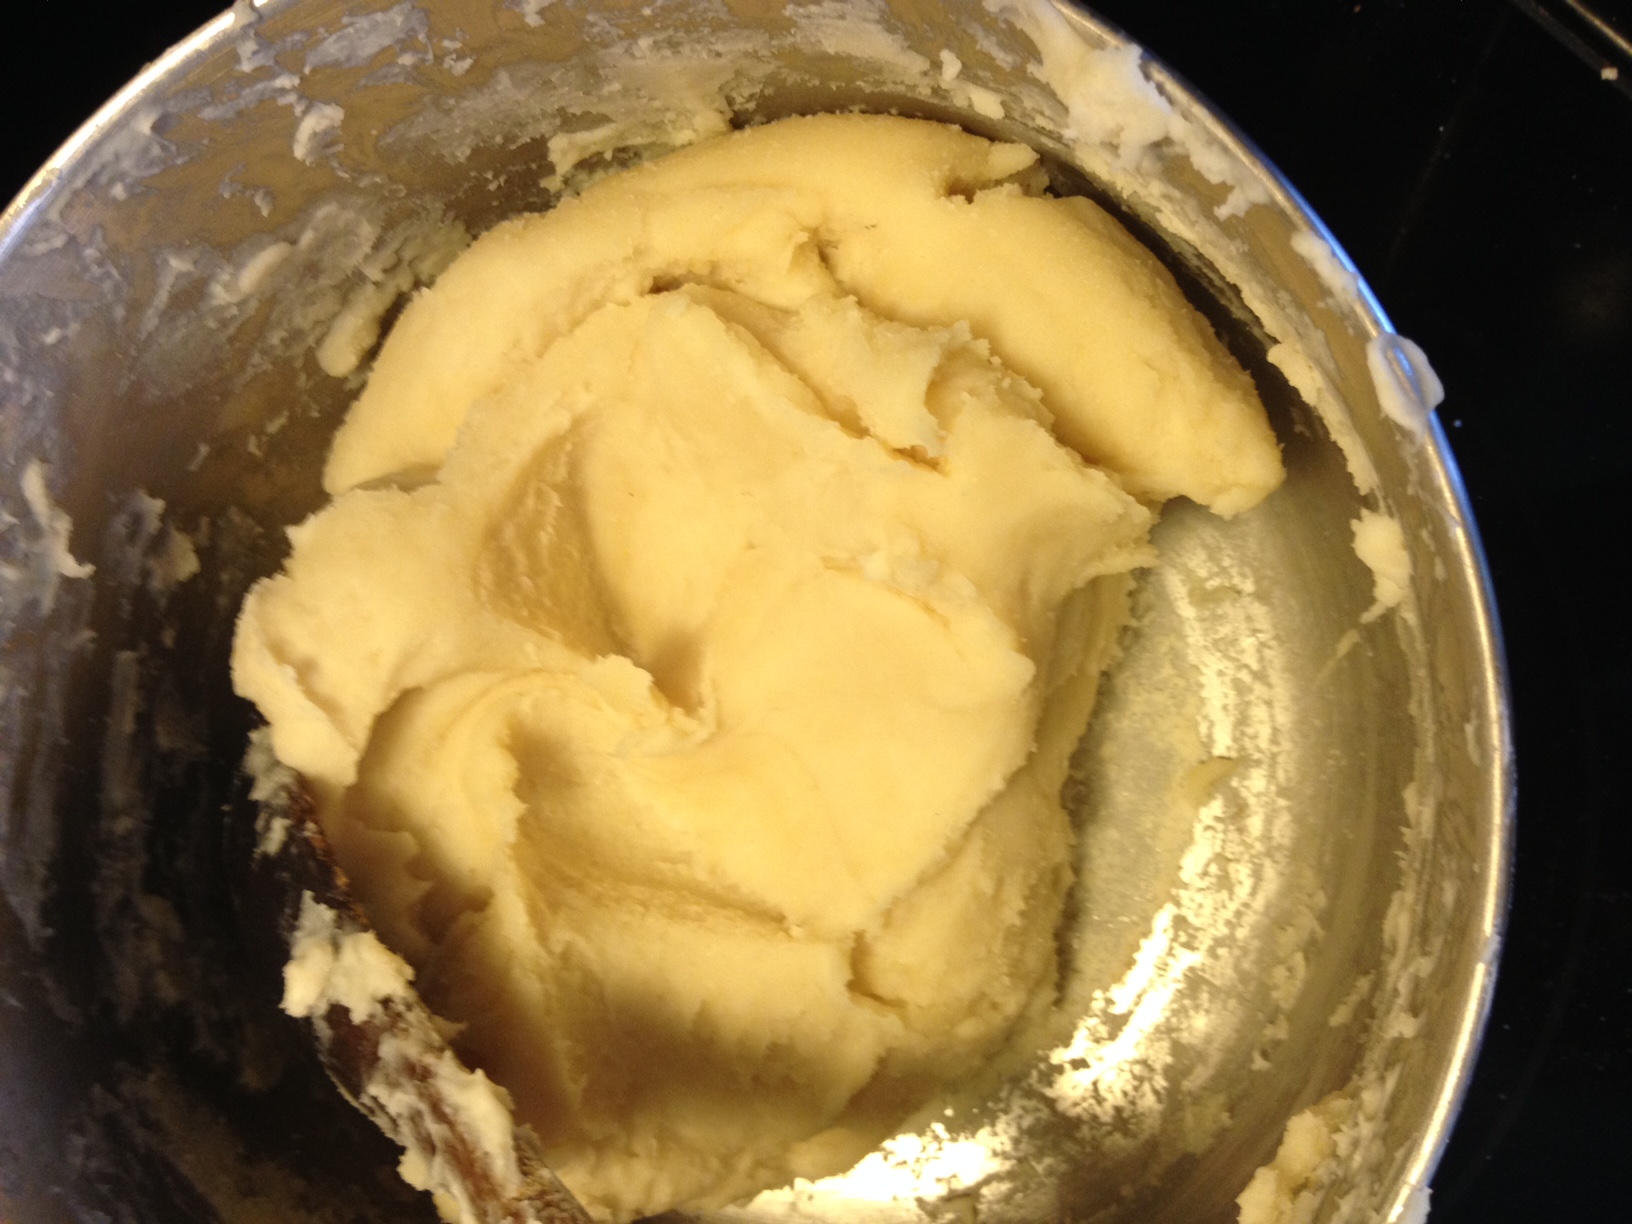
Now for the twist!
Do everything above, but throw your kidneys in a food processor and blend up until smooth to make a dip. Add to crostini and drizzle your sauce over them. If you’re not quite ready to try kidneys, this recipe works really well with liver, too (same amounts as the above!).
SO easy, right?
Are you ready to get local food straight from the farmer? Head on over to Barn2Door, enter your zip code, find something amazing, and add in the code MAKEMENDGROW15 -at check out for $15 off a $50 purchase – good from now through November 6. Please check out Barn2Door on Facebook, and Island Mountain Farm’s Barn2Door site, their Website, and Facebook Page!
I’d love to hear from you on what you pick up and make!
Yours in whole foods,
Raina
Disclaimer: While I do love Island Mountain Farms and Barn2Door, this is a sponsored post. Photos of Okanogan and the Katahdin lamb courtesy of Island Mountain Farms, all other pictures are my own.