I love craft time with Izzy. Its busy, it’s messy, it’s silly and she enjoys it so much! It’s a great way to spend a rainy day indoors and we have some pretty sweet art on the fridge, although, I do love things that aren’t glitter glue and paint pictures! Recently, after stepping on yet another broken crayon, I thought about what we could do with all those pieces, and it occurred to me, we needed to work on catching the sun to balance out the rain (and use up some of those darn crayons). See? Snazzy! Please ignore my neighbors truck!
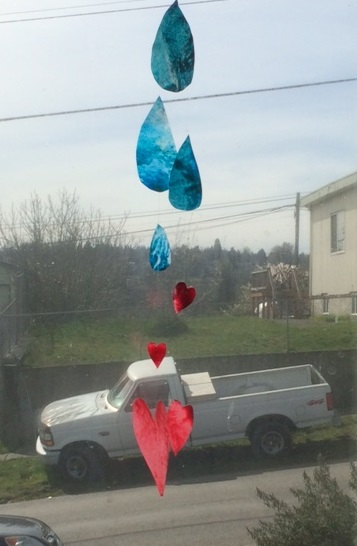
This craft is simple, isn’t too messy, and uses up things we all have in the house. To make your sun catcher, you’ll need:
Wax paper
Crayons
Crayon or pencil sharpener
String
Scissors
An iron*
A heat proof surface-I used an old cutting board
Thick paper to protect your iron**
First off, take those rogue crayons and start sharpening! You want a fair amount of shavings, so 2-3 crayons worth of shavings should be more than enough. A note: this takes a long, long time. I ended up watching TV while doing it to pass the time. It’s also a good task for your kiddo, if they have the coordination to use a pencil sharpener.
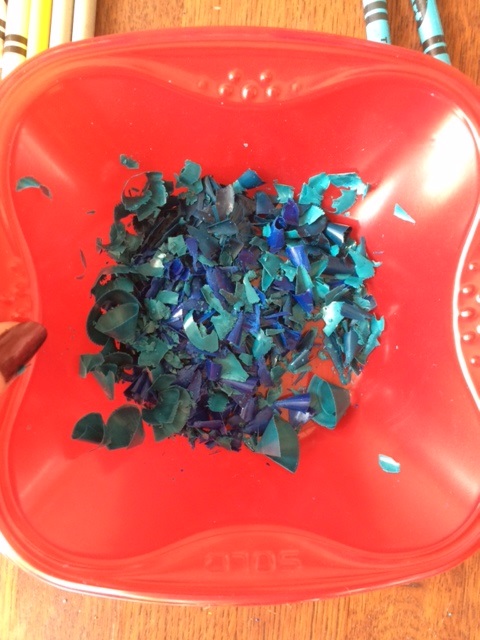
Once you’ve sharpened all of your crayons, preheat your iron, out of the way of your kiddo.
Next, decide how big you’d like your suncatcher to be. It can be helpful to sketch out all of the pieces on your wax paper, so you have an idea of how big you want your shapes. Once you’ve got the size, double that in wax paper! You’ll fold the wax paper over itself once you’ve added the crayon shavings.
Lay the wax paper on your heat safe surface and sprinkle those crayon shavings on your wax paper, so you have a light covering of the shavings, leaving about a 1/2 inch around all sides. The goal is not to dump those shavings in a pile-you’ll get thick blobs, versus a transluscent suncatcher. Lay your thick paper down on top of the wax paper, and run your iron slowly over the wax paper until the crayons are melted (**this happens pretty quick, so keep your iron low, and your eye watchful). Pro Tip*: Don’t start ironing until you’ve actually laid thick paper down – you’ll coat your iron in colorful wax, even with the wax paper folks. Not that I would know. Ahem.
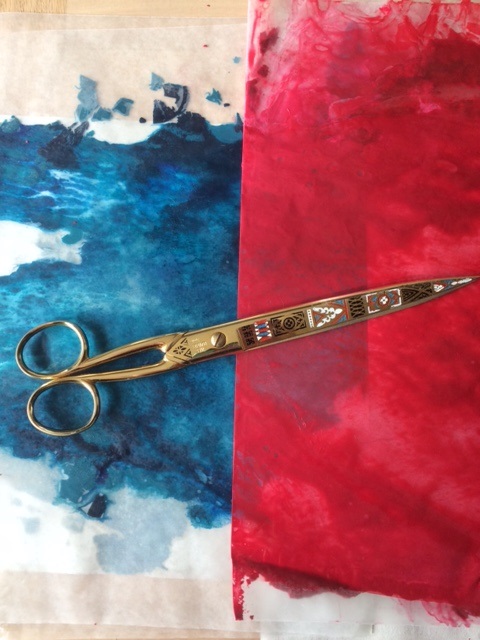
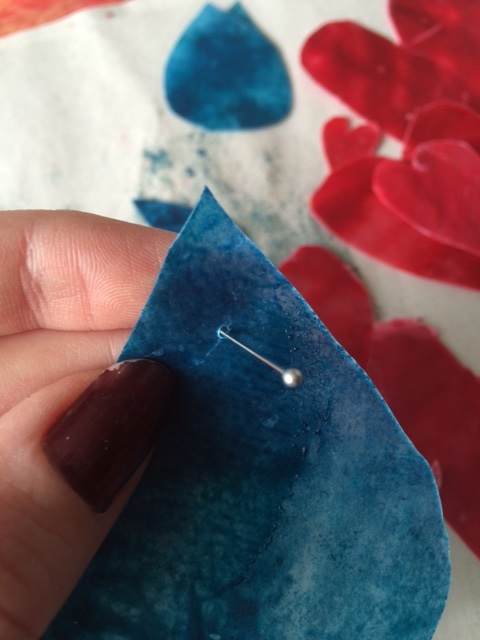
Set your fused and ever-so colorful wax paper to the side to cool. Once it’s fully cooled, cut to your desired shape, clip a hole in the top, and run your thread through to hang. Put up in a sunny window, and watch the sun shimmer through the crayons!
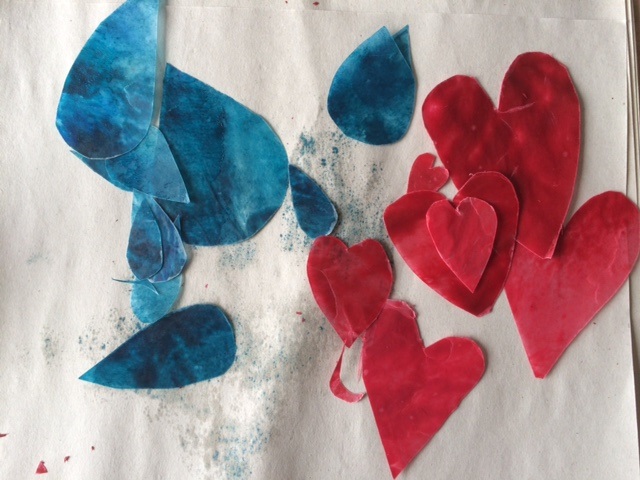

What ideas do you have for color and shape combinations?!
Yours in colorful craftiness!
Raina
