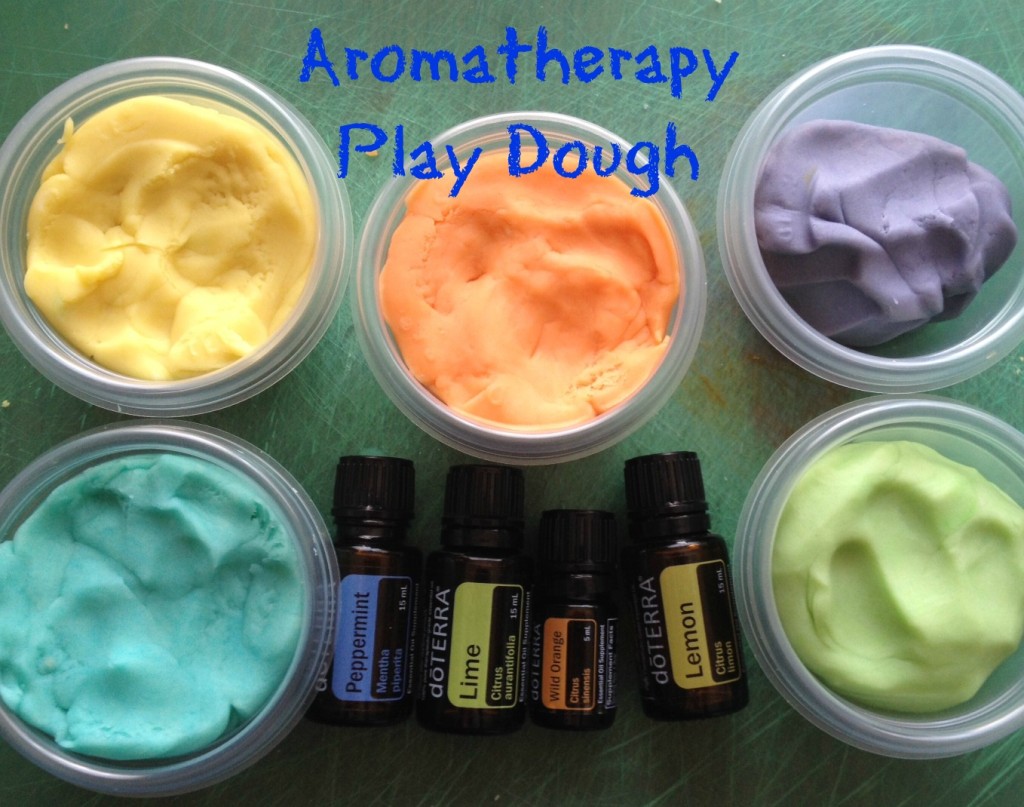
We go through a ton of play dough here, and I get tired of running to the store to replace what didn’t get put away fast enough, or rolled under the table and dried up. Yesterday, I tried making a version with corn starch and conditioner and one with corn starch and lotion. You know what that made? A big ass mess. No thank you. I needed something that would come together quickly, hold up to a toddler and that didn’t contain mystery ingredients. I started playing around with what I had in my pantry and came up with this-it takes some stirring, but it’s now my kiddos favorite toy! When you combine essential oils, you get aromatherapy play dough – something that is fun to play with and appeals to other senses! Standard disclaimer: the main recipe is edible, once you add scents or coloring, you want to make sure that it’s food grade and edible. I went with doTERRA essential oils, since I have them on hand and I trust them. Please research whether the oils you have are meant to be used internally or omit them if you aren’t sure in case your kiddo likes to eat things, or feed them to the dog.
Aromatherapy Play Dough Recipe
Makes 6 – 1/2 cup balls of dough
Time to make: 15-20 mins (unless you can’t find your cream of tartar, then add extra time to ransack your pantry and finally decide to just go to Target)
2 cups flour
2 cups water
2 Tablespoons vegetable oil
4 Tablespoons cream of tartar
1/2 cup salt
Optional Ingredients:
Food coloring (i used the gel kind, but you can also use natural products like beet root powder for other coloring)
5 drops Essential Oils per ball (I chose lime, lemon, peppermint, wild orange and lavender-if you have skin sensitivities, you can use less)
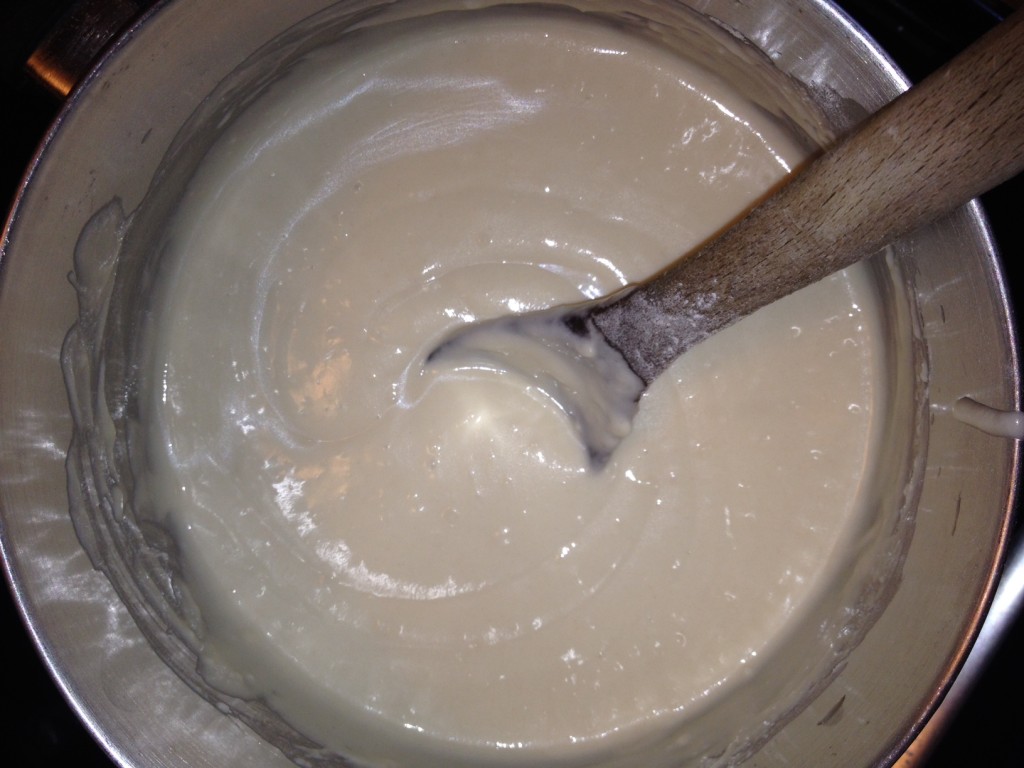
In a heavy bottomed pot, combine the flour, water, oil, cream of tartar, and salt and mix until the ingredients are all incorporated. You’re likely going to have lumps, and that’s ok. The goal is to get the big ones out and smoosh up some of the small ones.
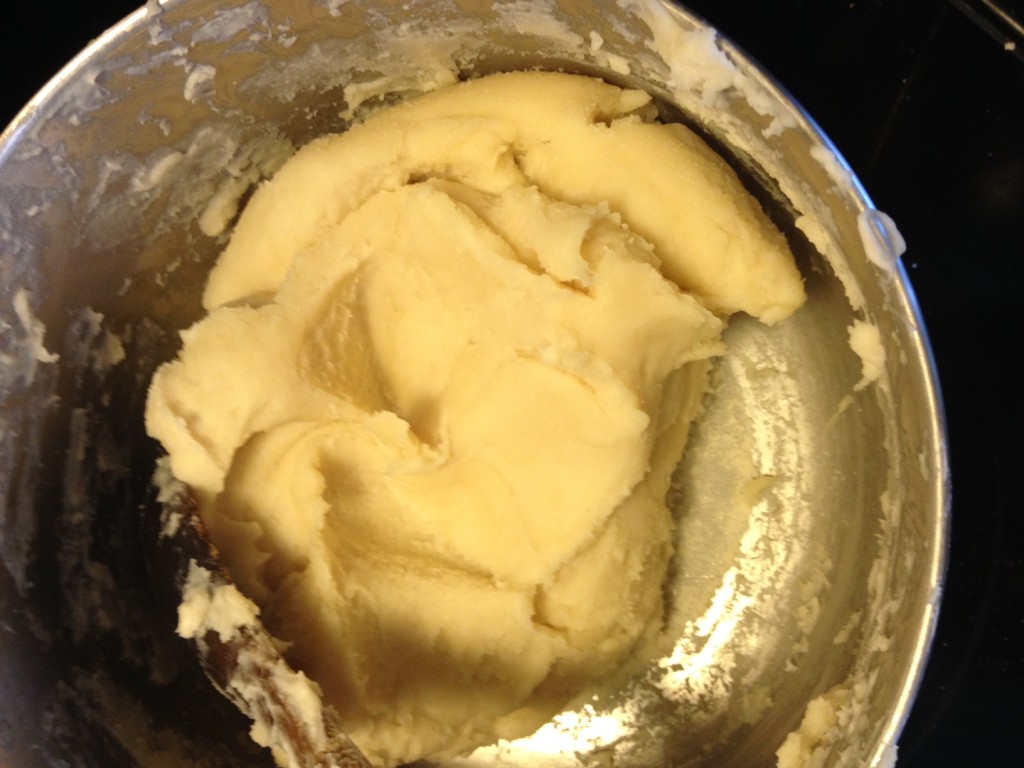
Turn the heat on medium and keep stirring. You’re going to stir for a while, and you may even get annoyed. Channel that annoyance to keep stirring. After about 3-5 minutes, you’ll notice that it’s starting to go from paste to something thicker-you’re getting there! Keep stirring, and scrape the bottom of the pot and the sides. At about the 7 minute mark, you should have something that is getting close to play dough and looks like a big ball, but is still sticky-you’re almost done!
Once the dough is no longer sticky and resembles actual play dough and isn’t sticky, turn off the heat and let it cool.
Once your dough is cooled, separate into 6 balls and flatten them. It’s time to add your fragrance and color! I added three drops of food coloring (If blending colors, use two drops of each color) and 5 drops of essential oils. Fold the flattened dough in half, and in half again, and then smoosh it all up, so the color and the oils get distributed evenly but don’t leak out. A warning: I didn’t do the fold method with one of them, and the coloring leaked out and I now have red hands. Pro Mom Tip: If you don’t mind your dough the same color or scent, you can add your essential oils and coloring at step one with all of your other ingredients. I opted to match my scents with colors for fun, but you can get crazy and do whatever works for you!
Enjoy!
Raina


Such a great idea! Love that it’s edible and scented. And actually really easy and cheap to make! We haven’t hit the playdoh stage yet (pretty sure my 10-month-old would just try to eat it), but taking note for the future!