Guys, I am on a mission to have less junk in my house and that includes less chemicals. If you’ve been following this blog, you know that I get bored; and that I love crafts, saving money, and trying to live well.
I saw an ad on Amazon a while back for dryer balls. After laughing like a teenager at the name, I got to thinking that I could totally make them.
You may be thinking: what are dryer balls, and how do they work? Ready for some crazy science y’all? They are balls of 100% wool yarn wound into a ball, felted in the wash, with some essential oils added for fun. How it works is about as easy-your clothes tumble with the balls, which are made of wool, and the heft keeps things from getting balled up and wrapped around everything else. Having things tumble around more, with more space between layers is good to get your clothes to dry faster. I’m betting there’s more science there, but this is what I can at least see happening in my dryer.
You get to be crafty, your clothes have less static without the chemicals, you can add your own scents, and your clothes dry faster. Yep. You’re saving money by doing the crap chore you have to do anyway. It’s like you’re getting paid to do your laundry! Ok, not really, but it’s now costing you less than it was, and that’s pretty awesome.
Another upside? I get to use some of the stash (ok, hoard) of yarn I have in my craft room. It’s a win-win.
Let’s get to making them!
You’ll need:
2 skeins of 100% wool yarn for 4 balls, which is enough for a load of laundry.
Scissors
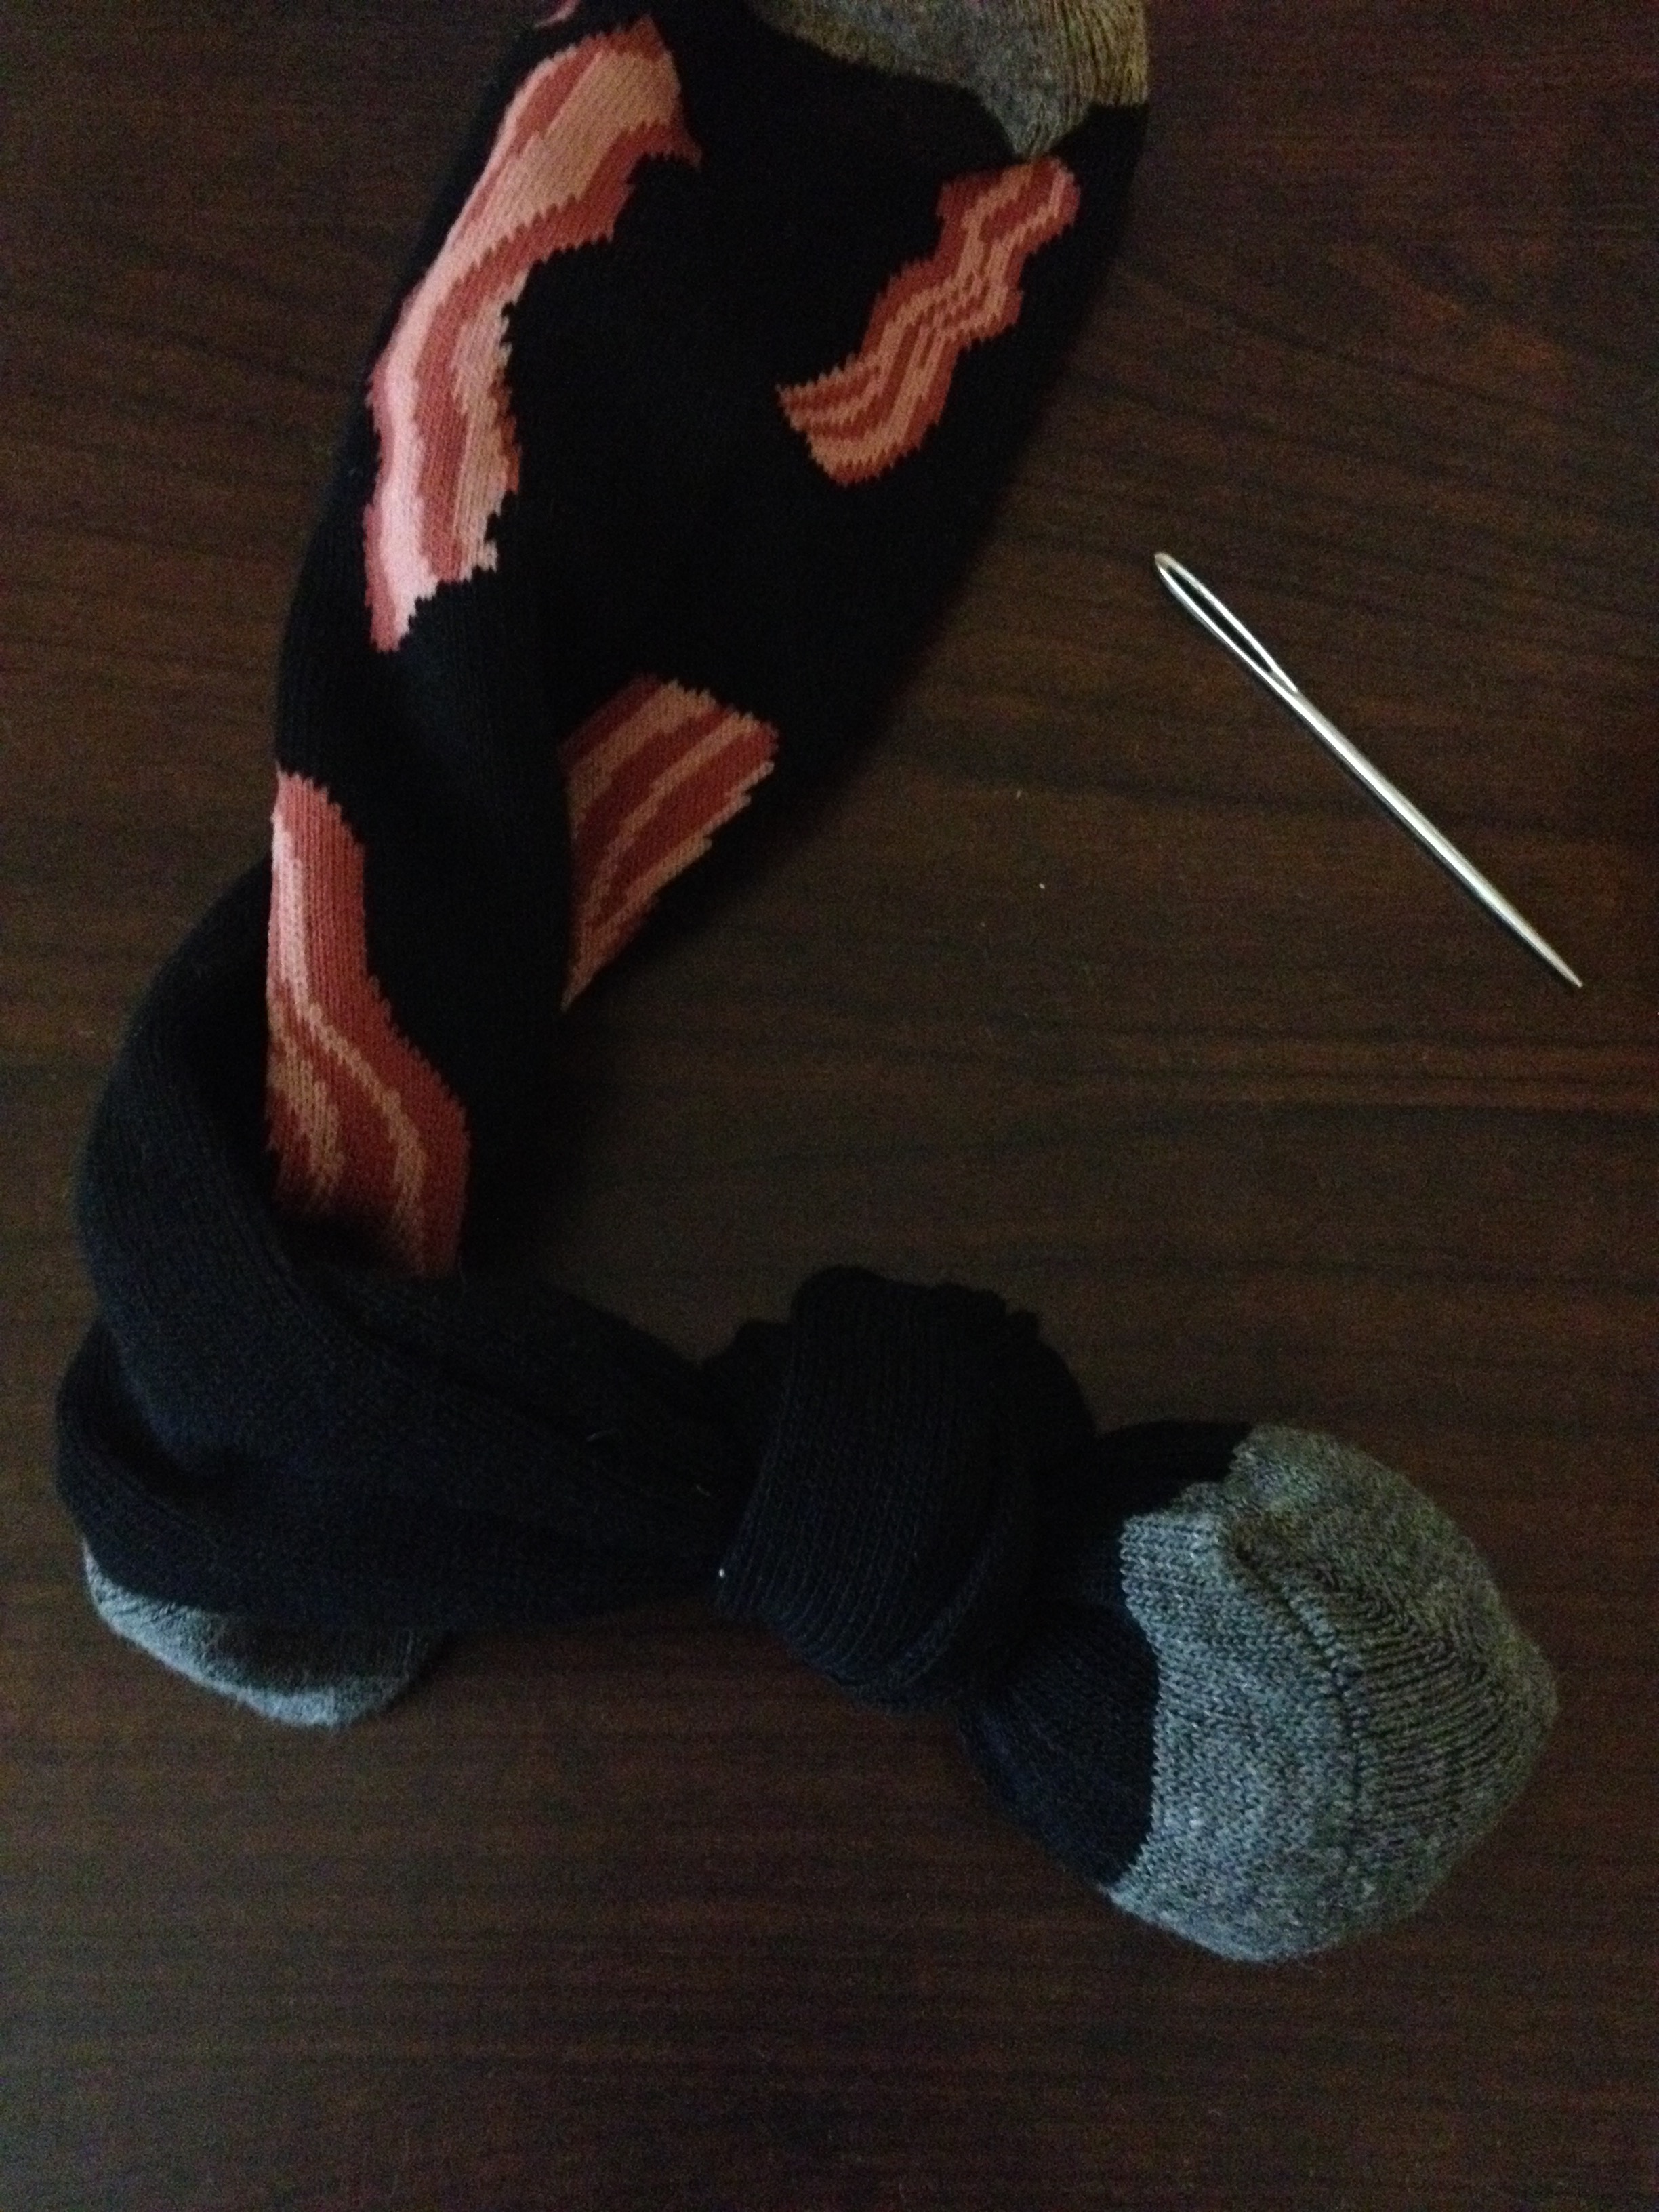
1 large, big eyed needle (usually called a tapestry needle)
2 knee high socks (or 1 sock for every two balls)
Method:
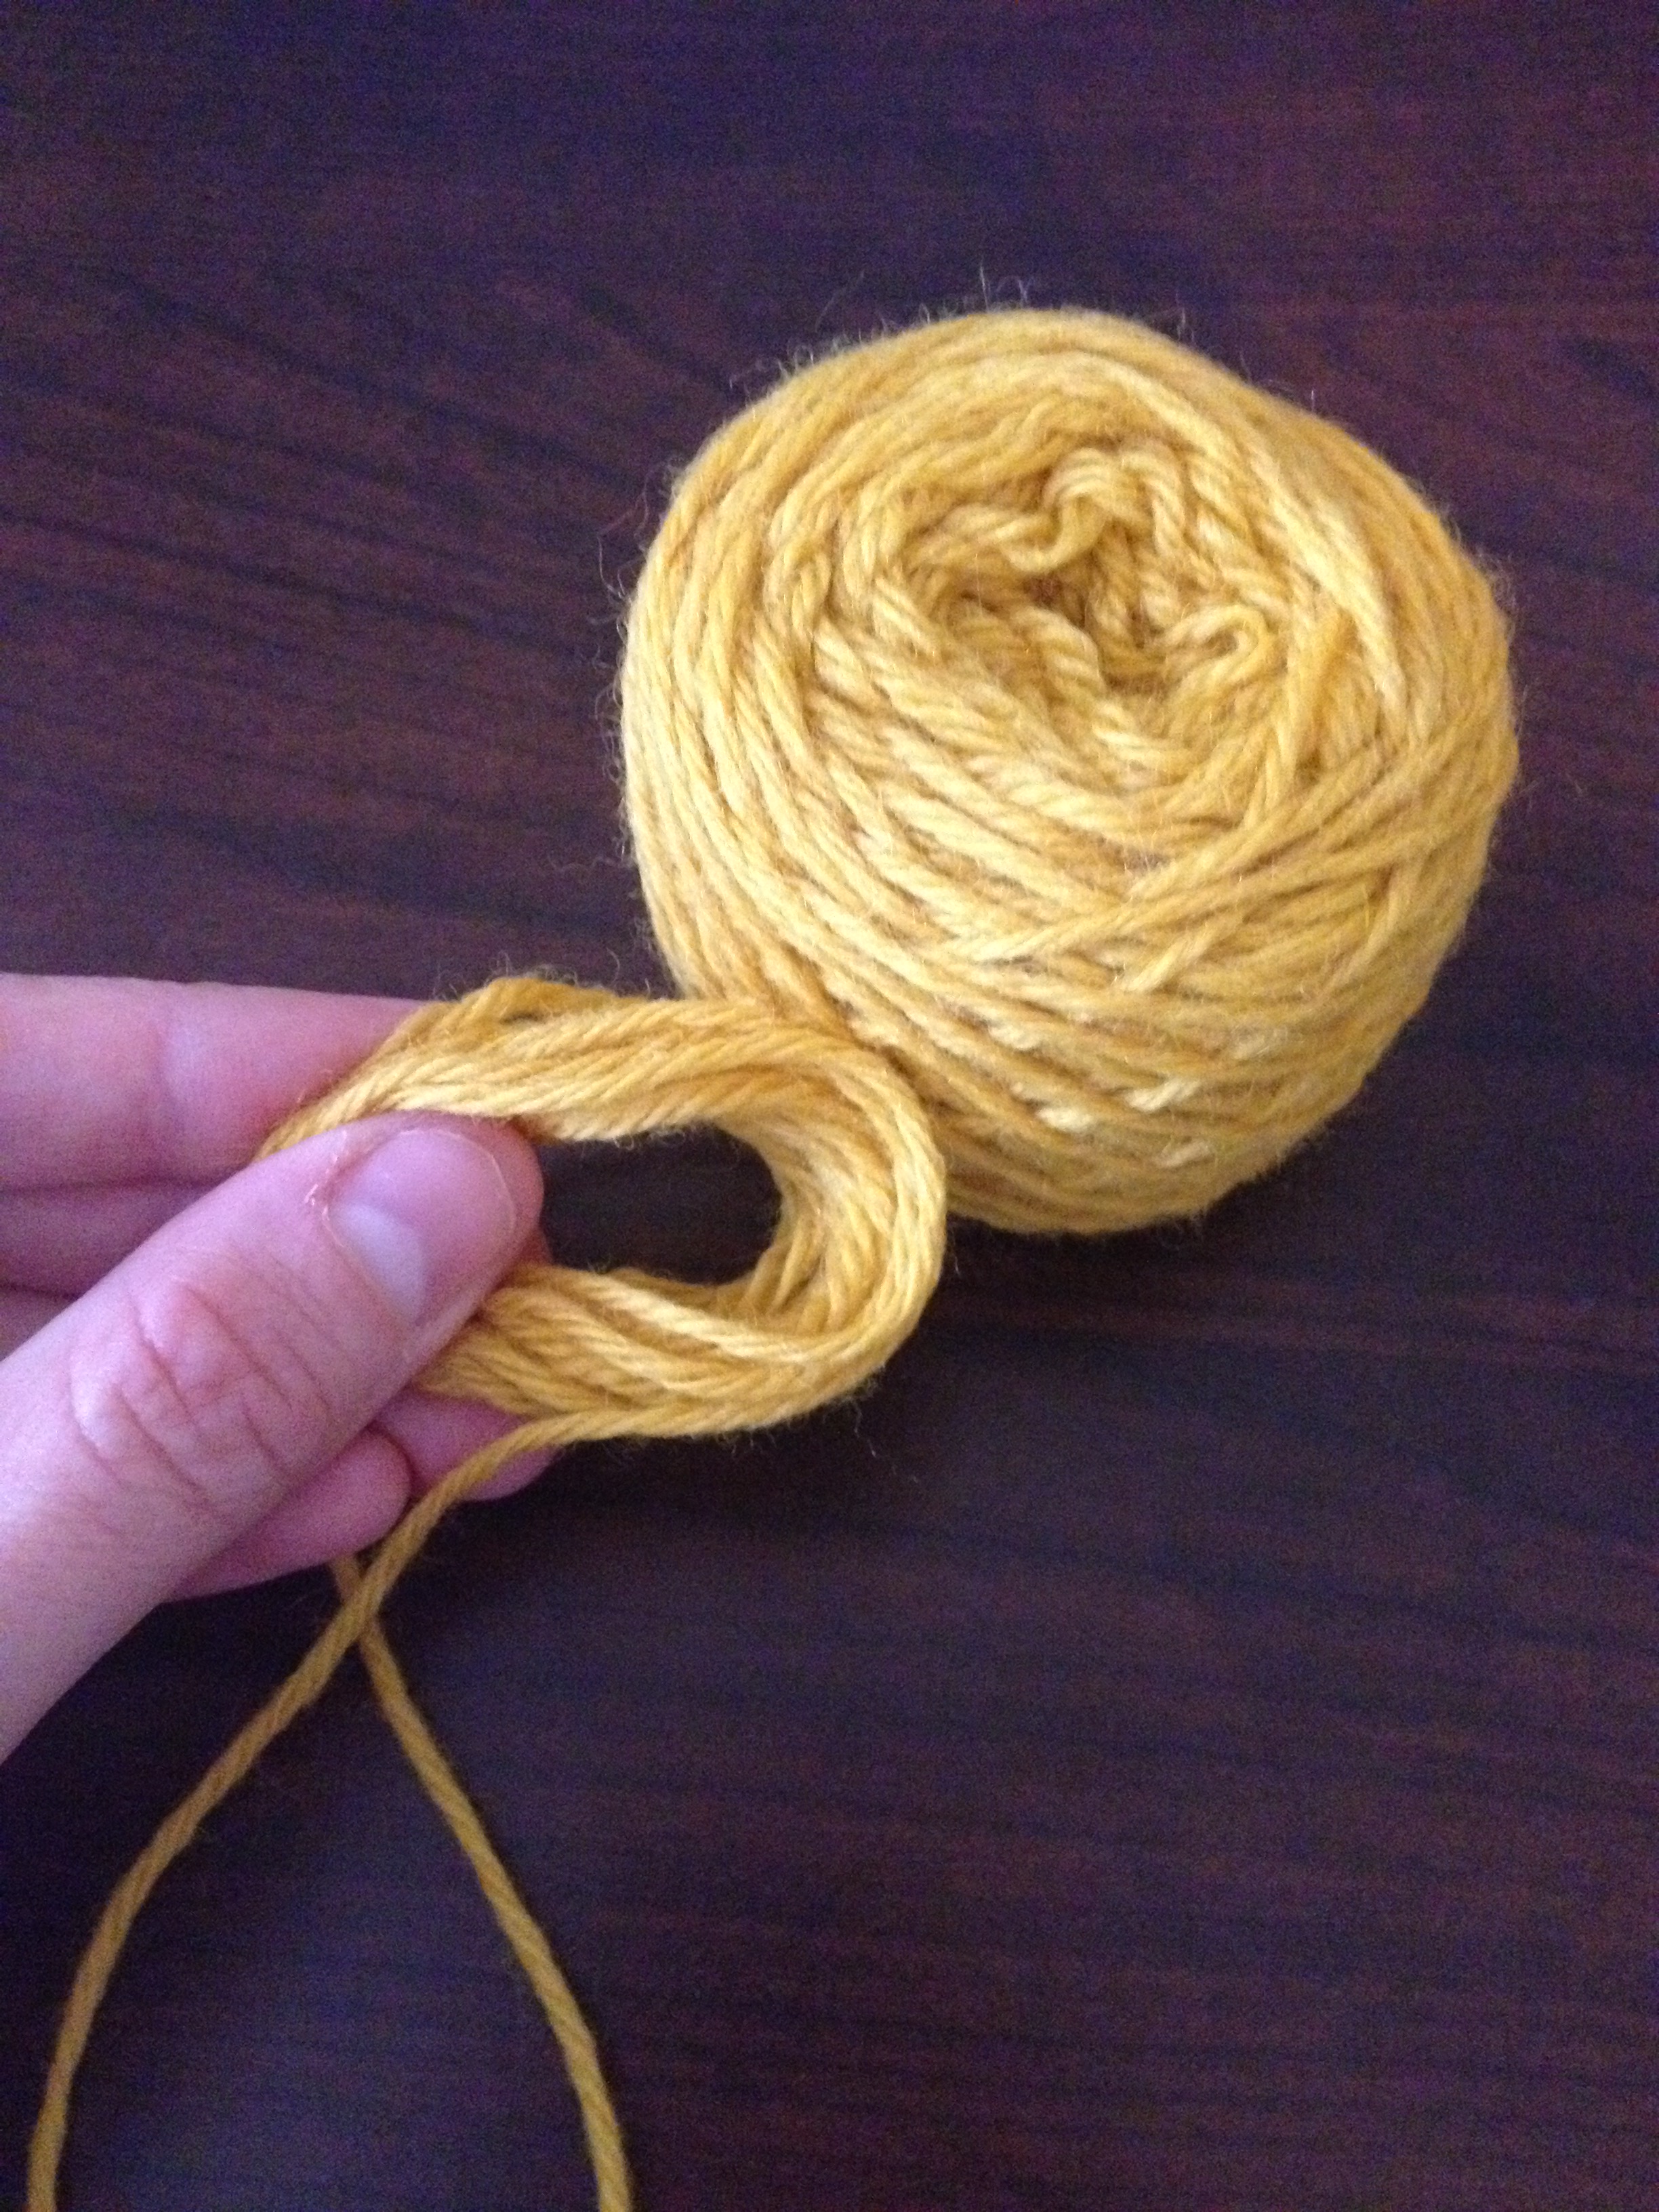
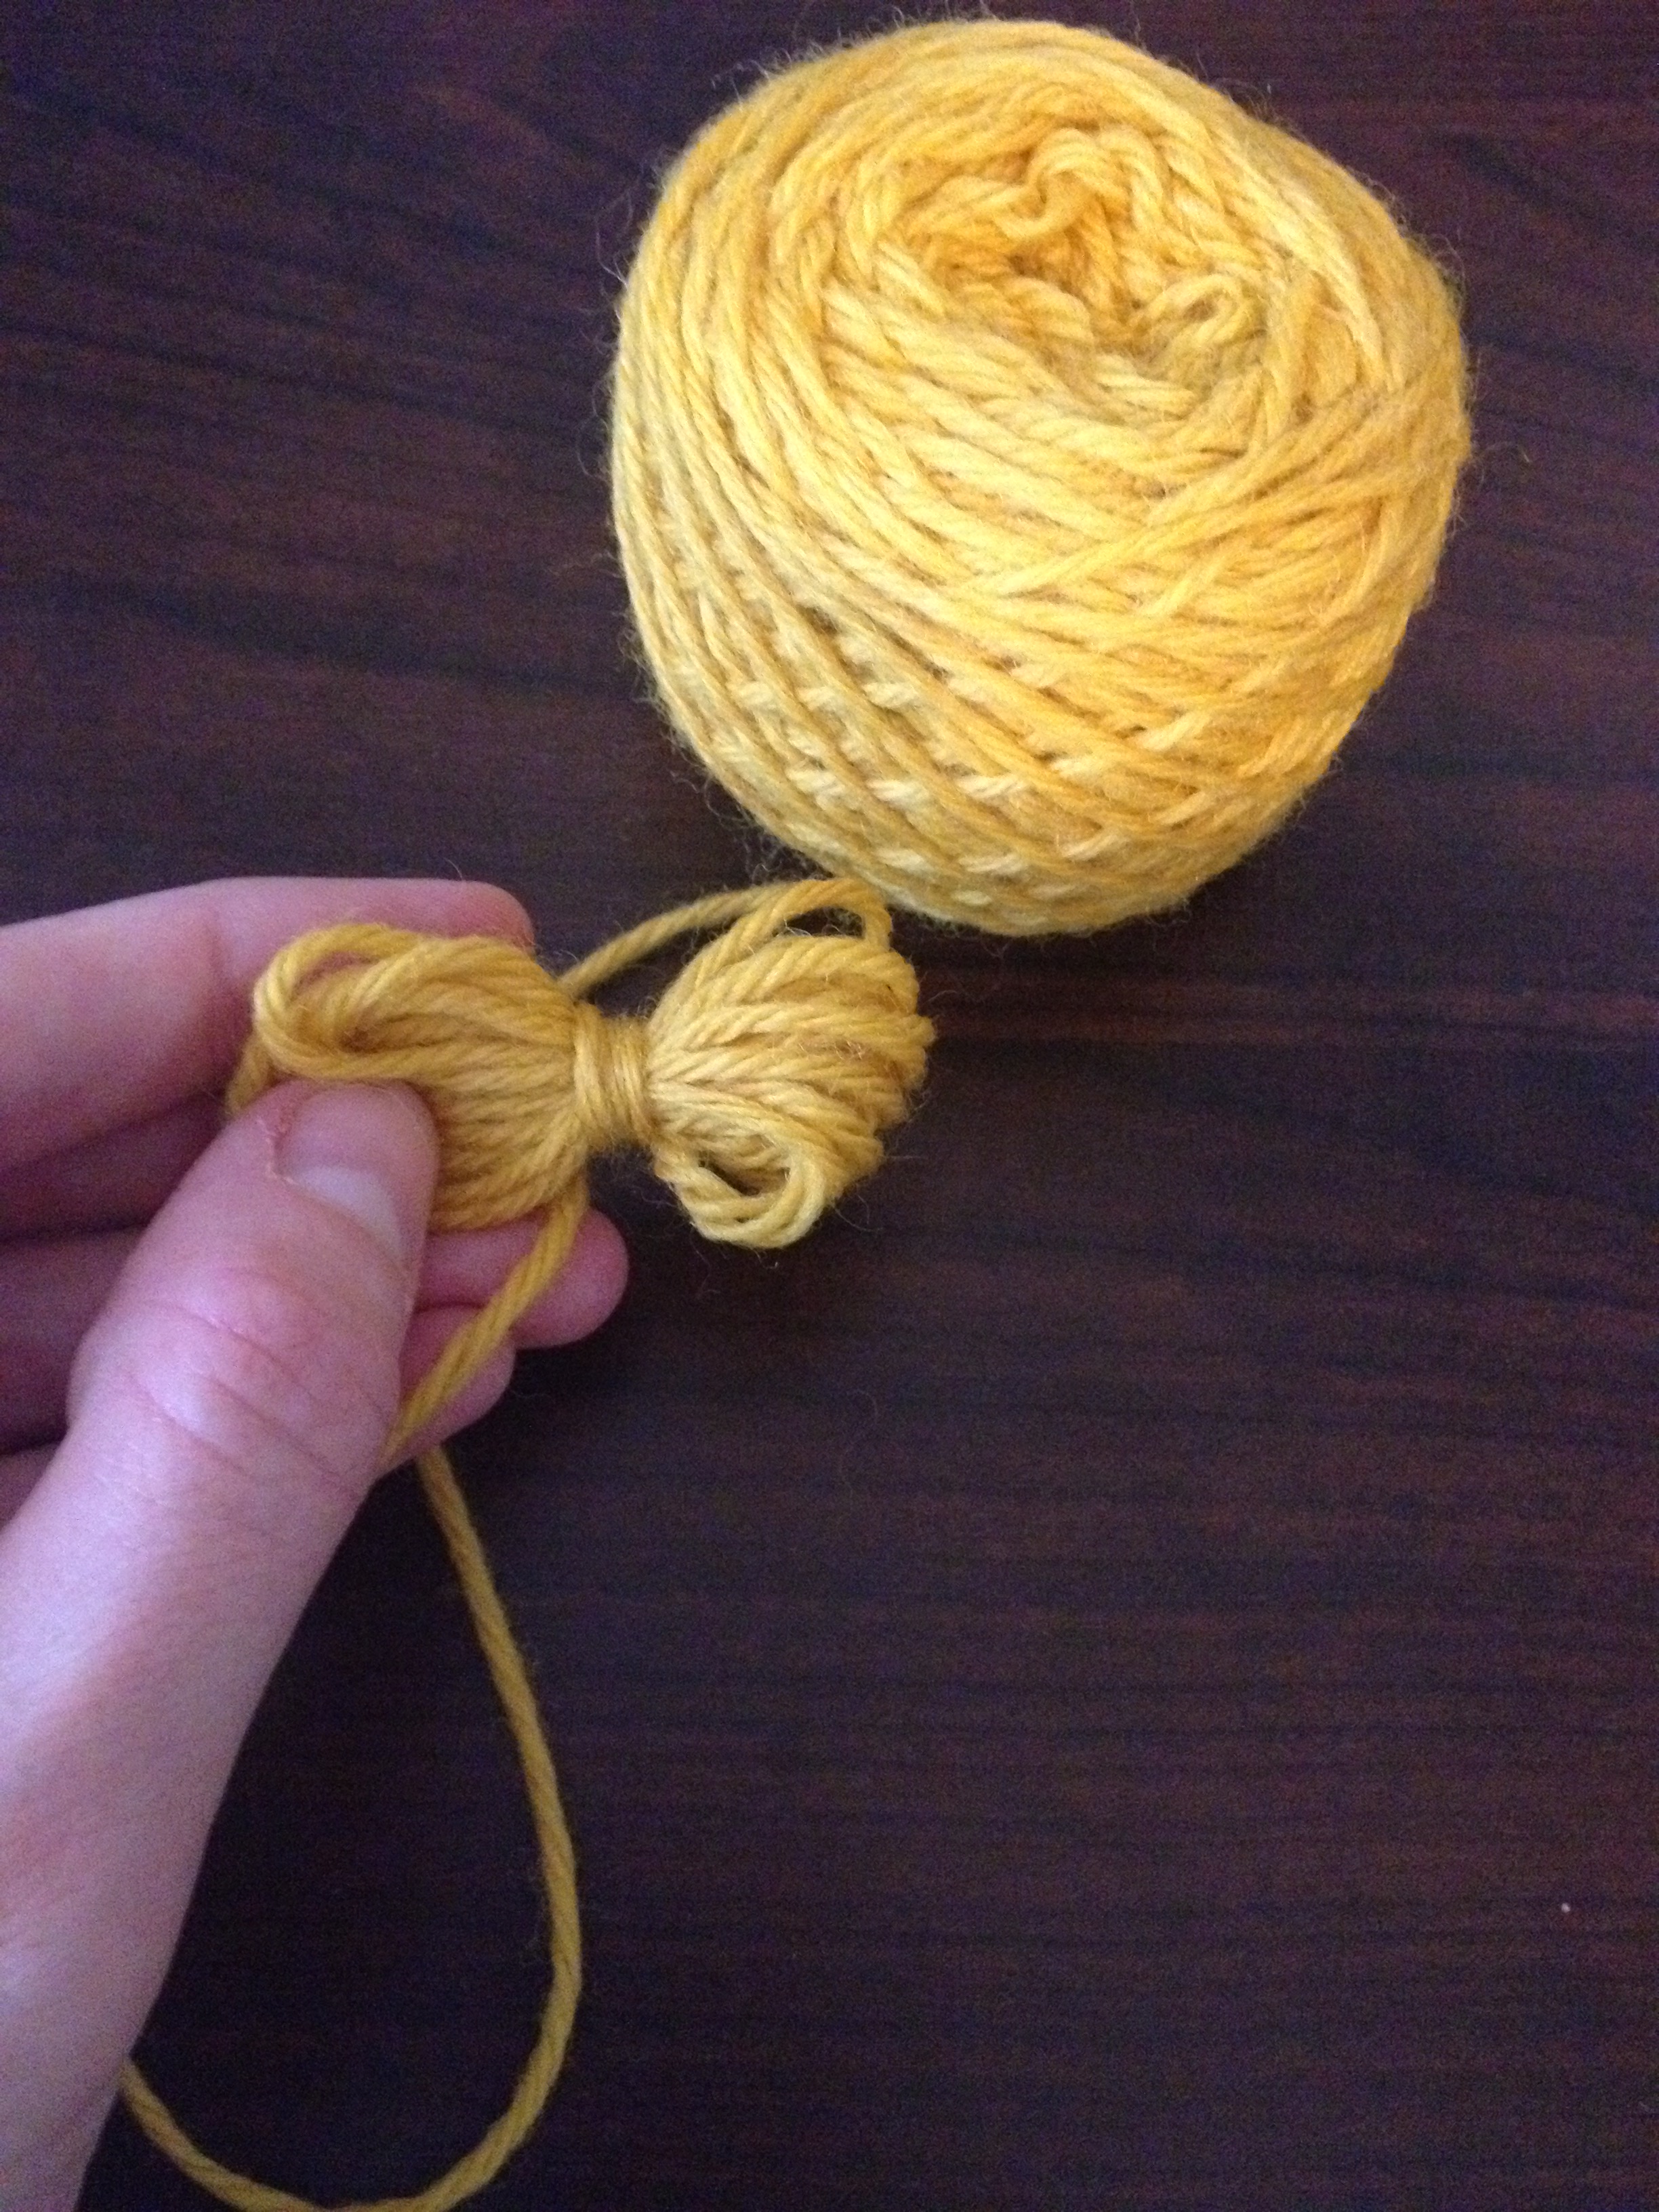
Start out by winding up the yarn around your fingers, enough that there’s enough to fold over and start a ball (10-15 times). Also, ignore my post-gardening season nails.
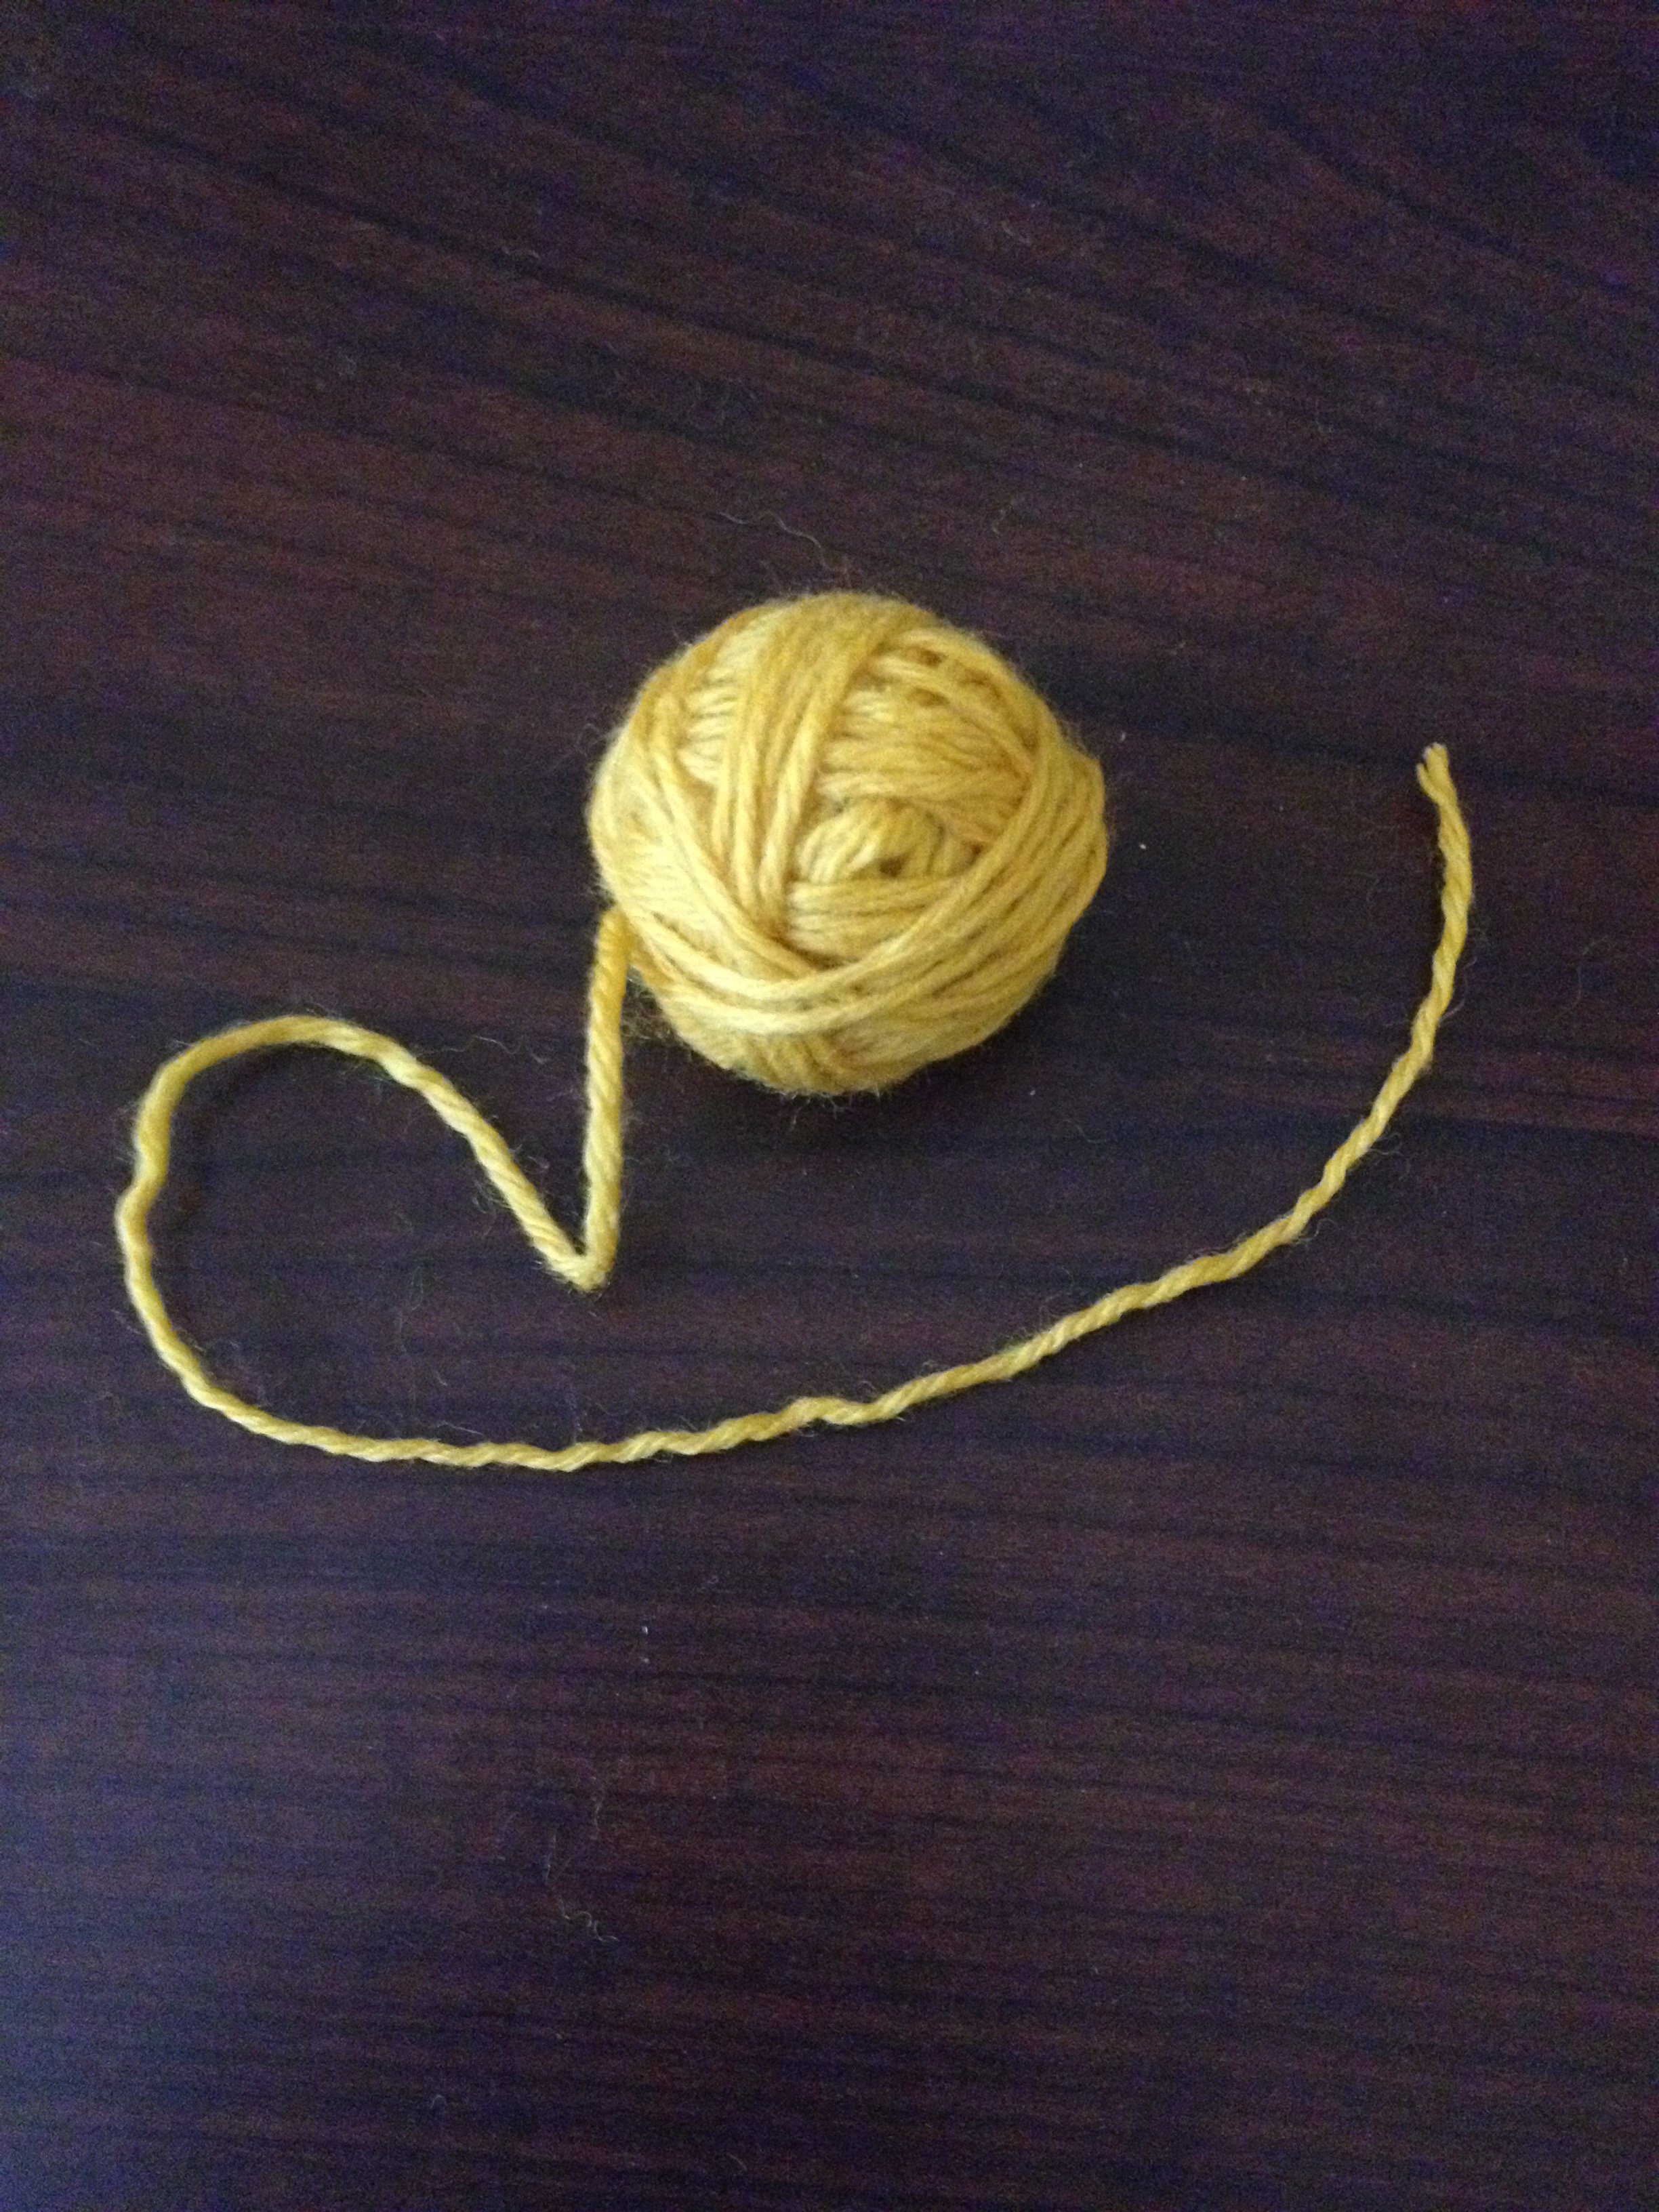
Pull off of your fingers, fold in half, and roll the yard around, starting to make a ball
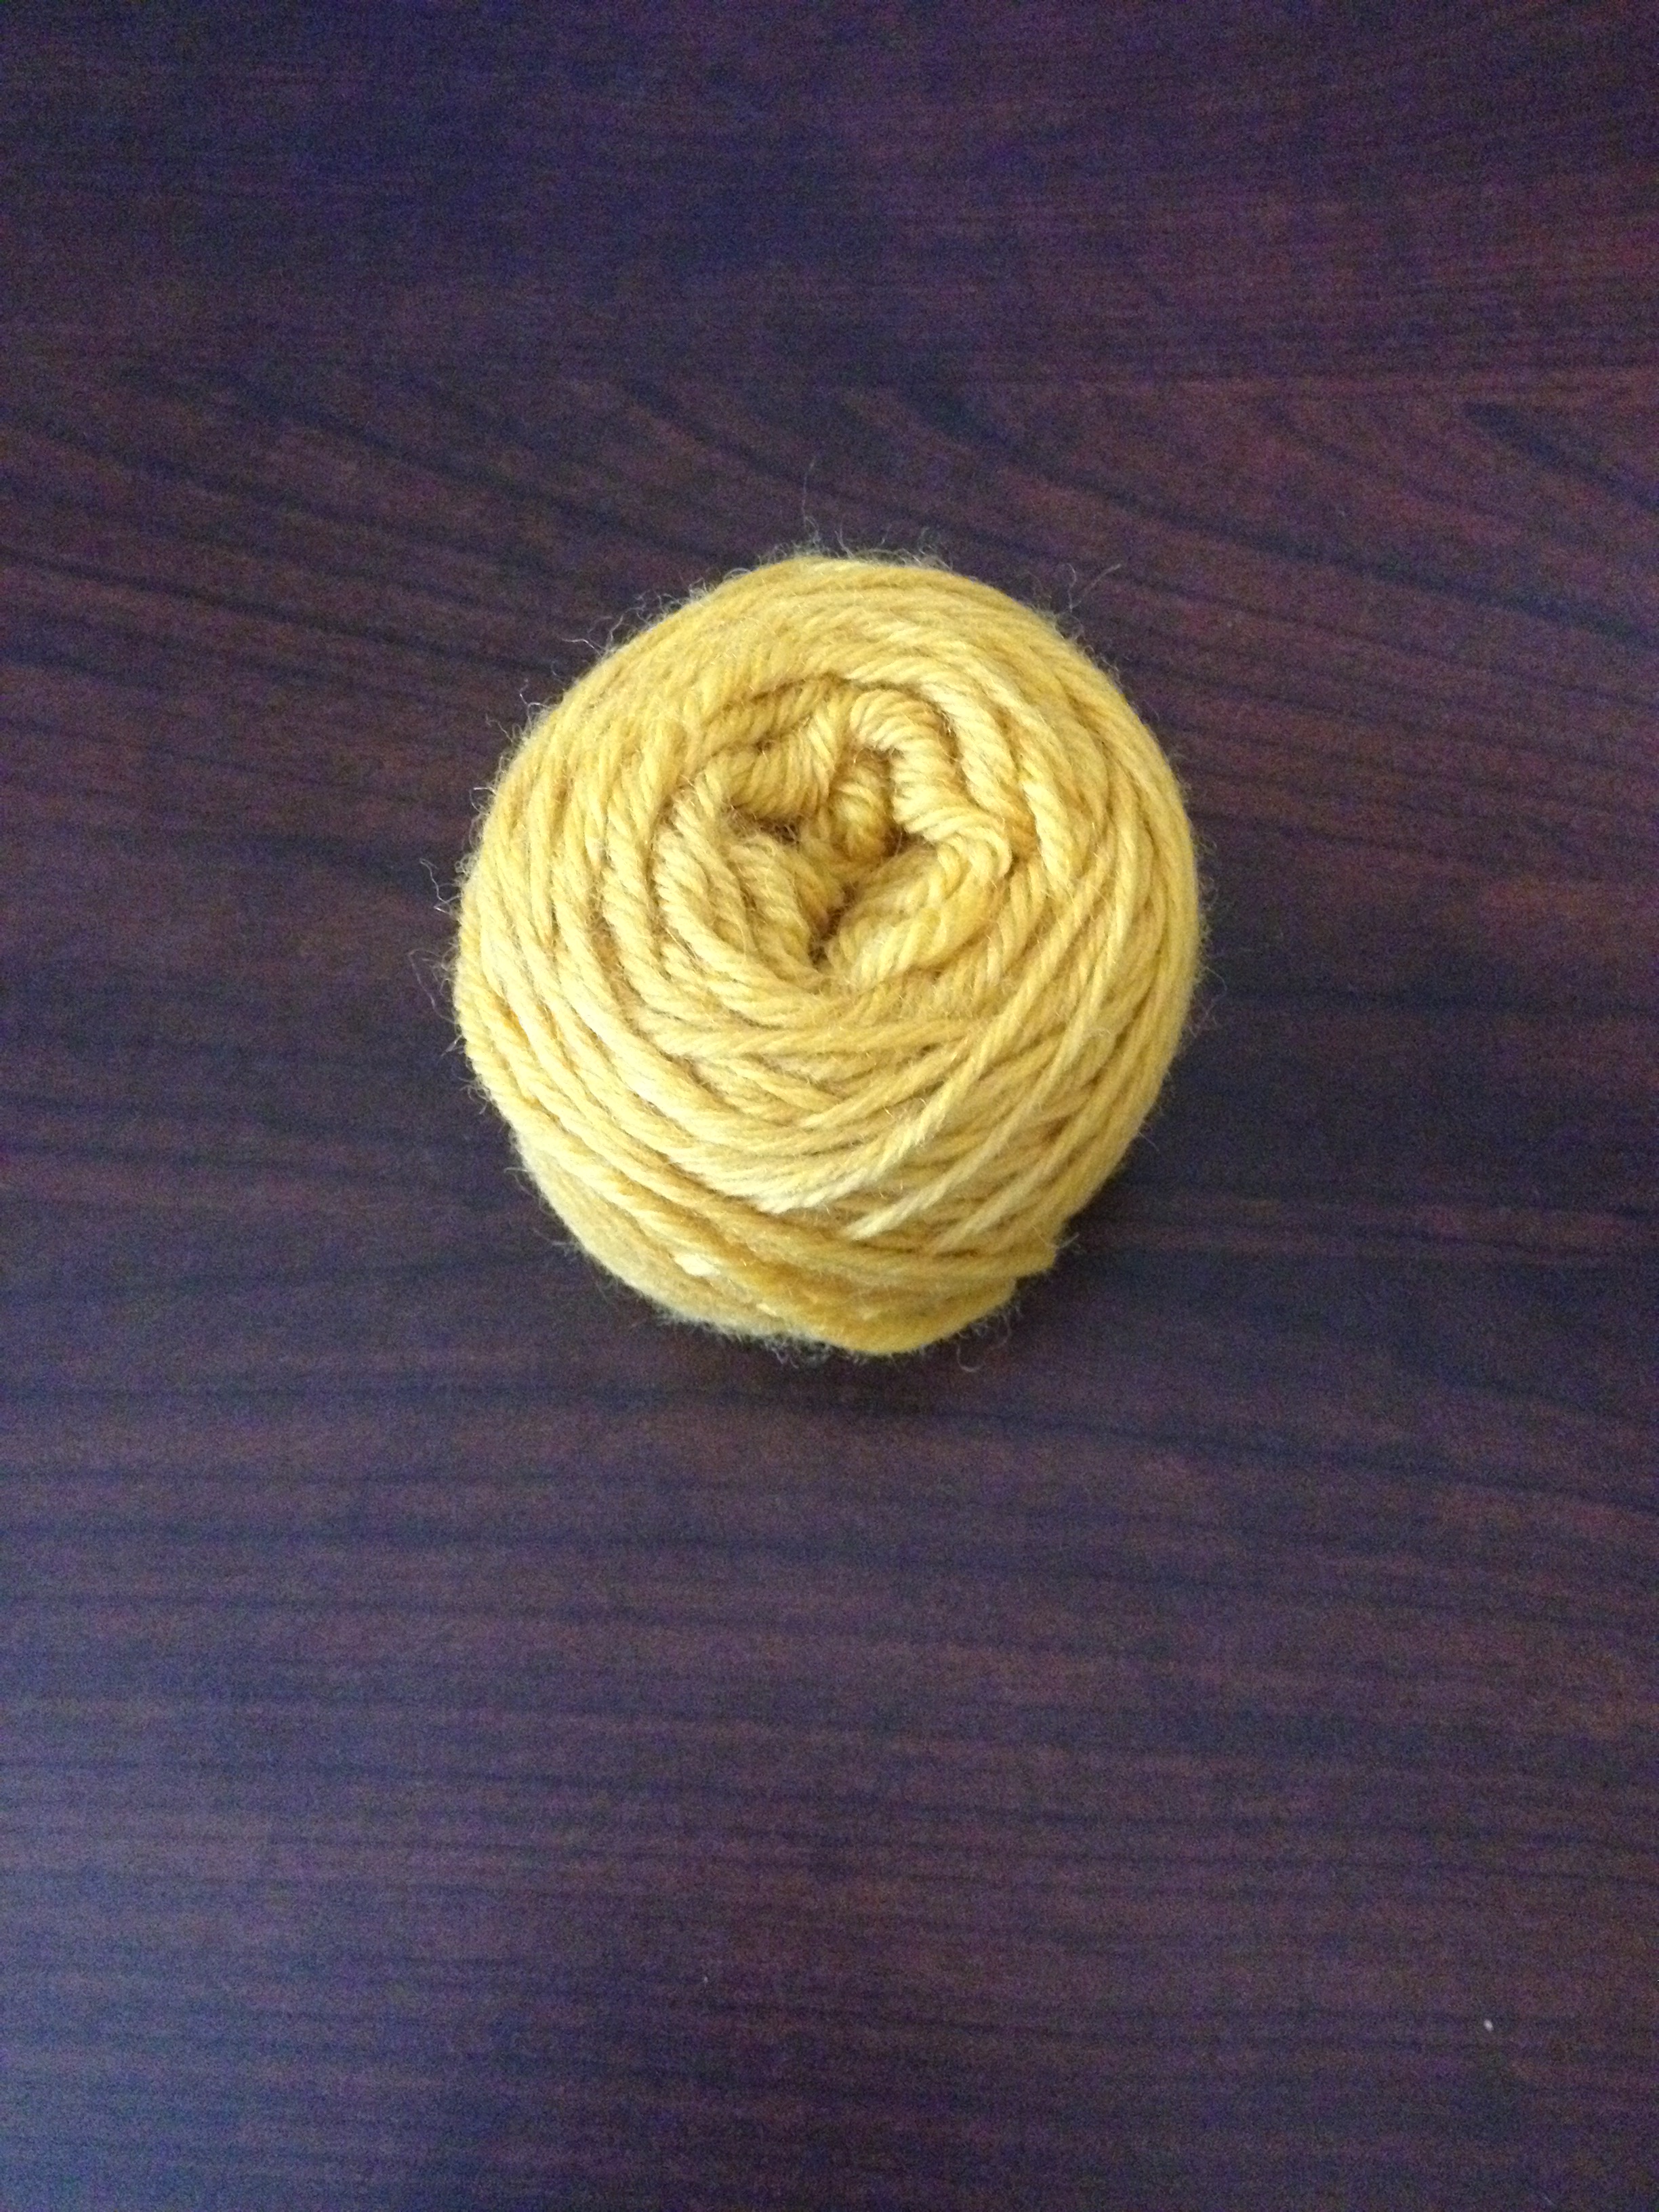
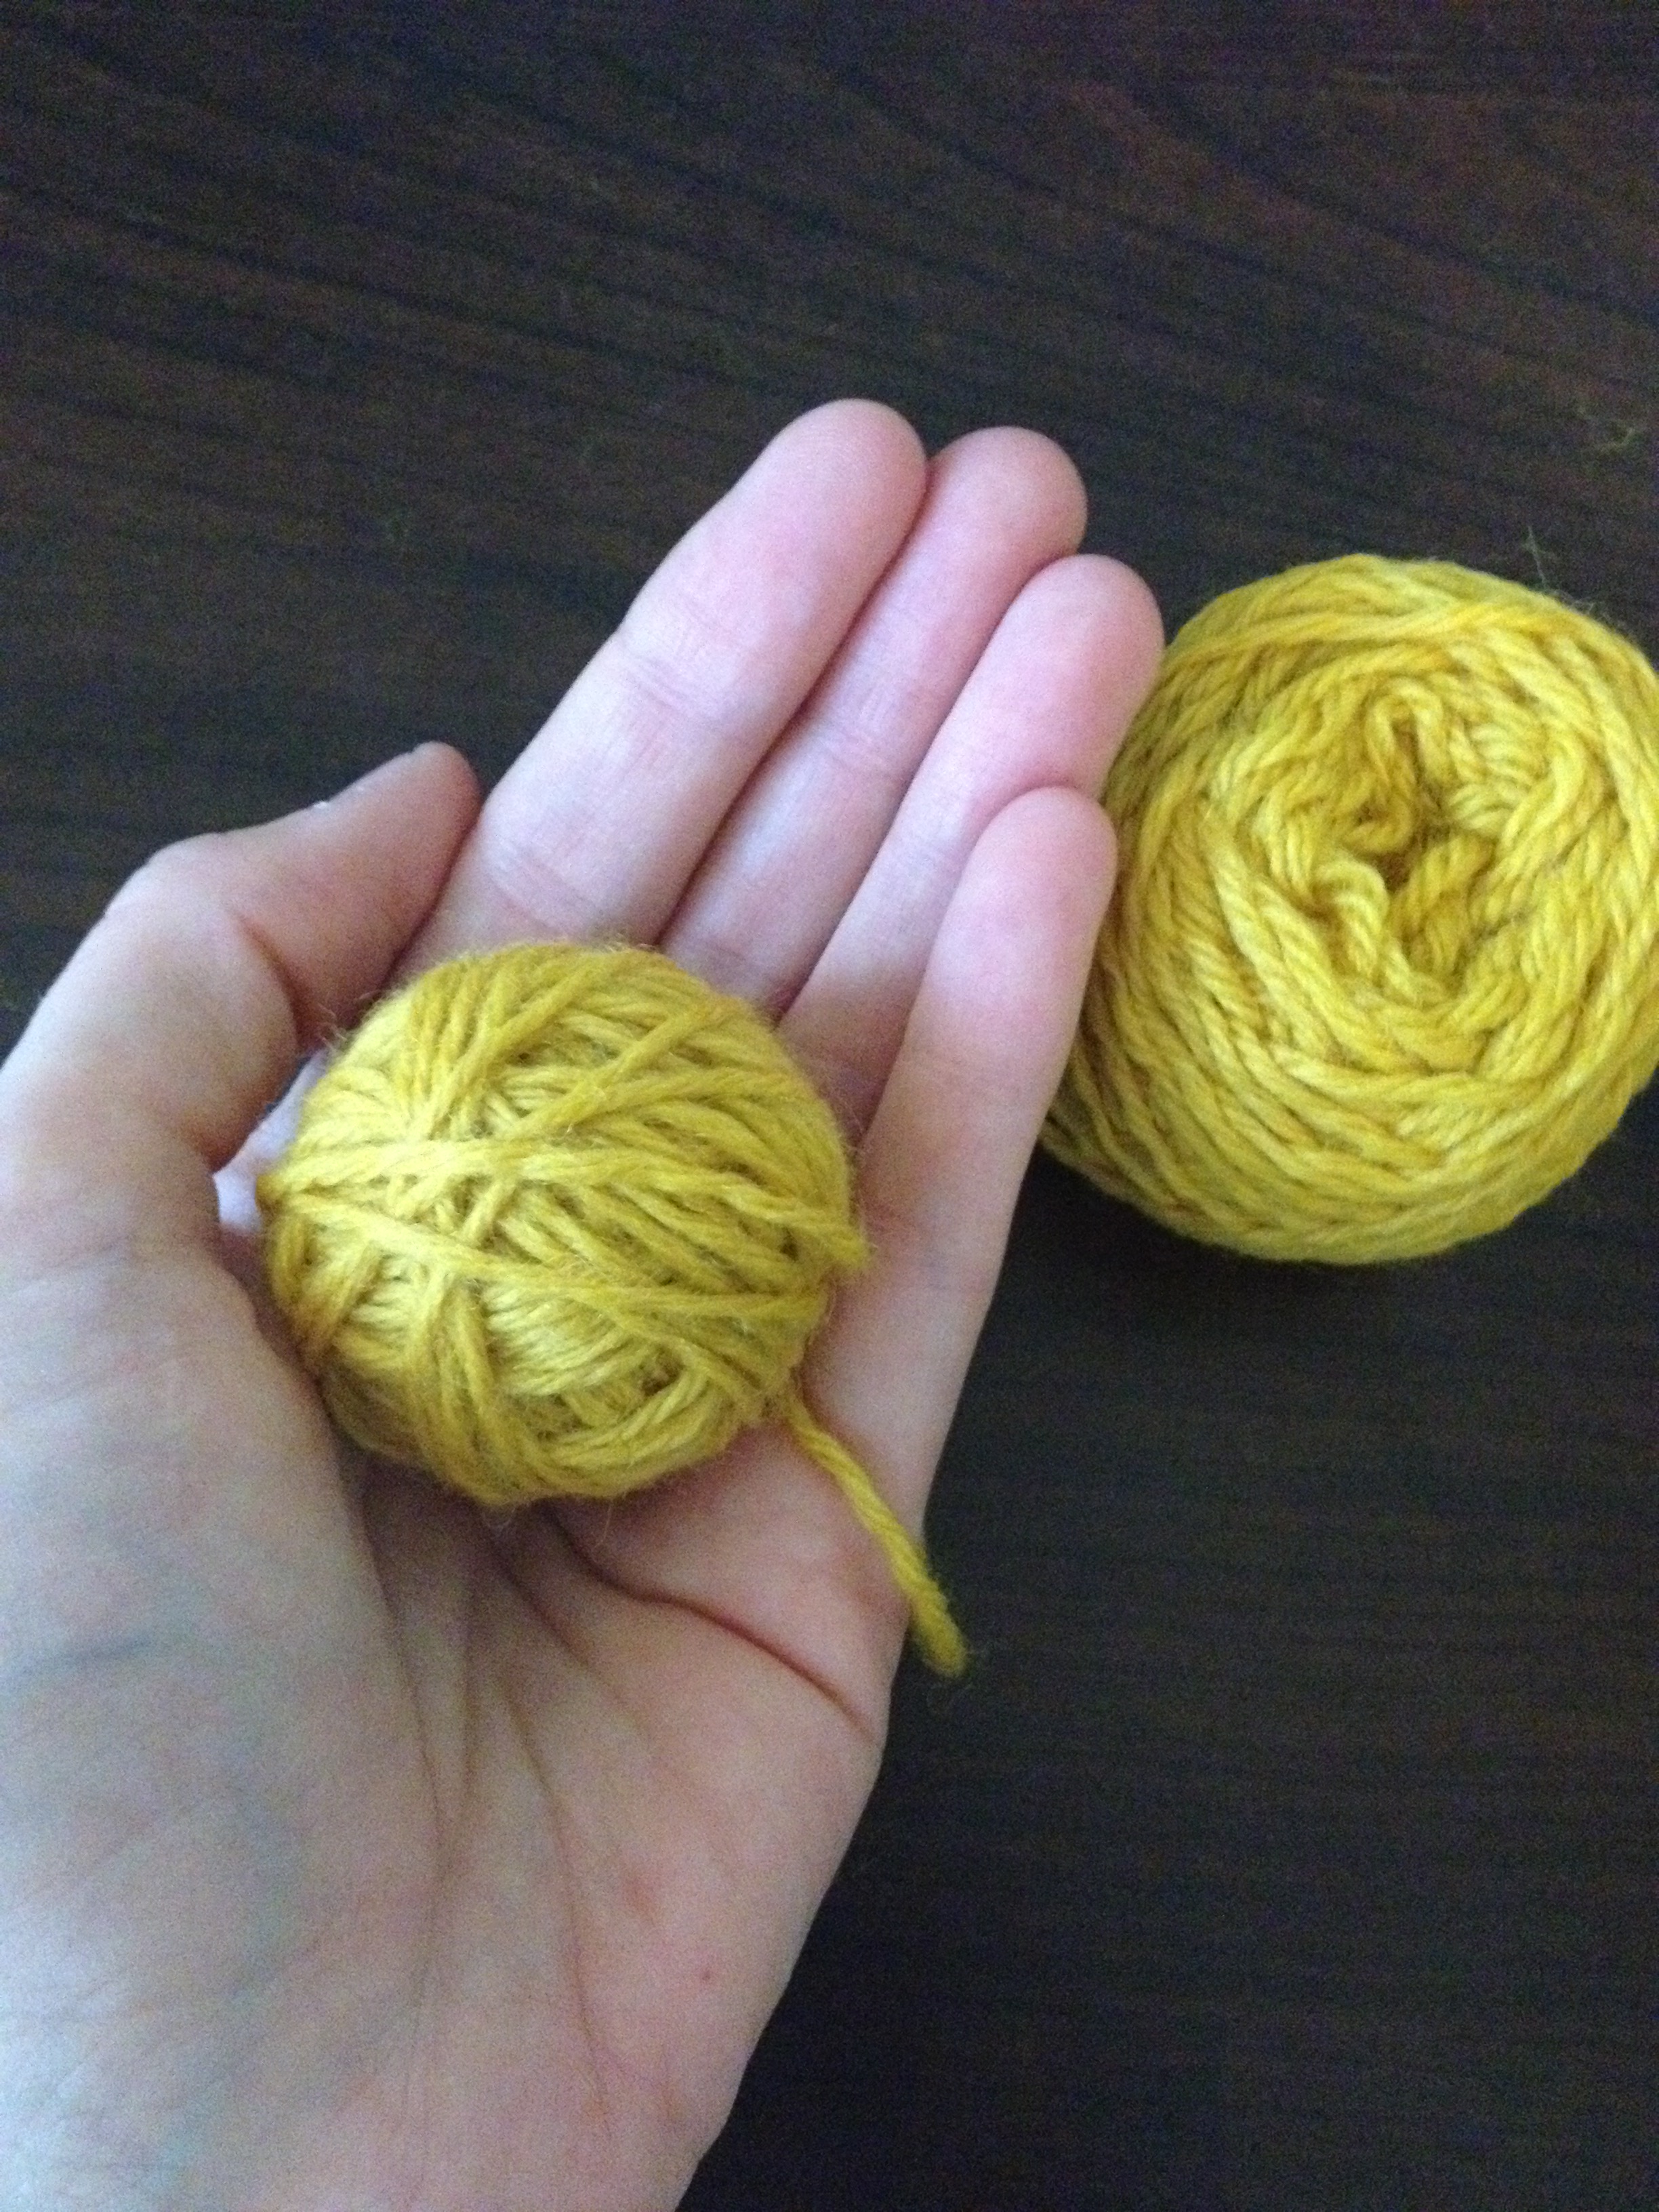
Continue to tightly wrap your yarn into a ball until it is the size of a baseball. Smaller isn’t going to get the laundry moving as these guys shrink with the felting process, and any bigger, you’ll have a loud dryer!
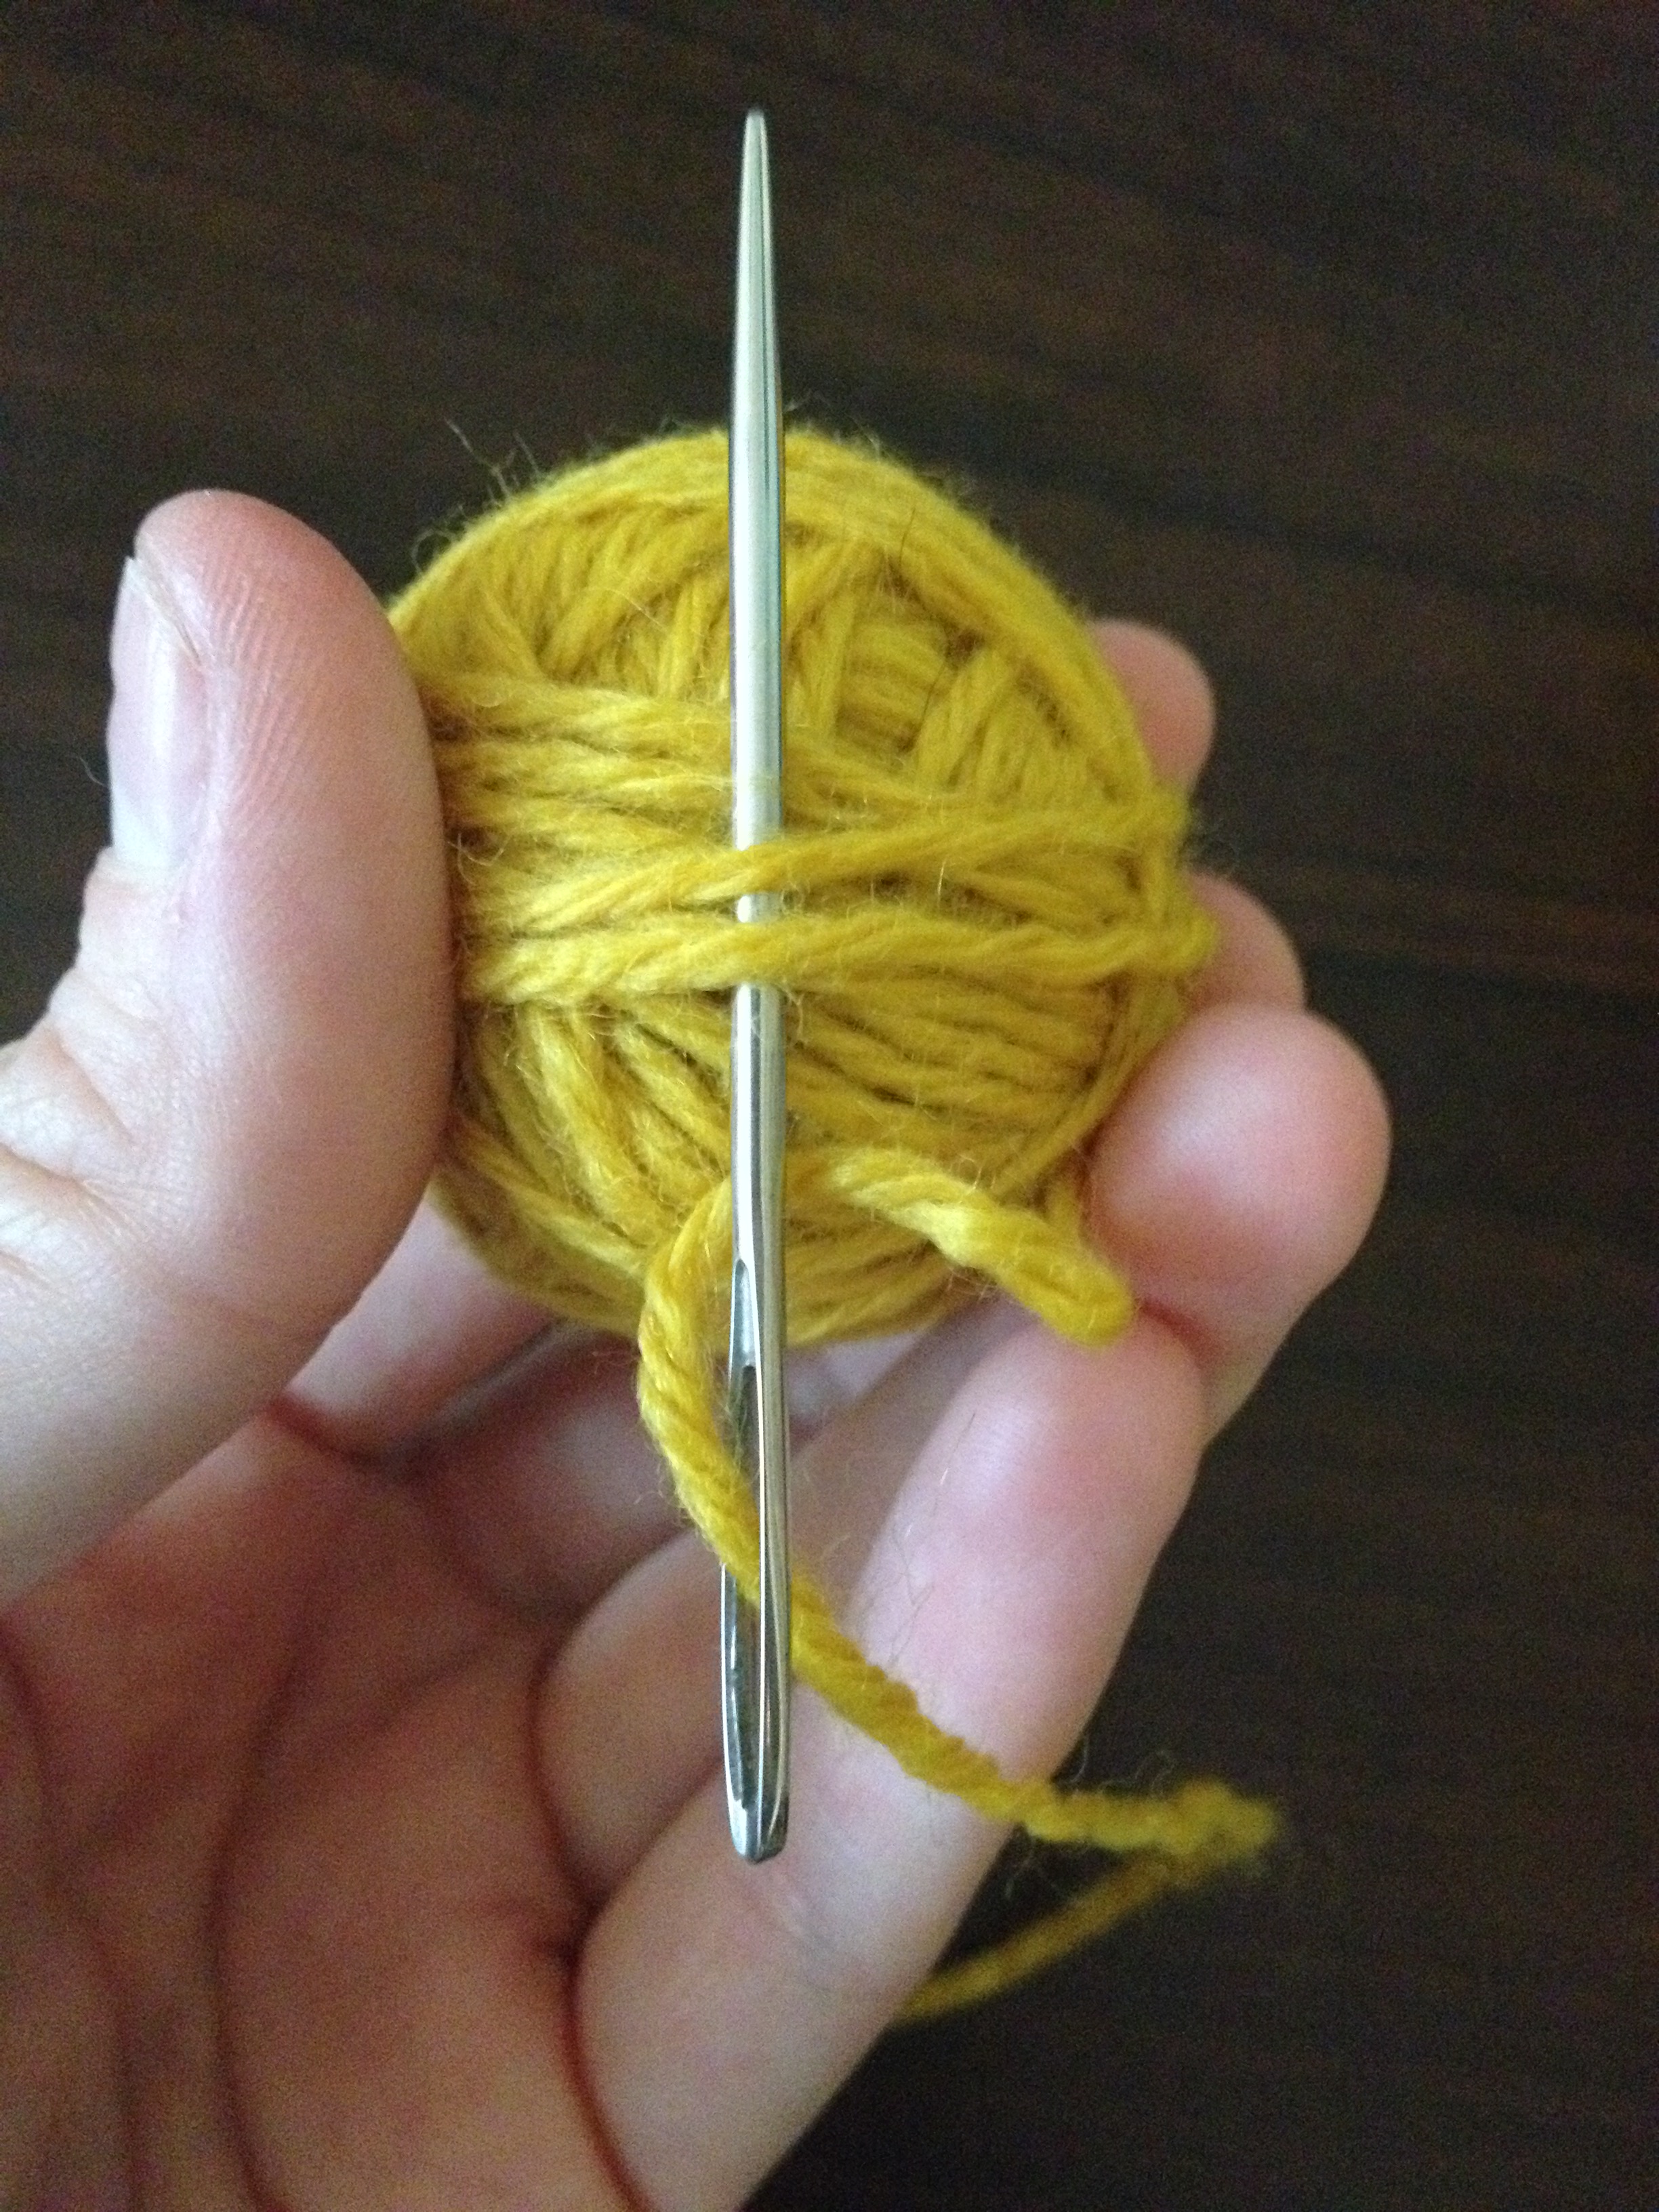
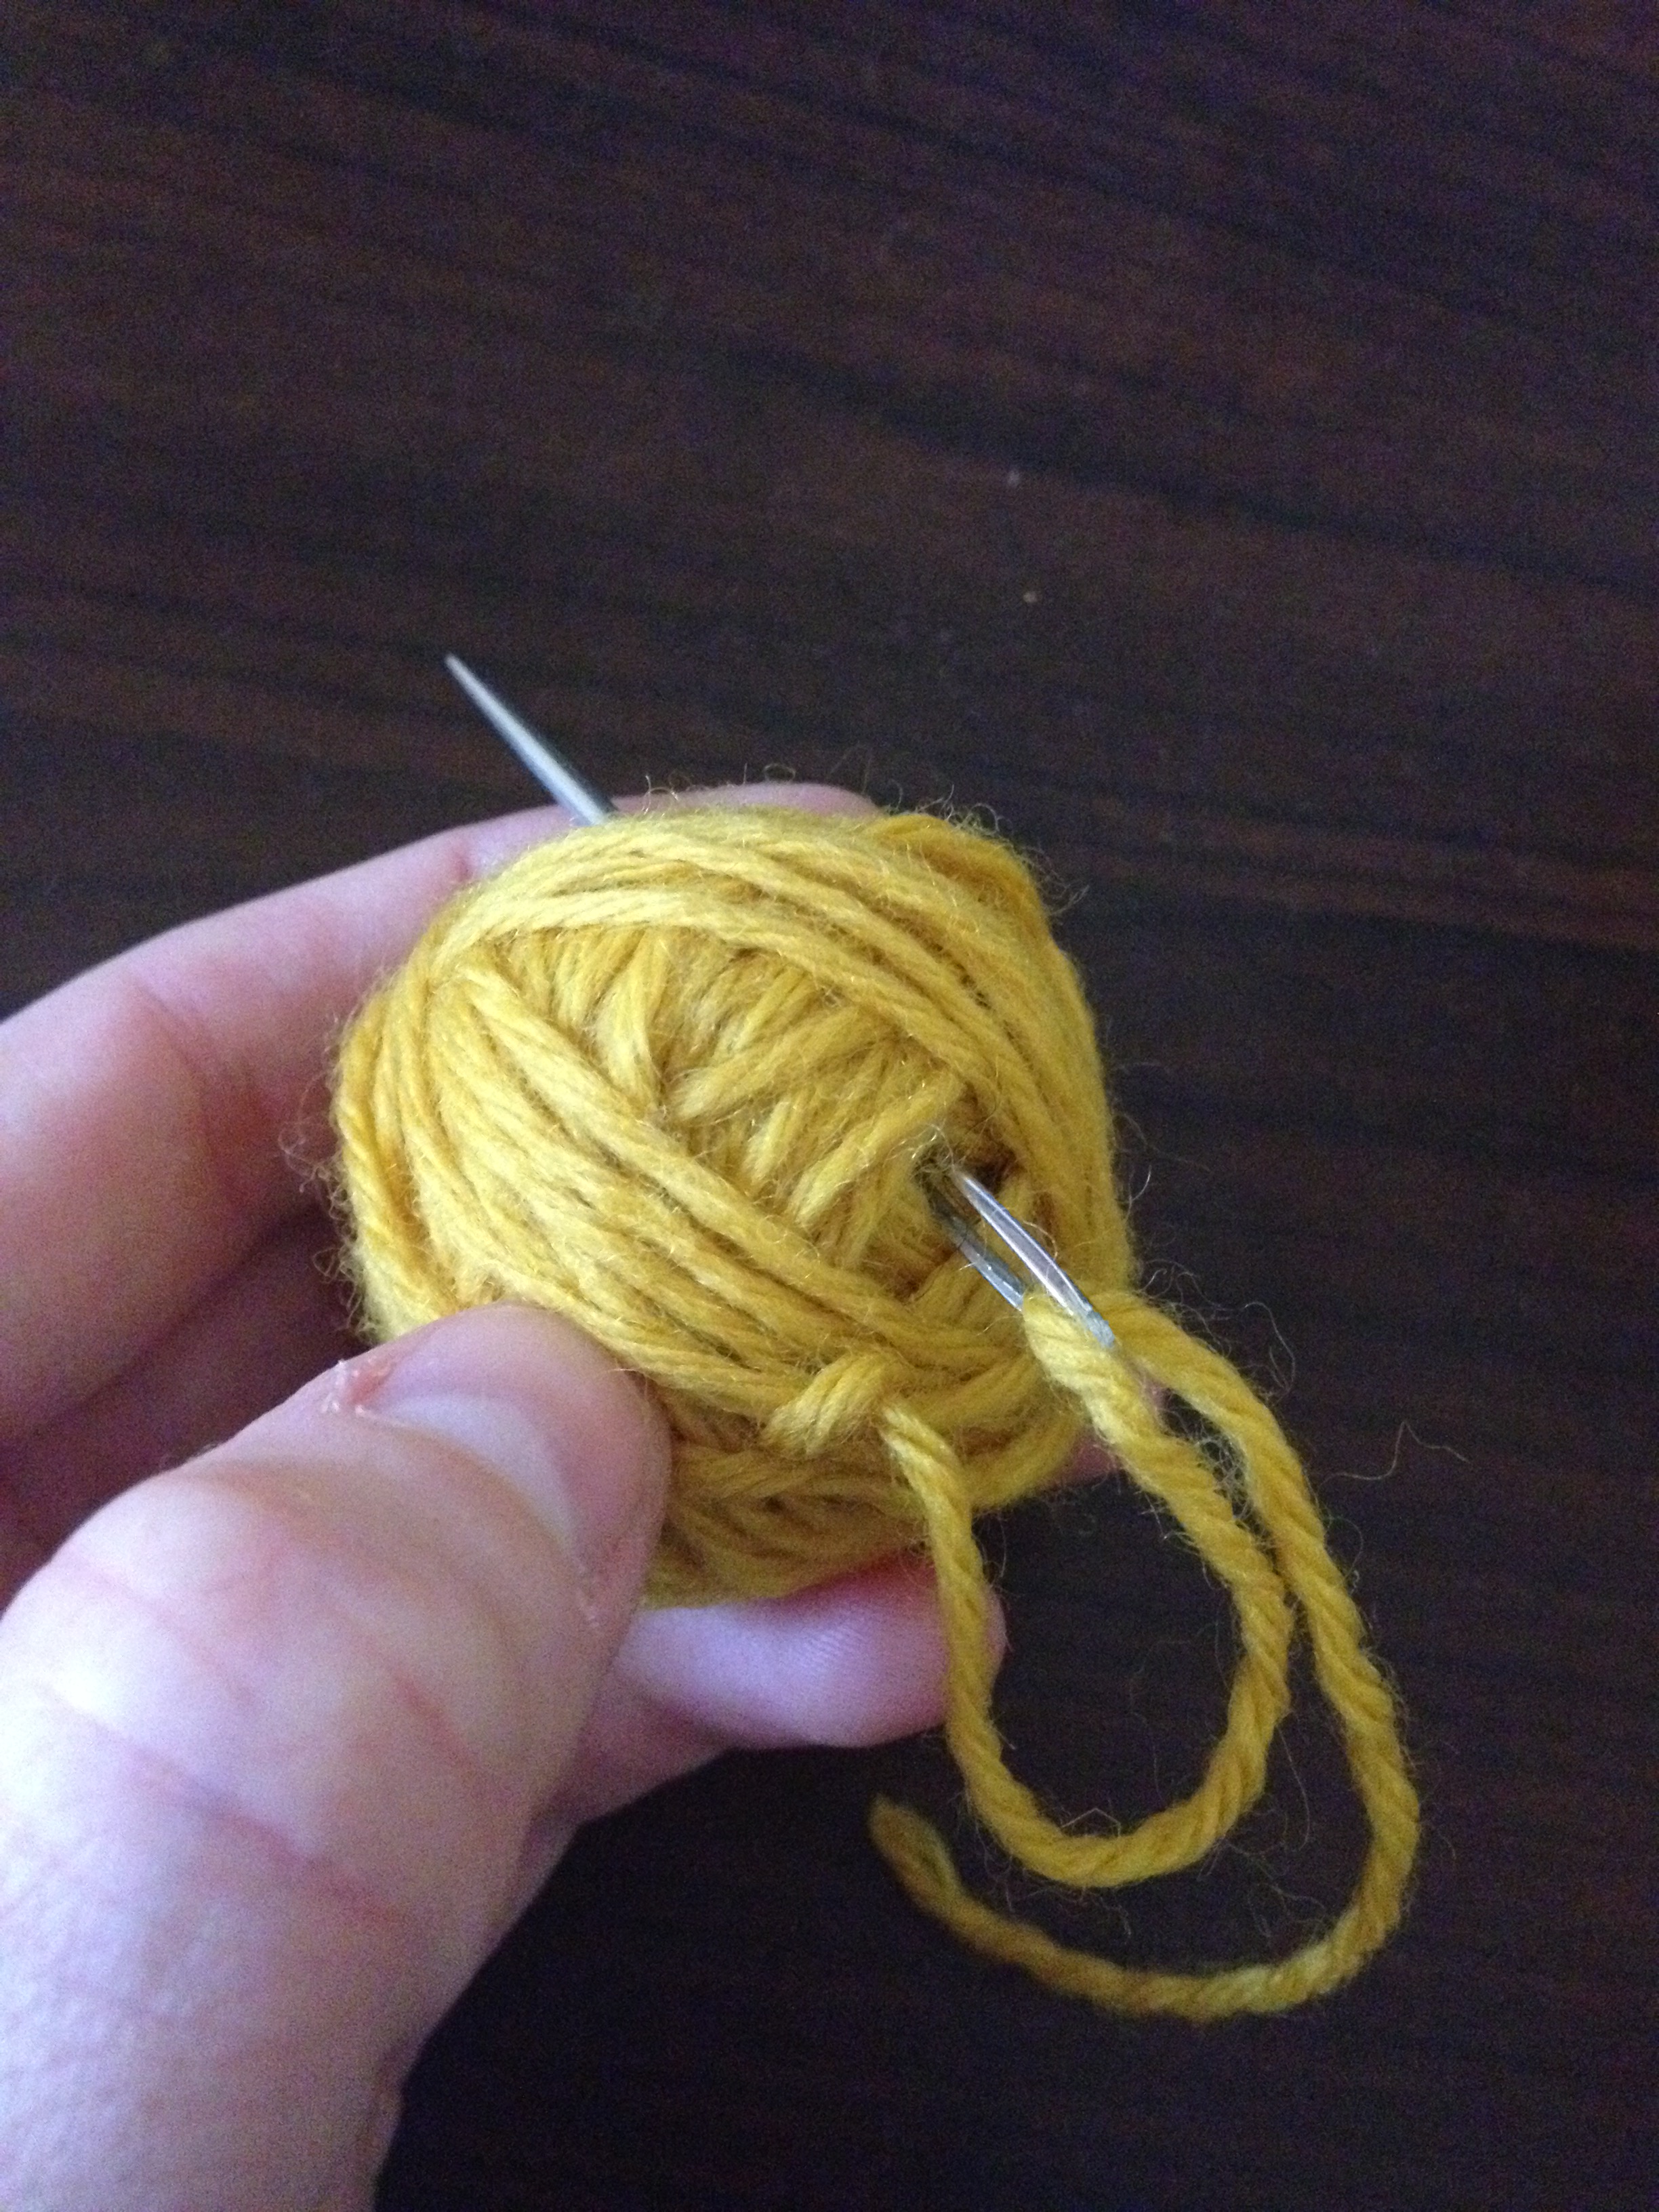
Once your yarn ball is the right size, trim your thread with a good sized tail and thread your needle. Loop the tail of the yarn under part of your yarn ball rows and tie off into a knot. Pull the thread through part of the ball, all the way through and tie off again in a knot. It sounds like over kill, but this ensures the end of your thread doesn’t get loose and unravel.
Go ahead and grab your sock (why yes, I do have bacon socks), and drop in one ball and tie a knot in the sock as close to the ball as you can. Drop the next one in and tie it off too.
Repeat until your balls are all wrapped up.
From here, throw the socks in your washer on high heat and dry on high heat, too. If you happen to have clothes that need a high temp wash and dry, throw them in too-laundry multitasking, folks! Once the dryer is done, unwrap the balls from your socks, and you’re good to go! A note – I ended up running mine through twice to really felt them up nicely. If you check and yours look nice and fuzzy and dense, you’re good.
That’s it! You now have dryer balls. You can add essential oils to the ball, just a few drops and let it soak in for a little while before using-I usually do the night before, so I don’t have an freshly oiled ball hitting my clothes.
A couple of notes on materials and time: This needs to be 100% wool for the felting to work. I initially used “Licorice” wool yarn from Sensations, which is a yarn with varying thickness (some parts were really thick, and some thin and more twisted) This wasn’t the best yarn to use, as the differing sizes made the felting process a little more difficult and I lost one ball, as I didn’t wind it up as tight as I should have. I would recommend using a yarn with consistent thickness. Time wise, you can make a ball in less than 5 minutes, but know that if you have any issues with hand or joint pain, this can be a little hard as you have to hold the ball firmly and pull the yarn to get a tight ball.
There you have it – Dryer balls!
I’d love to see pictures of any that you all make! Please share!
Yours in reducing your craft stashes!
Raina
Pingback: Dryer Balls!